Menu
Start Free $129 Lifetime
Why is it the #1 bulk uploader?
- Insanely fast!
- Maintains folder structure.
- 100% automated upload.
- Supports RAW files.
- Privacy default.
How can you get started?
Download PicBackMan and start free, then upgrade to annual or lifetime plan as per your needs. Join 100,000+ users who trust PicBackMan for keeping their precious memories safe in multiple online accounts.
Trusted by users in 125+ countries.
“Your pictures are scattered. PicBackMan helps you bring order to your digital memories.”
How to Upload Raw Files to Google Drive?

Google Drive is a popular cloud storage service that allows users to store, share, and access their files from anywhere. It offers a convenient way to store various types of files, including raw files. Uploading raw files to Google Drive can be a straightforward process, and this article will guide you through the steps to upload your raw files successfully.
Introduction
Raw files are uncompressed image files that contain all the data captured by a digital camera's sensor. They offer photographers and other professionals greater flexibility in post-processing and editing. Uploading raw files to Google Drive allows you to back up your files and access them on multiple devices.
Creating a Google Account
To use Google Drive, you need a Google account. If you don't have one, follow these steps to create an account:
- Go to the Google Account creation page.
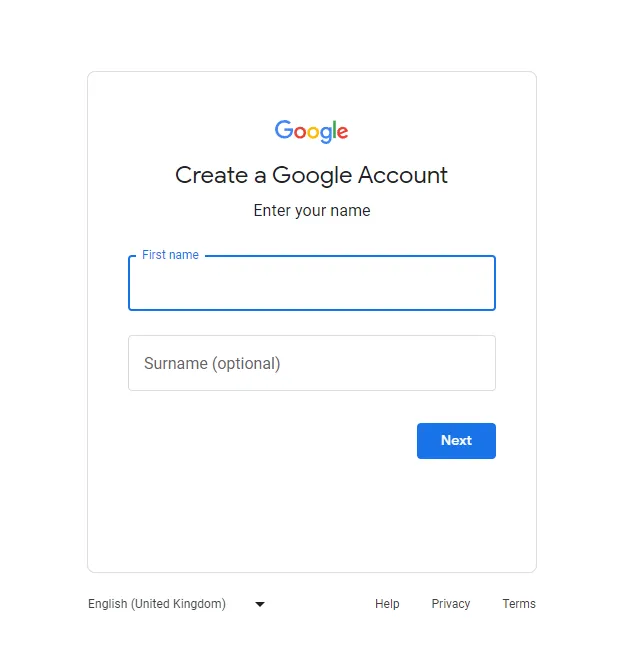
- Fill in the required information, including your name, desired email address, password, and phone number.
- Complete the verification process.
- Congratulations! You now have a Google account.
Accessing Google Drive
Once you have a Google account, you can access Google Drive by following these steps:
-
Go to drive.google.com in your web browser.
- Enter your Google account credentials (email address and password).
- Click on the "Sign In" button.
- You will be redirected to the Google Drive home page.
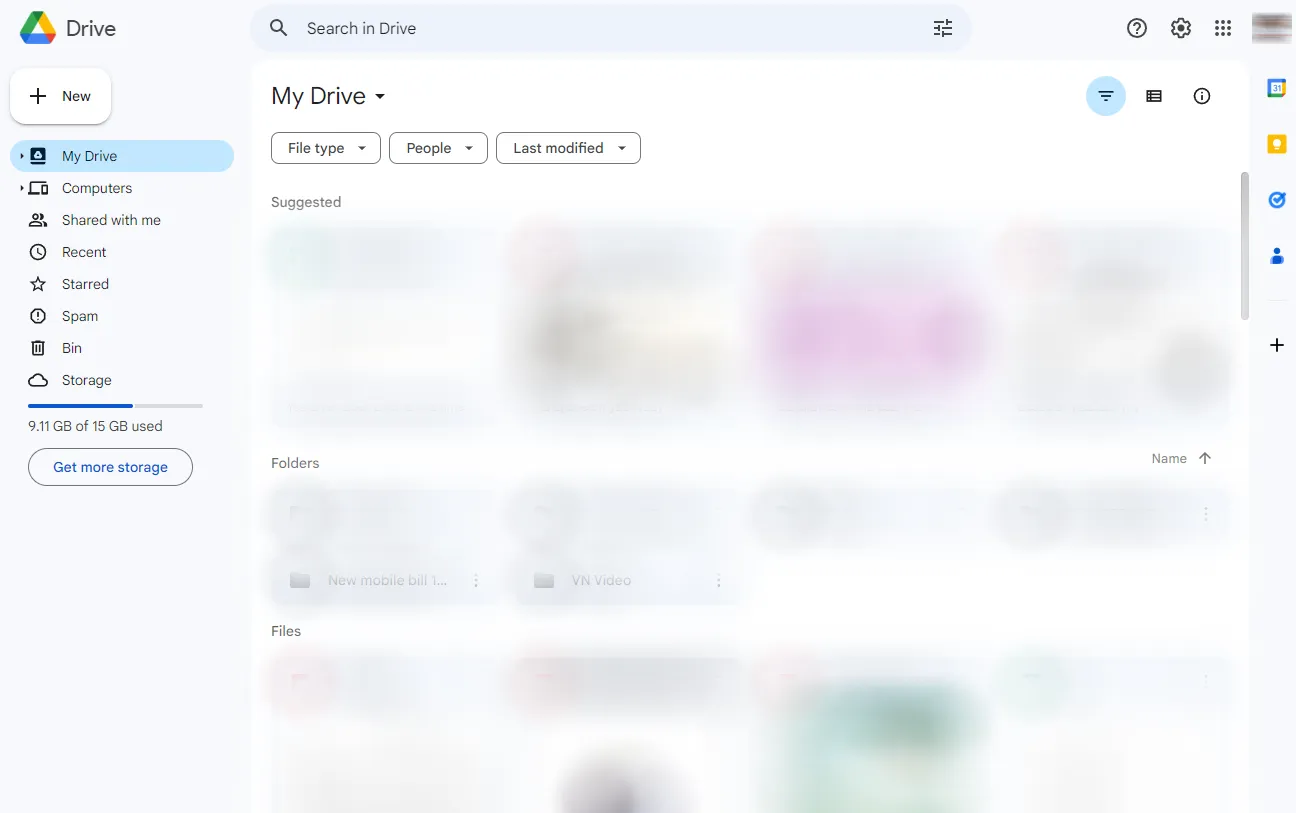
Uploading Raw Files
To upload raw files to Google Drive, follow these steps:
- Open Google Drive .
- Click on the "+ New" button on the left-hand side of the page.
- Select "File upload" from the drop-down menu.
- Locate the raw files on your computer.
- Select the files you want to upload by clicking on them while holding down the Ctrl (Windows) or Command (Mac) key for multiple selections.
- Click on the "Open" button to start the upload process.
- Google Drive will display a progress bar to indicate the upload status.
- Once the upload is complete, the raw files will be available in your Google Drive.
Organizing Files in Google Drive
To keep your raw files and other files organized in Google Drive, you can create folders and subfolders. Follow these steps to organize your files:
- Open Google Drive .
- Click on the "+ New" button.
- Select "Folder" from the drop-down menu.
- Enter a name for the folder and press Enter.
- To create a subfolder, right-click on the parent folder, select "New," and then choose "Folder."
- Repeat step 4 to name the subfolder.
- Drag and drop files into the desired folders to organize them.
Sharing Raw Files
Google Drive allows you to share your raw files with others. Follow these steps to share a raw file:
- Open Google Drive .
- Right-click on the raw file you want to share.
- Select "Share" from the context menu.
- Enter the email addresses of the recipients.
- Choose the desired sharing permissions (view, comment, or edit).
- Click on the "Send" button to share the file.
Collaborating on Raw Files
Collaboration is one of the key features of Google Drive. You can collaborate with others on raw files in real-time. Here's how:
- Open Google Drive .
- Right-click on the raw file you want to collaborate on.
- Select "Share" from the context menu.
- Enter the email addresses of the collaborators.
- Choose the desired collaboration permissions (view, comment, or edit).
- Click on the "Send" button to invite collaborators.
- Collaborators can access the file and make changes simultaneously.
Syncing Google Drive with Local Storage
You can synchronize your Google Drive files with your computer's local storage using the Google Drive desktop app. Follow these steps to sync your raw files:
- Download and install the Google Drive app for your operating system.
- Sign in to the app using your Google account.
- Choose the folders you want to sync with your local storage.
- The Google Drive app will create a dedicated folder on your computer.
- Any changes made to files in the synced folder will be automatically reflected in Google Drive and vice versa.
Google Drive Mobile App
Google Drive is also available as a mobile app, allowing you to access your raw files on the go. Follow these steps to use the Google Drive mobile app:
- Download and install the Google Drive app from your device's app store.
- Sign in to the app using your Google account.
- Navigate through your files and folders to locate your raw files.
- Tap on a raw file to view or edit it using compatible mobile apps.
- You can also upload new raw files from your device's storage to Google Drive using the app.
You can install PicBackMan's Google Drive uploader for Mac from the website and start backing up photos and videos.
Managing Storage Space
Google Drive offers 15 GB of free storage space for each Google account. If you need more space, you can consider upgrading to a paid plan. Here's how you can manage your storage space:
- Open Google Drive.
- Click on the gear icon in the top-right corner.
- Select "Settings" from the drop-down menu.
- Go to the "Storage" tab to view your storage usage.
- To purchase more storage, click on the "Upgrade storage" button.
Security and Privacy
Google Drive takes security and privacy seriously. Your raw files are stored in encrypted form, and you have control over who can access them. Google Drive also offers additional security features like two-step verification. To enhance your security and privacy:
- Enable two-step verification for your Google account.
- Regularly review and manage the sharing permissions of your raw files.
- Be cautious when granting access to unknown or untrusted individuals.
Troubleshooting
If you encounter any issues while uploading or accessing your raw files on Google Drive, try the following troubleshooting steps:
- Refresh the Google Drive webpage or restart the Google Drive app.
- Check your internet connection to ensure it is stable.
- Clear your browser cache and cookies.
- Update the Google Drive app to the latest version.
- Contact Google Drive support for further assistance.
Conclusion
Uploading raw files to Google Drive provides a convenient way to store and access your files securely. Whether you're a photographer or anyone working with raw files, Google Drive offers a reliable cloud storage solution. By following the steps outlined in this article, you can easily upload and manage your raw files on Google Drive.
FAQs
Q1: Can you upload RAW to Google Drive?
Yes, you can upload RAW files to Google Drive. Google Drive supports various file types, including RAW formats like .CR2, .NEF, .ARW, and others. Simply follow the steps outlined in the article to upload your RAW files to Google Drive.
Q2: Can Google Drive open RAW files?
Google Drive can store and manage RAW files, but it doesn't provide native editing capabilities for RAW formats. To open and edit RAW files, you'll need to download them from Google Drive and use compatible photo editing software on your computer.
Q3: How do I convert RAW to JPEG on Google Drive?
While Google Drive itself doesn't offer direct RAW to JPEG conversion, you can use third-party photo editing applications that support RAW files to perform the conversion on your local computer. Download the RAW file from Google Drive, use photo editing software to convert it to JPEG, and then upload the JPEG version back to Google Drive.
Q4: Can Google Drive handle RAW photos?
Yes, Google Drive can handle RAW photos. You can upload, store, and share RAW files using Google Drive's cloud storage service. However, for editing RAW photos, you'll need to use compatible software on your local device.
Q5: What is the fastest way to convert RAW to JPEG?
The fastest way to convert RAW to JPEG depends on the software and hardware you're using. High-performance computers with efficient photo editing software can expedite the conversion process. Consider using batch processing features in photo editors to convert multiple RAW files to JPEG simultaneously.
Q6: How do I convert RAW to JPEG without losing quality?
Converting RAW to JPEG inherently involves some loss of quality due to the compression applied to JPEG files. However, you can minimize the loss of quality by ensuring you use high-quality compression settings during the conversion process. Choose the highest quality settings available in your photo editing software to preserve image details as much as possible. Additionally, avoid re-compressing JPEG files multiple times to prevent further degradation.


