
Menu
Start Free $129 Lifetime
Why is it the #1 bulk uploader?
- Insanely fast!
- Maintains folder structure.
- 100% automated upload.
- Supports RAW files.
- Privacy default.
How can you get started?
Download PicBackMan and start free, then upgrade to annual or lifetime plan as per your needs. Join 100,000+ users who trust PicBackMan for keeping their precious memories safe in multiple online accounts.
Trusted by users in 125+ countries.
“Your pictures are scattered. PicBackMan helps you bring order to your digital memories.”
How to Upload Photos From Mac to Google Drive?

Are you a Mac user looking for a convenient way to upload your photos to Google Drive? Look no further! In this article, we will guide you through the step-by-step process of uploading photos from your Mac to Google Drive.
With these simple instructions, you'll be able to effortlessly store and access your precious memories in the cloud. So, let's get started!
In this digital age, we capture countless moments through our cameras and smartphones. To ensure the safety and accessibility of these precious memories, cloud storage platforms like Google Drive have become increasingly popular.
By uploading your photos to Google Drive, you can store them securely and access them from any device with an internet connection.
If you are looking for a step-by-step process to upload Photos to Google Drive from Mac, read on. There are two ways to upload photos from Google drive i.e. One the PicBackMan way and the other is from the Google Dive web.
Setting up using PicBackMan way
- Download PicBackMan (It’s Free)
- Connect your Google Drive account from the ACCOUNTS tab.
- On ‘Photos’ tab click ‘Associate Photo Folder’ button, you see on the page’. Browse
and select a folder that you wish to upload to Google Drive.
Note: You can associate as many folders as you want. - Check mark the box corresponding to ‘Google Drive’ icon and then click ‘upload’ button located at the bottom of the window
- That’s it, PicBackMan’s Google Drive Uploader for Mac will now upload all the photos
Setting Up Google Drive on Your Mac
Before you can start uploading photos, you need to set up Google Drive on your Mac. Follow these simple steps:
Step 1: Visit the Google Drive Website
Open your preferred web browser and visit the Google Drive website at drive.google.com.
Step 2: Sign In to Your Google Account
If you already have a Google account, sign in with your credentials. Otherwise, create a new Google account by clicking on "Create account."
Step 3: Download and Install Google Drive App
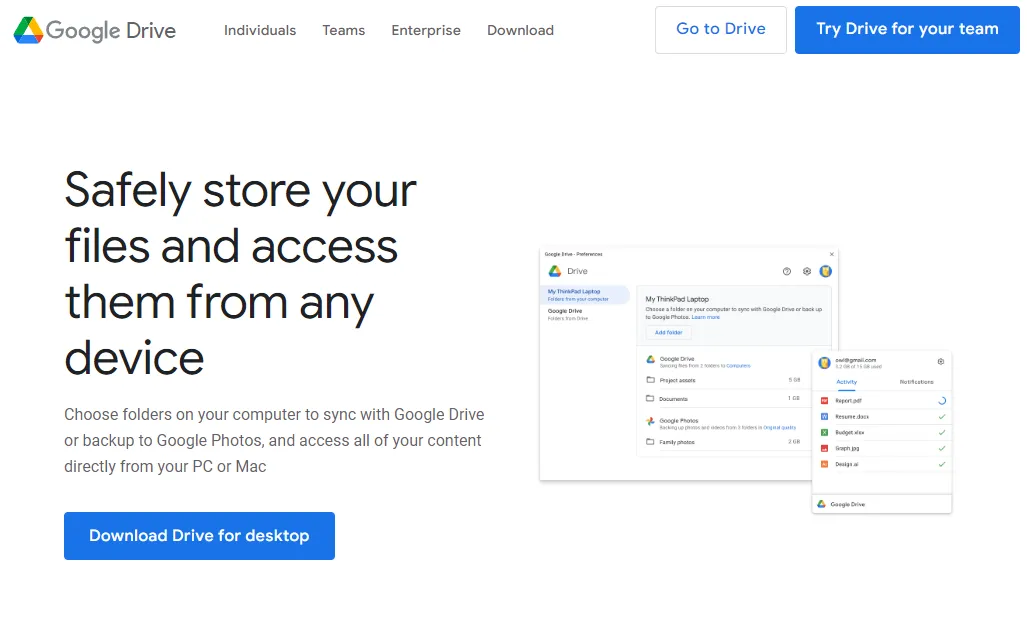
Once you're signed in, locate the "Download" button on the Google Drive website. Click on it to download the Google Drive app for Mac. After the download is complete, open the installer file and follow the on-screen instructions to install Google Drive on your Mac.
Step 4: Sign In to Google Drive App
Once the installation is complete, launch the Google Drive app. Sign in with the same Google account you used in Step 2. The Google Drive app will create a folder on your Mac where you can store and sync files with the cloud.
Uploading Photos to Google Drive
Now that you have Google Drive set up on your Mac, it's time to upload your photos. Here's how you can do it:
Step 1: Open the Google Drive Folder
Locate the Google Drive folder on your Mac. By default, it is located in your "Home" directory. Open the folder to access your Google Drive files.
Step 2: Create a New Folder for Photos
To keep your photos organized, it's a good idea to create a new folder specifically for your photos. Right-click anywhere within the Google Drive folder, select "New Folder," and give it a suitable name.
Step 3: Copy or Drag-and-Drop Photos
Now, you can copy or drag-and-drop your photos into the newly created folder. You can select multiple photos at once by holding down the Command key while clicking on each photo.
Step 4: Monitor the Upload Progress
Once you've added the photos to the folder, Google Drive will start uploading them to the cloud. You can monitor the upload progress through the Google Drive app or by visiting the Google Drive website.
Organizing and Managing Your Photos
Google Drive offers several features to help you organize and manage your uploaded photos. Here are some useful tips:
1. Create Subfolders:
To further categorize your photos, create subfolders within the main photo folder. For example, you can have separate subfolders for family, vacations, or special events.
2. Add Descriptive Names:
Rename your photos with descriptive names that reflect their content. This will make it easier to search for specific photos in the future.
3. Utilize Tags and Labels:
Google Drive allows you to add tags and labels to your photos. Use these features to mark photos with relevant keywords or themes.
4. Share and Collaborate:
You can easily share your Google Drive photo folder with others. This is particularly useful when collaborating on projects or sharing albums with friends and family.
Tips for Efficient Photo Uploads
To ensure a smooth and efficient uploading experience, consider the following tips:
1. Resize Photos:
If you have large-sized photos, consider resizing them before uploading. This will reduce the upload time and save storage space in your Google Drive.
2. Use Wi-Fi Connection:
To avoid using excessive mobile data, connect your Mac to a Wi-Fi network before uploading photos to Google Drive.
3. Pause and Resume Uploads:
If you have a large number of photos to upload, you can pause and resume the upload process as needed. This allows you to prioritize certain photos or manage your internet bandwidth effectively.
4. Enable Auto Backup:
To ensure that your new photos are automatically backed up to Google Drive, enable the "Auto Backup" feature on your smartphone or camera.
Conclusion
Uploading photos from your Mac to Google Drive is a simple and convenient way to store and access your memories from anywhere. By following the steps outlined in this article, you can ensure that your photos are securely stored in the cloud and easily organized for future use. Start uploading your photos to Google Drive today and enjoy the peace of mind that comes with knowing your precious moments are safe.
FAQs
How do I upload files from my Mac to Google Drive?
To upload files from your Mac to Google Drive, follow these steps:
- Open Google Drive in your web browser or use the Google Drive app.
- Sign in to your Google account.
- Click on the "+ New" button and select "File upload" or simply drag and drop the files from your Mac into the Google Drive interface.
- Wait for the upload to complete, and your files will be available in Google Drive.
How do I upload all my Apple photos to Google Drive?
To upload all your Apple photos to Google Drive, you can use the Google Drive app for Mac and follow these steps:
- Install and set up the Google Drive app on your Mac.
- Open the Google Drive app and sign in with your Google account.
- In the Google Drive app preferences, enable the "Automatically put your Google Photos into a folder in My Drive" option.
- Launch the Photos app on your Mac and select all the photos you want to upload.
- Drag and drop the selected photos into the Google Drive folder on your Mac.
- Google Drive will start uploading the photos to your Google Drive account.
How do I upload pictures from my computer to Google Drive?
To upload pictures from your computer to Google Drive, follow these steps:
- Open Google Drive in your web browser or use the Google Drive app.
- Sign in to your Google account.
- Click on the "+ New" button and select "File upload" or simply drag and drop the pictures from your computer into the Google Drive interface.
- Wait for the upload to complete, and your pictures will be available in Google Drive.
How do I upload all my photos to Google Photos?
To upload all your photos to Google Photos, follow these steps:
- Install and set up the Google Photos app on your Mac.
- Open the Google Photos app and sign in with your Google account.
- In the app preferences, enable the "Backup & Sync" option.
- Choose the folders on your Mac that contain the photos you want to upload.
- Google Photos will automatically start uploading your photos to your Google Photos library.


