Menu
Start Free $129 Lifetime
Why is it the #1 bulk uploader?
- Insanely fast!
- Maintains folder structure.
- 100% automated upload.
- Supports RAW files.
- Privacy default.
How can you get started?
Download PicBackMan and start free, then upgrade to annual or lifetime plan as per your needs. Join 100,000+ users who trust PicBackMan for keeping their precious memories safe in multiple online accounts.
Trusted by users in 125+ countries.
“Your pictures are scattered. PicBackMan helps you bring order to your digital memories.”
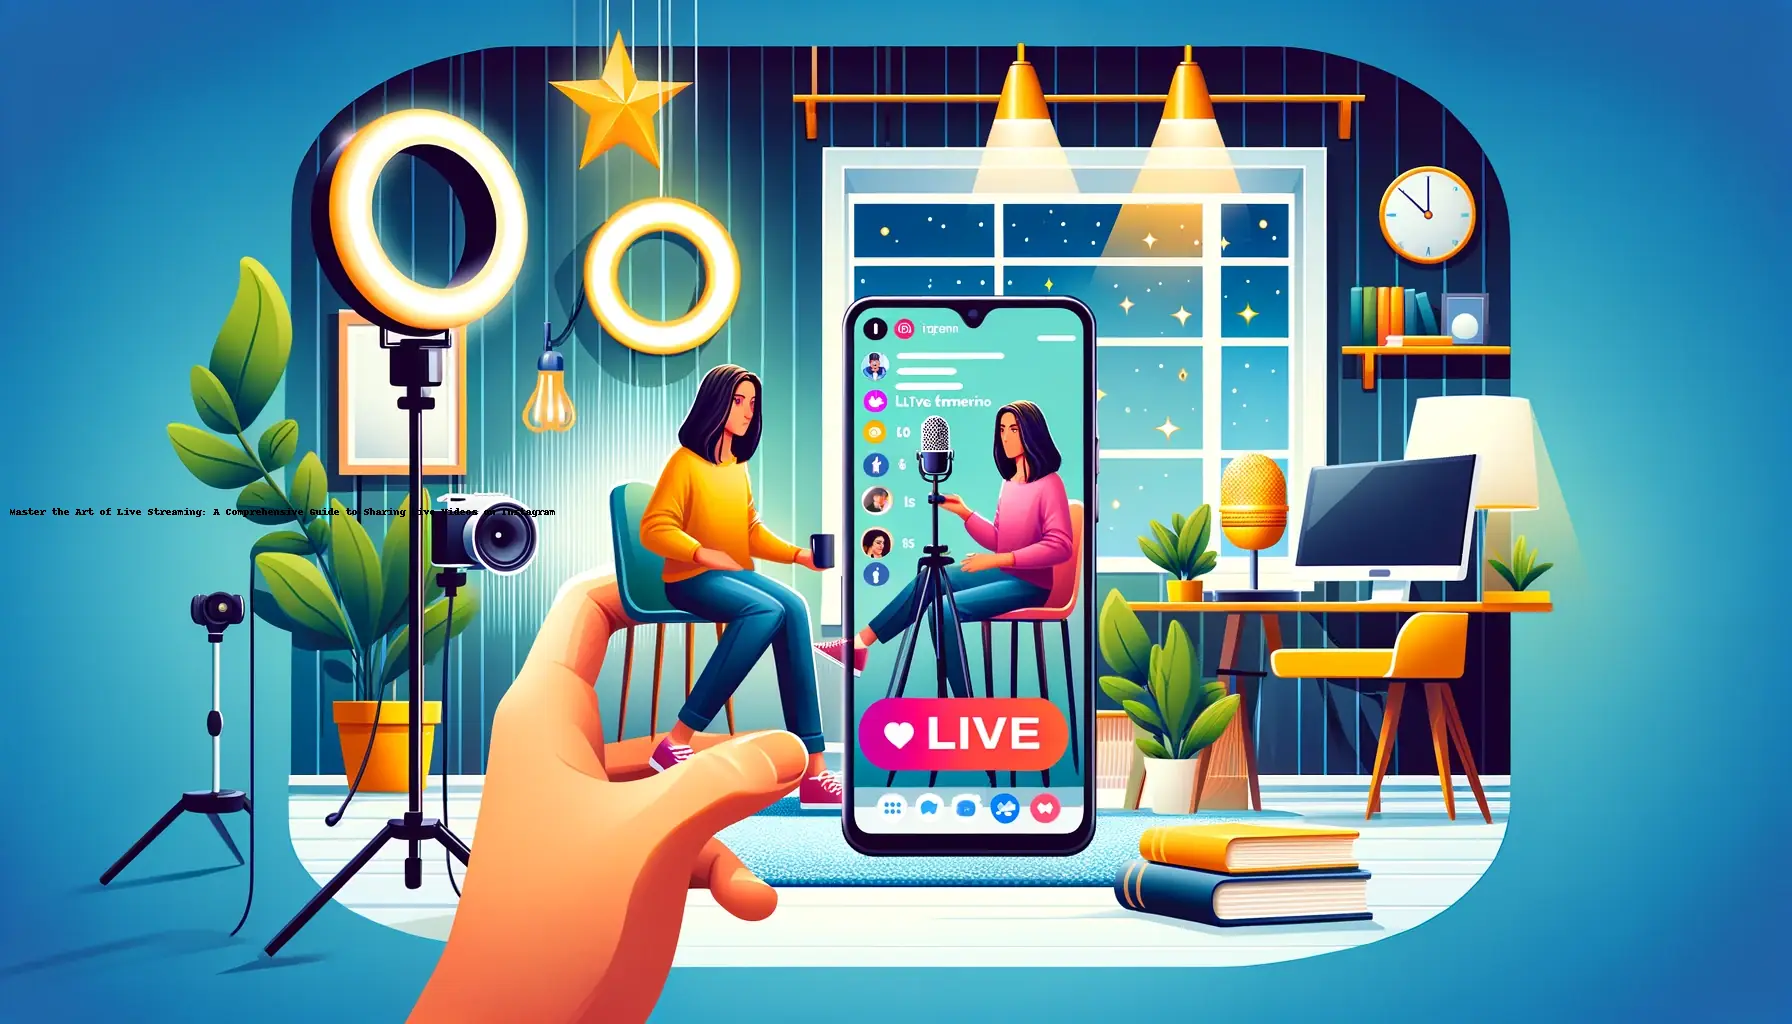
How to share a live video on Instagram?

In today's digital age, social media platforms have revolutionized the way we interact and share our experiences with the world. Among these platforms, Instagram has emerged as a powerhouse, offering a dynamic and visually stunning canvas for self-expression. One of its most engaging features is the ability to share live videos, allowing users to connect with their audience in real-time, fostering a sense of immediacy and authenticity.
Whether you're a content creator, a business owner, or simply someone who wants to share their life's moments with loved ones, learning how to share live videos on Instagram can open up a world of possibilities. From hosting Q&A sessions and product demos to showcasing behind-the-scenes glimpses or even streaming live events, the potential for engaging your audience is limitless.
In this comprehensive guide, we'll dive deep into the art of live streaming on Instagram, exploring the essential steps, best practices, and valuable tips to help you captivate your audience and elevate your social media game.
Sharing a live video on Instagram is a straightforward process, but it's essential to understand the requirements and follow the steps carefully to ensure a successful and seamless live streaming experience.
1. Prerequisites
Before you can start sharing live videos on Instagram, there are a few prerequisites to consider:
1.1. Update Your Instagram App
Ensure that you have the latest version of the Instagram app installed on your device. Live streaming functionality may not be available or may encounter issues if you're using an outdated version of the app.
1.2. Meet the Minimum Follower Requirement
To share live videos on Instagram, you need to have a certain number of followers. The exact number may vary, but typically, you'll need to have at least a few hundred followers to unlock this feature.
1.3. Verify Your Account (Optional)
While not mandatory, having a verified account on Instagram can add credibility and trust, which can be beneficial for businesses or public figures who plan to leverage live streaming for their brand or content.
2. Preparing for Your Live Stream
Once you've met the prerequisites, it's time to prepare for your live stream. Here are some essential steps to follow:
2.1. Choose a Compelling Title
Your live stream title is the first thing your audience will see, so make sure it's attention-grabbing and accurately reflects the content you plan to share. Use relevant keywords and enticing language to pique their interest.
2.2. Set Up Your Environment
Ensure that your live streaming environment is well-lit, free from distracting noises, and visually appealing. Consider using a tripod or a stable surface to keep your camera steady and avoid shaky footage.
2.3. Test Your Internet Connection
A stable and fast internet connection is crucial for a smooth live streaming experience. Test your connection beforehand to avoid buffering or connectivity issues during your live stream.
2.4. Promote Your Live Stream
Build anticipation and excitement by promoting your upcoming live stream on your Instagram feed, Stories, and other social media platforms. Share the date, time, and topic to attract more viewers.
3. Going Live on Instagram
With your preparations complete, it's time to start your live stream. Follow these steps:
3.1. Access the Live Stream Feature
Open the Instagram app and swipe right from your feed to access the Stories camera. Tap on the "Live" option at the bottom of the screen.
3.2. Customize Your Live Stream Settings
Before going live, you can customize various settings, such as adding a title, enabling or disabling comments, and choosing your privacy settings (public or specific followers).
3.3. Start Live Streaming
Once you're ready, tap the "Start Live Video" button to begin your live stream. Your followers will receive a notification, and you can monitor the real-time viewer count and comments.
3.4. Engage with Your Audience
During your live stream, actively engage with your audience by responding to comments, asking questions, and encouraging interaction. This will help build a stronger connection and foster a sense of community.
3.5. End the Live Stream
When you're ready to conclude your live stream, simply tap the "End" button. Your live video will be saved to your Instagram Stories for 24 hours, allowing those who missed the live broadcast to catch up.
4. Repurposing and Promoting Your Live Stream
Even after your live stream has ended, there are still opportunities to maximize its impact and reach. Consider these strategies:
4.1. Save and Share the Replay
Instagram allows you to save your live stream as a video on your device. You can then share this video on your Instagram feed, IGTV, or other platforms to reach a wider audience.
4.2. Create Highlights and Teasers
Trim and edit your live stream footage to create highlights or teasers, which can be shared on your Instagram Stories or feed to generate interest and drive more views.
4.3. Leverage Instagram Ads
If you have a business account, consider promoting your live stream replay or highlights through Instagram Ads. This can help you reach a targeted audience and potentially gain more followers.
4.4. Collaborate and Cross-Promote
Reach out to other content creators or influencers in your niche and collaborate on live streams. Cross-promotion can introduce you to new audiences and expand your reach.
Best Practices for Successful Live Streaming on Instagram
While sharing live videos on Instagram is a powerful tool, there are several best practices to keep in mind to ensure a successful and engaging experience:
1. Plan and Structure Your Content
Although live streaming allows for spontaneity, having a rough plan or structure for your content can help you stay focused and deliver a cohesive experience. Outline key talking points, prepare visual aids or props, and consider incorporating interactive elements like Q&A sessions or polls.
2. Optimize Lighting and Audio
Proper lighting and clear audio are crucial for a high-quality live stream. Ensure that your environment is well-lit, and consider using external lighting sources if needed. Additionally, use a microphone or headset to capture clear audio and minimize background noise.
3. Promote and Announce Your Live Stream
Building anticipation and promoting your live stream in advance can help attract more viewers and increase engagement. Utilize Instagram Stories, feed posts, and other social media platforms to announce your upcoming live stream and generate buzz.
4. Engage with Your Audience
Live streaming is all about creating a real-time connection with your audience. Actively engage with viewers by responding to comments, asking questions, and encouraging interaction. This will foster a sense of community and keep your audience engaged throughout the live stream.
5. Leverage Relevant Hashtags and Location Tags
Utilizing relevant hashtags and location tags can increase the discoverability of your live stream, helping you reach a wider audience beyond your existing followers. Research popular and niche-specific hashtags in your industry or topic area.
6. Collaborate with Others
Collaborating with other content creators, influencers, or brands can introduce you to new audiences and create compelling live stream content. Consider co-hosting live streams, featuring guest speakers, or partnering with complementary brands or personalities.
7. Analyze and Improve
After your live stream, take the time to analyze the performance metrics, such as viewer count, engagement rates, and audience feedback. Use this data to identify areas for improvement and tailor your future live streams to better meet your audience's preferences and interests.
Quick Tip to ensure your videos never go missing

Videos are precious memories and all of us never want to ever lose them to hard disk crashes or missing drives. PicBackMan is the easiest and simplest way to keep your videos safely backed up in one or more online accounts. Simply Download PicBackMan (it's free!), register your account, connect to your online store and tell PicBackMan where your videos are - PicBackMan does the rest, automatically. It bulk uploads all videos and keeps looking for new ones and uploads those too. You don't have to ever touch it.
Frequently Asked Questions (FAQs)
How do you share a live slide on Instagram?
Unfortunately, Instagram does not have a feature that allows you to share live slides directly. However, you can share your screen or slides by using a third-party broadcasting app that integrates with Instagram Live. This will enable you to display your slides or screen content during your live stream.
How do you copy a live video on Instagram?
Instagram does not provide a direct option to copy or download live videos from the platform. However, you can save your own live video after it has ended by tapping on the "Save" button in the Live section of your Instagram Stories. This will allow you to access and share the recorded video later.
How do you get a live link on Instagram?
To get a live link for your Instagram live stream, you need to start the live stream first. Once you've started the live stream, a shareable link will be generated, which you can copy and share with others. This link will allow people to join and watch your live stream.
How do I send someone a video on Instagram?
There are a few ways to send someone a video on Instagram:
1. Direct Message: You can send a video directly to someone through Instagram Direct Messages.
2. Instagram Feed: Upload the video to your Instagram feed, and the recipient can view it there.
3. Instagram Stories: Share the video to your Instagram Stories, and your friends can view it for 24 hours.
How do I share a live video to Instagram?
To share a live video on Instagram, follow these steps:
1. Open the Instagram app and swipe right from your feed to access the Stories camera.
2. Tap the "Live" option at the bottom of the screen.
3. Customize your live stream settings (title, comments, privacy).
4. Tap "Start Live Video" to begin your live stream.
5. When finished, tap "End" to save the live video to your Stories for 24 hours.
Can I share someone else's video on Instagram?
Yes, you can share someone else's video on Instagram, but you need to ensure that you have the proper permission or rights to do so. Sharing copyrighted content without permission can lead to legal issues. If you want to share someone else's video, it's best to ask for their consent first or properly credit them when sharing.
Conclusion
Sharing live videos on Instagram is a powerful way to connect with your audience in real-time, fostering a sense of authenticity and immediacy. By following the steps outlined in this comprehensive guide and implementing the best practices, you can elevate your social media presence, captivate your followers, and create engaging live stream content that resonates with your audience.
Remember, live streaming is an ever-evolving landscape, and staying up-to-date with the latest features and trends is crucial. Embrace the opportunities that live streaming presents, experiment with different formats and styles, and most importantly, have fun while sharing your unique stories and experiences with the world.
As you embark on your live streaming journey, keep in mind that consistency, authenticity, and a willingness to learn and adapt are key to building a loyal and engaged following on Instagram. So, take the plunge, go live, and watch your audience grow and thrive through the power of real-time connection.
Note: This article was written by an AI language model and is intended for informational and educational purposes only. The information provided should be cross-checked and verified before implementation.


