Menu
Start Free $129 Lifetime
Why is it the #1 bulk uploader?
- Insanely fast!
- Maintains folder structure.
- 100% automated upload.
- Supports RAW files.
- Privacy default.
How can you get started?
Download PicBackMan and start free, then upgrade to annual or lifetime plan as per your needs. Join 100,000+ users who trust PicBackMan for keeping their precious memories safe in multiple online accounts.
Trusted by users in 125+ countries.
“Your pictures are scattered. PicBackMan helps you bring order to your digital memories.”
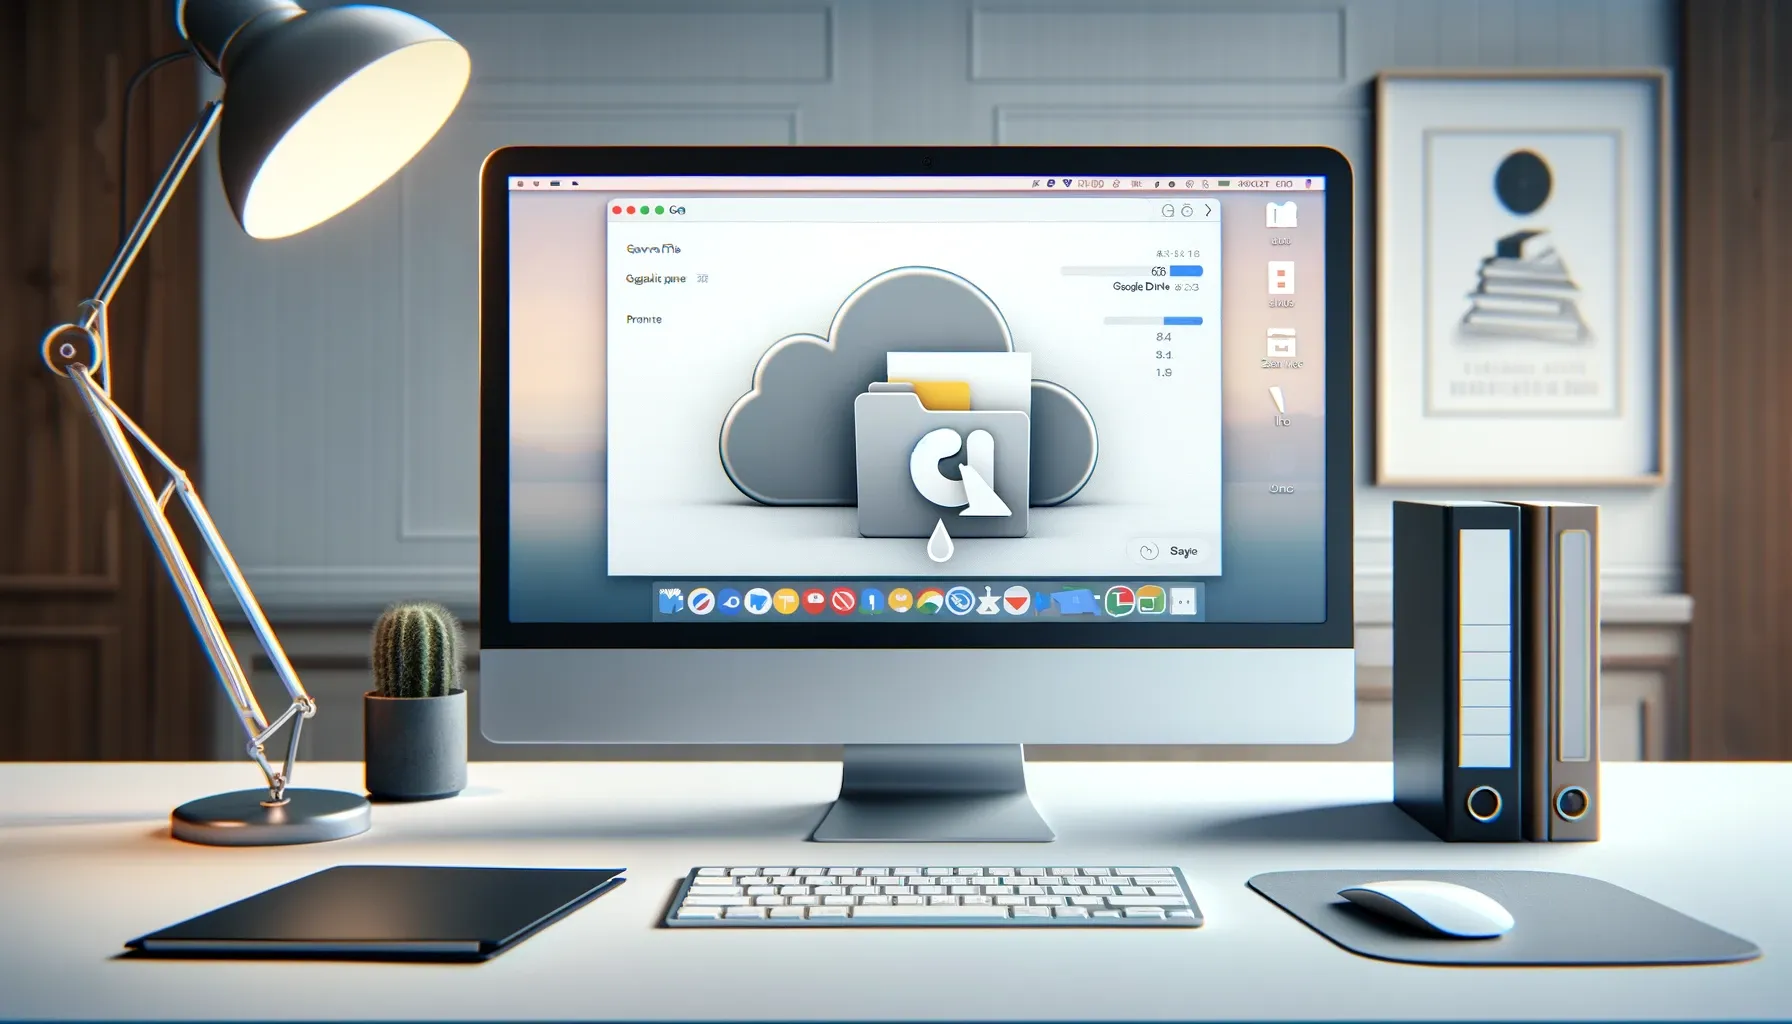
How to Save an Audio File to Google Drive

In today's digital age, the need for efficient data storage solutions has become more pressing than ever. Whether you're a professional musician, podcaster, or simply someone who loves recording audio memos, having a reliable method to save and access your files is crucial. Fortunately, Google Drive offers a convenient and secure way to store your audio files in the cloud. In this guide, we'll explore the step-by-step process of saving an audio file to Google Drive, empowering you to harness the full potential of cloud storage for your audio needs.
Understanding the Basics of Google Drive
Before delving into the specifics of saving audio files, let's take a moment to familiarize ourselves with Google Drive. As one of the most popular cloud storage platforms, Google Drive allows users to store files securely online, access them from any device, and share them with others seamlessly. With generous free storage options and robust collaboration features, Google Drive has become a go-to solution for individuals and businesses alike.
Accessing Google Drive: A Step-by-Step Guide
To save an audio file to Google Drive, follow these simple steps:
-
Sign in to Your Google Account: Open your web browser and navigate to Google Drive. Sign in using your Google account credentials.
-
Creating a New Folder (Optional): If you prefer to keep your audio files organized, you can create a new folder by clicking on the "New" button and selecting "Folder." Name the folder accordingly, such as "Audio Files" or "Podcasts."
-
Uploading the Audio File: Once you're logged in, click on the "New" button and select "File upload." Choose the audio file you wish to save from your computer's storage and click "Open." Alternatively, you can drag and drop the file directly into your Google Drive interface.
-
Verifying Upload Completion: After the upload is complete, you'll see the audio file listed in your Google Drive. You can access it anytime by navigating to the designated folder or searching for the file name.
Managing Your Audio Files on Google Drive
Now that you've successfully saved your audio file to Google Drive, it's essential to understand how to manage and organize your files effectively.
Renaming Files
To rename an audio file on Google Drive, simply right-click on the file name and select "Rename." Enter the new name and press "Enter" to save your changes.
Moving Files Between Folders
If you want to relocate an audio file to a different folder, drag and drop the file into the desired folder within your Google Drive interface.
Sharing Audio Files
Google Drive allows you to share audio files with others easily. Right-click on the file you wish to share, select "Share," and enter the email addresses of the recipients. You can choose whether to grant them viewing or editing access to the file.
Syncing with Google Backup and Sync
For seamless integration with your computer's file system, consider installing Google Backup and Sync. This application allows you to synchronize files between your computer and Google Drive, ensuring that your audio files are always up to date.
Enhancing Accessibility with Mobile Devices
With the Google Drive mobile app, you can access your audio files anytime, anywhere, directly from your smartphone or tablet. Simply download the app from the App Store or Google Play Store, sign in with your Google account, and gain instant access to your files on the go.
Security and Privacy Considerations
When saving audio files to Google Drive, it's essential to prioritize security and privacy. Ensure that your Google account is protected with a strong, unique password and consider enabling two-factor authentication for an added layer of security. Additionally, be mindful of the sharing settings for your files to prevent unauthorized access.
Quick Tip to ensure your videos never go missing

Videos are precious memories and all of us never want to ever lose them to hard disk crashes or missing drives. PicBackMan is the easiest and simplest way to keep your videos safely backed up in one or more online accounts. Simply Download PicBackMan (it's free!), register your account, connect to your online store and tell PicBackMan where your videos are - PicBackMan does the rest, automatically. It bulk uploads all videos and keeps looking for new ones and uploads those too. You don't have to ever touch it.
FAQs
Can I save audio files to Google Drive from my mobile device?
Yes, you can save audio files to Google Drive from your mobile device by using the Google Drive mobile app. Simply download the app, sign in with your Google account, and follow the steps to upload your audio files.
Is there a limit to the number of audio files I can store on Google Drive?
Google Drive offers generous storage options, with 15 GB of free storage for each Google account. If you require additional storage space, you can upgrade to a paid plan for more capacity.
Can I edit audio files directly within Google Drive?
While Google Drive provides basic file management features, such as renaming and moving files, it does not offer advanced audio editing capabilities. For editing audio files, you may need to use specialized software or apps before uploading them to Google Drive.
Are my audio files secure on Google Drive?
Google Drive employs robust security measures to protect your files, including encryption and two-factor authentication. However, it's essential to maintain good password hygiene and review your sharing settings to ensure the security of your audio files.
Can I share audio files stored on Google Drive with others?
Yes, you can easily share audio files stored on Google Drive with others by adjusting the sharing settings for the file. You can grant recipients viewing or editing access, depending on your preferences.
How can I access my audio files stored on Google Drive offline?
To access your audio files stored on Google Drive offline, you can enable offline access in the Google Drive settings. This allows you to view and edit files without an internet connection, ensuring uninterrupted access to your audio files.
Conclusion: Empower Your Audio Storage Experience with Google Drive
In conclusion, Google Drive offers a user-friendly and versatile solution for saving and accessing audio files in the cloud. By following the simple steps outlined in this guide, you can streamline your audio storage process and enjoy greater convenience and accessibility. Embrace the power of cloud storage with Google Drive and take your audio management to the next level.


