How to Backup iMovie Videos to Dropbox on Mac?


Backing up your iMovie videos to Dropbox on Mac is a great way to ensure your precious memories are safe and secure. With just a few simple steps, you can seamlessly sync your iMovie library with Dropbox for automated backups and easy access across devices.
Why Backup iMovie Videos to Dropbox
There are several key reasons you may want to backup your iMovie videos to Dropbox:
Prevent Data Loss
Backing up to Dropbox safeguards your data against hardware failure, theft, accidental deletion, corruption, and other disasters that could cause permanent data loss. With a Dropbox backup, you’ll have a copy of your videos in the cloud.
Access Files Anywhere
With Dropbox, your backed up iMovie library is accessible on all your devices - Mac, PC, iPhone, Android, etc. You can view and share videos on the go.
Free Up Local Storage
Dropbox provides affordable cloud storage so you can offload large videos from your Mac's local drive to free up space.
Share Videos Easily
You can use Dropbox to quickly generate shareable links to your iMovie videos and collaborate with others.
Sync Changes Automatically
Dropbox will automatically sync new iMovie projects and edits across devices. Any changes made on one device will be reflected everywhere.
Step 1 - Install and Set Up Dropbox
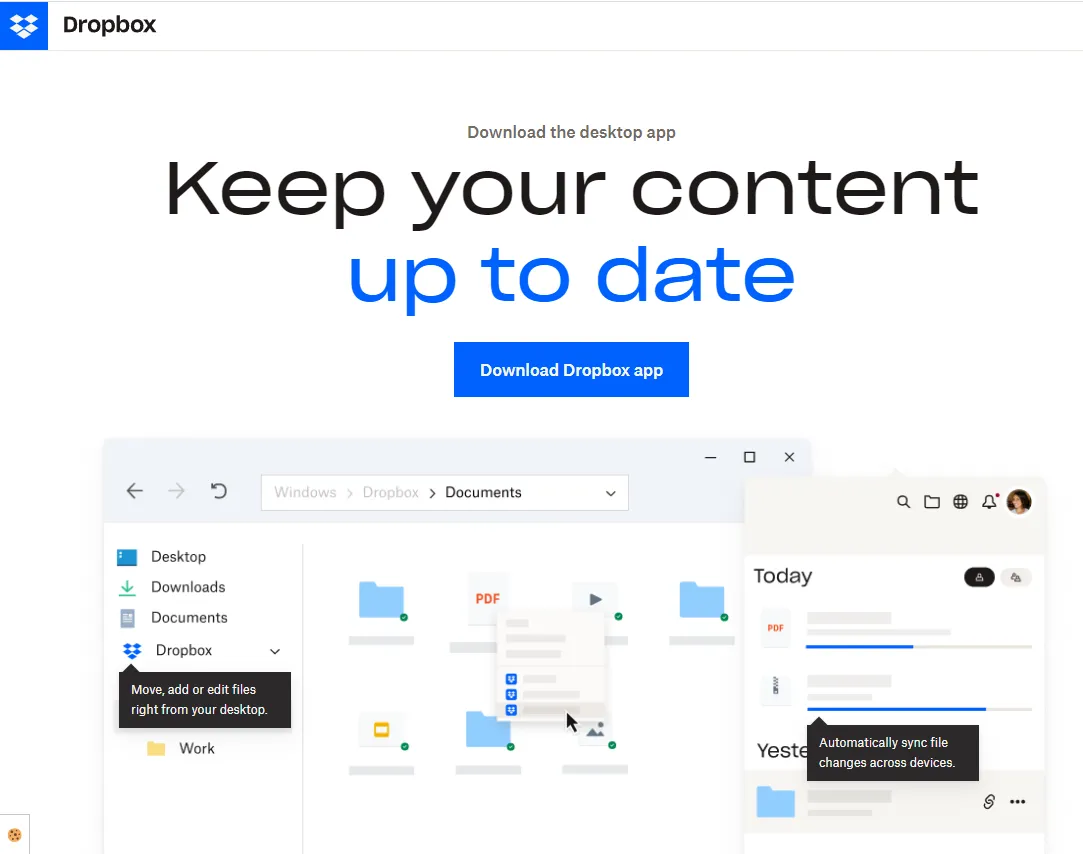
If you don't already have Dropbox installed, download it for free from the official Dropbox website. Follow the on-screen instructions to set up an account and install the Dropbox folder on your Mac.

Once installed, you'll see a blue Dropbox icon in your Mac's menu bar which indicates active syncing. The Dropbox folder will also be accessible in Finder, where you can view, add, and manage files.
Step 2 - Locate Your iMovie Library Folder
By default, iMovie stores your video library and projects at this location on your Mac:
/Users/your_username/Movies/iMovie Library
To check the folder path, open iMovie and go to File > Library. The window that pops up will display the current location of your iMovie Library folder.
Note: If you have created custom iMovie Library folders in different locations, you will need to backup each library folder separately.
Step 3 - Move the iMovie Library into Dropbox
With the location confirmed, navigate to your iMovie Library folder in Finder. Select the folder and drag it into your Dropbox folder. This will move the entire library with all its content into Dropbox.
Alternatively, you can right-click the iMovie Library folder and select Move to Dropbox from the context menu.
The initial upload may take some time depending on your library size and internet connection speed. You'll see the sync status in the Dropbox menu bar icon.
Step 4 - Redirect iMovie to the New Location
With the library now in Dropbox, you need to point iMovie to this new location:
- Open iMovie and go to File > Library.
- Click on Relocate and select your iMovie Library folder within Dropbox.
- Click Open to set the new path.
From now on, iMovie will reference the library inside your Dropbox.
Step 5 - Verify Syncing
To confirm auto-syncing is correctly set up between iMovie and Dropbox:
- Add a new video project to your iMovie Library.
- Make edits to an existing iMovie project and save changes.
- Open your Dropbox account on another device like a smartphone or web browser.
- Check if the new project and edited videos appear here.
If syncing is working properly, any iMovie changes made on your Mac will automatically be reflected in Dropbox within a short time.
How To Share iMovie Videos from Dropbox
With your iMovie library now safely backed up on Dropbox, you can quickly generate shareable links to collaboratively view and work on videos:
- In Dropbox, right-click on an iMovie file and select Share.
- Choose Create Link and copy the generated link.
- Send the link to someone you want to share the video with.
- They can simply click the link to play the video without needing access to your full Dropbox account.
- To revoke access, right-click the file and select Unshare.
How To Free Up Space By Removing iMovie Files from Mac
As your iMovie library grows over time, the files may start taking up significant local storage on your Mac.
Since they're already backed up to Dropbox, you can safely delete them from the Mac to free up space:
- In Finder, navigate to /Users/your_username/Movies/iMovie Library
- Select all the files and folders inside the library and hit Delete. This will remove them from your Mac.
- Open iMovie and your files will still be accessible from Dropbox cloud storage.
- When you need to edit a video, download it temporarily to your Mac.
- After editing, delete the local copy to avoid duplicate files.
This helps optimize disk utilization so you don't need redundant local copies of videos already on Dropbox.
How To Recover Deleted iMovie Files from Dropbox
If you accidentally delete important iMovie files from your Mac and need to restore them:
- Sign in to dropbox.com and go to your account settings.
- Under Settings, select Delete files recovery.
- Here you can recover permanently deleted files for up to 30 days after deletion.
- Find your iMovie files and click Restore to retrieve them from Dropbox.
- The restored files will also sync back to your connected Mac.
This allows recovery from accidental deletions and disasters thanks to Dropbox's file version history.
Quick Tip to ensure your videos never go missing
Videos are precious memories and all of us never want to ever lose them to hard disk crashes or missing drives. PicBackMan is the easiest and simplest way to keep your videos safely backed up in one or more online accounts.
Simply Download PicBackMan (it's free!), register your account, connect to your online store and tell PicBackMan where your videos are - PicBackMan does the rest, automatically. It bulk uploads all videos and keeps looking for new ones and uploads those too. You don't have to ever touch it.
Troubleshooting Common iMovie + Dropbox Issues
Dropbox Sync Taking Too Long
Large video files can slow down initial sync times. Try the following fixes:
- Pause other syncs and reduce computer usage during the upload process.
- Enable LAN sync in Dropbox settings to transfer directly between Mac and Dropbox servers.
- Upgrade your Dropbox account to increase bandwidth allotments.
- Compress large videos before adding them to Dropbox.
Missing Files in iMovie Library
If some videos are missing from the iMovie library in Dropbox:
- Check if the files were accidentally deleted and try restoring from Dropbox.
- Confirm if the files were moved from their original location on your Mac.
- Rebuild the iMovie library database using File > Library > Rebuild.
Can't Access iMovie Library on Another Mac
To open an iMovie library from one Mac on a different Mac, you'll need to redirect the second Mac to the shared Dropbox location using the steps outlined earlier.
Large Edits Not Appearing in Dropbox
For very large edits, temporarily pause Dropbox, make the edits locally, then manually upload the updated file to Dropbox. This avoids re-uploading the entire video.
Frequently Asked Questions
How do I backup an iMovie library with multiple projects?
All your iMovie projects and source media are contained within the single iMovie Library folder on your Mac. To backup everything, simply move this entire folder into your Dropbox.
Can I store my iMovie library on an external drive with Dropbox?
Yes, you can designate an external drive like a USB stick or hard disk as the location for your Dropbox folder. Then move the iMovie Library into Dropbox on the external drive.
Is Dropbox safe for my personal videos?
Dropbox employs robust encryption and security measures like secure data centers to keep your videos safe from unauthorized access. However, avoid uploading sensitive footage to any public cloud service.
What video formats can I upload to Dropbox?
Dropbox supports common formats like MOV, MP4, AVI, FLV, F4V, MKV and more. Uncommon codecs may need local transcoding before syncing to Dropbox.
How much cloud storage do I need?
iMovie files consume sizable storage due to large video formats. Aim for at least 200-500GB for your library, or 1TB+ for extensive video collections.
What happens if I run out of space on Dropbox?
You will not be able to sync new iMovie files if your Dropbox quota is full. Upgrade your account plan or transfer unused videos to an external drive to free up space.
Can I collaborate with others on iMovie projects?
Yes, by sharing iMovie project files stored on Dropbox, multiple contributors can work on the same project by merging changes.
Is my video quality reduced on Dropbox?
Dropbox will not degrade or re-encode your videos. The original quality is maintained as long as you have enough bandwidth to fully upload and download.
Conclusion
Backing up your iMovie library to Dropbox gives you invaluable protection against lost footage while unlocking new possibilities for access, sharing and collaboration. Follow the steps outlined in this guide for a quick and seamless setup. Linking iMovie with Dropbox may just be the best favor you can do for your priceless home videos.
Backup & Transfer your Photos in Minutes
Automate backup & migration of your photos & videos with support for all top services.
Trusted by users in 125+ countries.


