Menu
Start Free $129 Lifetime
Why is it the #1 bulk uploader?
- Insanely fast!
- Maintains folder structure.
- 100% automated upload.
- Supports RAW files.
- Privacy default.
How can you get started?
Download PicBackMan and start free, then upgrade to annual or lifetime plan as per your needs. Join 100,000+ users who trust PicBackMan for keeping their precious memories safe in multiple online accounts.
Trusted by users in 125+ countries.
“Your pictures are scattered. PicBackMan helps you bring order to your digital memories.”
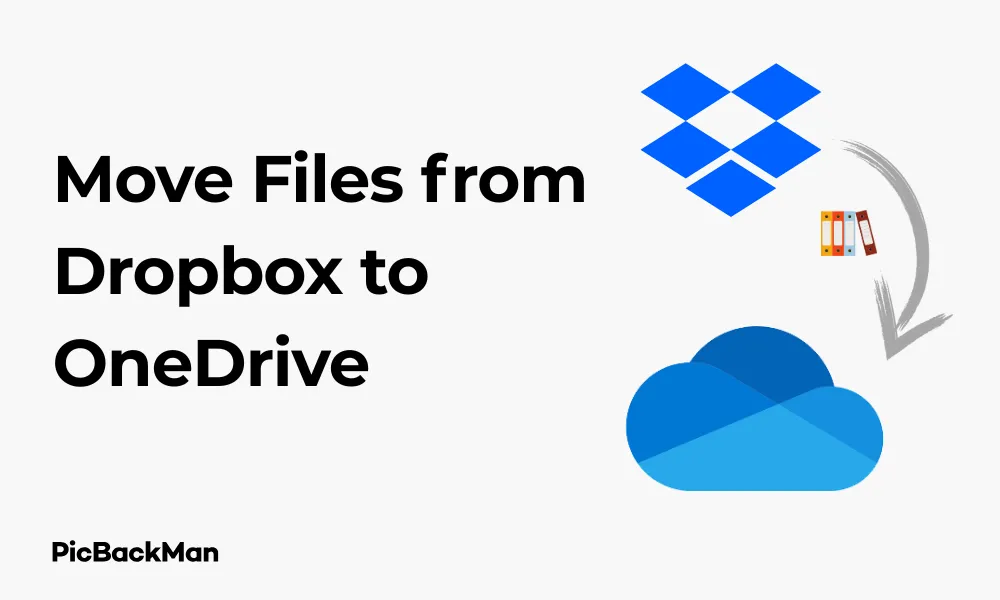
Move Files from Dropbox to OneDrive in 3 Proven Ways

Need to transfer your files from Dropbox to OneDrive? You're not alone. Many people switch between cloud storage services for better pricing, more storage space, or to consolidate their digital life. Whatever your reason, I'll show you three reliable methods to move your files from Dropbox to OneDrive without headaches.
In this guide, I'll walk you through each method step-by-step, highlighting the pros and cons so you can choose the best approach for your situation. Let's get your files moved quickly and safely!
Method 1: Manual Download and Upload
The most straightforward way to move files from Dropbox to OneDrive is the manual method. This works well for smaller transfers and doesn't require any third-party tools.
Step-by-Step Process
- Log into your Dropbox account through a web browser
- Select the files or folders you want to transfer
- Download them to your computer
- Log into your OneDrive account through a web browser
- Upload the downloaded files to OneDrive
Detailed Instructions
Step 1: Download files from Dropbox
- Go to dropbox.com and sign in to your account
- Navigate to the files or folders you want to transfer
- Select items by checking the boxes next to their names
- Click the "Download" button in the top menu
- Dropbox will prepare your files and download them as a ZIP file (if multiple items are selected)
- Save the ZIP file to a location on your computer
- If needed, extract the ZIP file to access your files
Step 2: Upload files to OneDrive
- Go to onedrive.live.com and sign in with your Microsoft account
- Navigate to the folder where you want to upload your files
- Click the "Upload" button in the top menu
- Select "Files" or "Folder" depending on what you're uploading
- Browse to the location where you saved your Dropbox files
- Select the files or folders and click "Open"
- Wait for the upload to complete
Pros and Cons of Manual Transfer
| Pros | Cons |
|---|---|
| No additional software needed | Time-consuming for large transfers |
| Complete control over which files to transfer | Requires sufficient local storage space |
| Good for small transfers | Internet connection issues can interrupt the process |
| No third-party access to your data | You must manage the process actively |
Method 2: Using Desktop Applications
Using the desktop applications for both Dropbox and OneDrive can make the transfer process more efficient, especially for larger files or multiple folders.
Step-by-Step Process
- Install both Dropbox and OneDrive desktop applications
- Sync your Dropbox files to your computer
- Copy or move files from your Dropbox folder to your OneDrive folder
- Wait for OneDrive to sync the files to the cloud
Detailed Instructions
Step 1: Set Up Desktop Applications
- If you don't already have them, download and install both Dropbox and OneDrive desktop applications
- Sign in to both applications with your respective accounts
- Allow both applications to complete their initial sync
Step 2: Transfer Files Between Local Folders
- Open File Explorer (Windows) or Finder (Mac)
- Navigate to your Dropbox folder (usually located at C:Users[Username]Dropbox on Windows or ~/Dropbox on Mac)
- Select the files or folders you want to transfer
- Right-click and select "Copy" (or Ctrl+C on Windows, Command+C on Mac)
- Navigate to your OneDrive folder (usually at C:Users[Username]OneDrive on Windows or ~/OneDrive on Mac)
- Right-click in the folder and select "Paste" (or Ctrl+V on Windows, Command+V on Mac)
Step 3: Monitor the Sync Process
- Look for the OneDrive icon in your system tray (Windows) or menu bar (Mac)
- Click on the icon to see the sync status
- Wait for all files to finish uploading to OneDrive
- Verify that all files appear in your OneDrive web interface
Pros and Cons of Desktop Application Transfer
| Pros | Cons |
|---|---|
| Faster than manual web transfer | Requires sufficient local storage space |
| Can handle larger files and folders | Both services consume bandwidth during sync |
| Transfer happens in the background | May take time to initially sync all Dropbox files |
| Preserves folder structure | Computer must remain on during the entire process |
Method 3: Using Third-Party Transfer Services
For large transfers or when you don't want to use your computer as an intermediary, third-party transfer services can directly move files between cloud storage providers.
Step-by-Step Process Using PicBackMan
PicBackMan is a powerful photo and video uploader that also supports migration between cloud accounts like Dropbox and OneDrive.
- Download and install PicBackMan
- Connect your Dropbox account
- Connect your OneDrive account
- Set up and execute the migration
Detailed Instructions
Step 1: Set Up PicBackMan
- Go to PicBackMan.com and download the app for Windows or Mac
- Install the app, create a PicBackMan account, and log in
- Navigate to the Accounts tab in the app
- Click “Add” and connect your Dropbox account
- Authorize PicBackMan to access your Dropbox
- Repeat the process to connect your OneDrive account
Step 2: Migrate Files Using PicBackMan
- In PicBackMan, go to the Migrate tab
- Select Dropbox as your source account and choose the folders you want to transfer
- Select OneDrive as your destination account
- Customize migration options:
- Include or exclude specific folders
- Handle duplicates (skip, replace, or keep both)
- Preserve folder structure during transfer
- Click Migrate to begin the transfer
- Wait while PicBackMan automatically moves your photos and videos—no need to keep the app in focus
Alternative Third-Party Services
If PicBackMan doesn't meet your needs, here are some alternatives:
- cloudHQ : Offers real-time sync between cloud services
- Movebot : Specializes in large-scale migrations
- AirExplorer : Desktop application that manages multiple cloud services
- Rclone : Command-line tool for advanced users
Pros and Cons of Third-Party Transfer Services
| Pros | Cons |
|---|---|
| Transfers happen in the cloud (no local download needed) | Requires giving access to a third party |
| Can run in the background without your computer | Free plans often have transfer limits |
| Handles large transfers efficiently | May take longer for security reasons |
| Often includes scheduling and automation features | Learning curve for some services |
Comparison of All Three Methods
Choosing the right method depends on your specific needs. Here's a quick comparison to help you decide:
| Factor | Manual Download/Upload | Desktop Applications | Third-Party Services |
|---|---|---|---|
| Best for file size | Small to medium | Medium to large | Any size, including very large |
| Speed | Slow | Medium | Fast (server-to-server) |
| Computer requirements | Must stay active during the process | Must stay on during process | Can be turned off after setup |
| Local storage needed | Yes | Yes | No |
| Privacy concerns | Low (only you handle files) | Low | Medium (third party has access) |
| Cost | Free | Free | Free tiers available; premium features cost money |
Tips for a Successful Transfer
No matter which method you choose, these tips will help make your transfer smoother:
Before You Begin
- Clean up your Dropbox : Delete unnecessary files to save transfer time
- Check available space : Make sure your OneDrive has enough storage for all incoming files
- Organize files : Consider organizing your files before transferring for a fresh start in OneDrive
- Check file size limits : OneDrive has a 250GB file size limit (as of 2023)
During the Transfer
- Start with small batches : Test your chosen method with a small folder first
- Use a stable internet connection : Wired connections are more reliable than Wi-Fi for large transfers
- Keep track of progress : Monitor the transfer to catch any issues early
- Don't modify files : Avoid editing files in either location during transfer
After the Transfer
- Verify all files transferred : Check that everything moved correctly
- Test random files : Open a few files to ensure they work properly
- Don't delete originals immediately : Keep your Dropbox files until you're sure everything transferred successfully
Handling Special File Types
Some file types require special consideration when transferring:
Large Video Files
For videos over 10GB:
- The desktop application method works best
- Third-party services may throttle large file transfers on free plans
- Consider compressing videos before transferring
Shared Files and Folders
When transferring files that are shared with others:
- Sharing permissions won't transfer between platforms
- You'll need to re-share files from OneDrive after transfer
- Inform collaborators about the change
Office Documents with Version History
For documents with important version history:
- Version history doesn't transfer between cloud services
- Consider exporting important version histories before transfer
- OneDrive integrates better with Microsoft Office for future version tracking
Troubleshooting Common Issues
Here are solutions to common problems you might encounter:
Transfer Stops or Fails
- Check your internet connection : Unstable connections can interrupt transfers
- Restart the transfer : Sometimes simply trying again resolves temporary issues
- Break into smaller batches : Transfer fewer files at once
- Check for file name issues : OneDrive doesn't allow certain characters in file names (like ? * / < > : " | )
Files Missing After Transfer
- Check hidden folders : Some system folders might be hidden by default
- Look for file path length issues : OneDrive has a path length limit of 400 characters
- Verify folder permissions : Make sure you have access to all destination folders
Slow Transfer Speeds
- Check your internet bandwidth : Both upload and download speeds matter
- Close bandwidth-heavy applications : Video streaming or other downloads can slow transfers
- Try during off-peak hours : Network congestion can affect speed
- Consider a wired connection : Ethernet is typically faster than Wi-Fi
Quick Tip to ensure your videos never go missing
Videos are precious memories and all of us never want to lose them to hard disk crashes or missing drives. PicBackMan is the easiest and simplest way to keep your videos safely backed up in one or more online accounts.

Simply download PicBackMan (it's free!) , register your account, connect to your online store and tell PicBackMan where your videos are - PicBackMan does the rest, automatically. It bulk uploads all videos and keeps looking for new ones and uploads those too. You don't have to ever touch it.
After the Transfer: Making the Most of OneDrive
Once you've successfully moved your files to OneDrive, here are some tips to get the most out of your new cloud storage:
Key OneDrive Features to Explore
- Microsoft Office Integration : OneDrive works seamlessly with Office apps for real-time collaboration
- Personal Vault : Extra security for sensitive files with two-factor authentication
- Files On-Demand : Access cloud files without downloading them to save space
- Photo AI features : Automatic album creation and search capabilities
- Recycle Bin : Recover deleted files for up to 30 days (or 93 days for business accounts)
Setting Up OneDrive Properly
- Configure backup settings for important folders
- Set up offline access to files you need without internet
- Adjust sync settings to control what syncs to your devices
- Set up folder sharing permissions for collaboration
Conclusion
Moving files from Dropbox to OneDrive doesn't have to be complicated. Whether you choose the manual method for small transfers, desktop applications for medium-sized, or third-party moves for large migrations, following the steps in this guide will help you complete the transfer successfully.
Remember to verify your files after transferring and don't delete the originals until you're confident everything moved correctly. With your files now in OneDrive, you can take advantage of its integration with Microsoft's ecosystem and unique features.
The right method depends on your specific needs - the amount of data, your available time, and your comfort level with different tools. By following this guide, you'll have your files moved safely and efficiently, ready to use in your new cloud storage home.
Frequently Asked Questions
1. Will I lose file sharing permissions when moving from Dropbox to OneDrive?
Yes, sharing permissions don't transfer between cloud storage platforms. After moving your files to OneDrive, you'll need to re-share them with your collaborators. The good news is that OneDrive makes this easy with link sharing and permission settings similar to Dropbox.
2. How long does it take to transfer files from Dropbox to OneDrive?
The transfer time depends on several factors: the amount of data, your internet connection speed, and the method you choose. Small transfers (under 1GB) might take minutes, while large transfers (100GB+) could take hours or even days. Third-party services often provide the fastest transfers since they happen directly between servers.
3. Is it safe to use third-party transfer services with my cloud accounts?
Reputable third-party services like MultCloud and cloudHQ use secure authorization protocols and don't store your actual passwords. However, you are granting them access to your files. Check their privacy policies and security measures before using them. If you're transferring highly sensitive information, the manual method gives you more control over your data.
4. Can I keep using Dropbox while files are transferring to OneDrive?
It's best not to modify files that are in the process of being transferred. For files not being transferred, you can continue using Dropbox normally. If you're using the desktop app method, avoid making changes to files in the folders being transferred until the process completes.
5. What happens if I exceed my OneDrive storage limit during transfer?
If you try to transfer more files than your OneDrive storage capacity allows, the transfer will stop once you reach your limit. Files already transferred will remain in OneDrive, but remaining files won't transfer. Before starting a large transfer, check your OneDrive storage limit and either upgrade your plan if needed or be selective about which files you transfer.


