Menu
Start Free $129 Lifetime
Why is it the #1 bulk uploader?
- Insanely fast!
- Maintains folder structure.
- 100% automated upload.
- Supports RAW files.
- Privacy default.
How can you get started?
Download PicBackMan and start free, then upgrade to annual or lifetime plan as per your needs. Join 100,000+ users who trust PicBackMan for keeping their precious memories safe in multiple online accounts.
Trusted by users in 125+ countries.
“Your pictures are scattered. PicBackMan helps you bring order to your digital memories.”
How to upload photos from iPhoto to Google Drive?

In this digital era, capturing and preserving precious moments through photos has become an integral part of our lives. With the rise of smartphones and high-resolution cameras, we accumulate countless pictures, each holding memories we cherish. To ensure these memories are safe and accessible from anywhere, many users choose cloud storage solutions like Google Drive. This article will guide you through the process of uploading photos from iPhoto to Google Drive, combining convenience with data security.
Understanding iPhoto and Google Drive
iPhoto, a popular photo management software developed by Apple, allows users to import, edit, and organize their photos on macOS and iOS devices. On the other hand, Google Drive is a cloud storage platform provided by Google, offering free storage for personal use and seamless integration with Google's suite of services.
Why Upload Photos from iPhoto to Google Drive?
While iPhoto provides a great platform for managing photos on Apple devices, storing photos solely on your local devices can be risky. Data loss can occur due to hardware failure, accidental deletion, or other unforeseen circumstances. By uploading your photos to Google Drive, you ensure an additional layer of protection, keeping your memories safe even if something happens to your primary device.
Step-by-Step Guide: Uploading Photos from iPhoto to Google Drive
Preparing Your Photos in iPhoto
Before uploading your photos to Google Drive, it's essential to organize and prepare them in iPhoto.
Organize Your Photos
- Open iPhoto on your macOS or iOS device.
- Create albums or folders to categorize your photos by events, dates, or any other desired criteria.
- Arrange your photos within these albums to keep them organized and easy to find.
Edit and Enhance Your Photos
- Use iPhoto's editing tools to enhance the quality of your photos, adjusting brightness, contrast, and color settings.
- Crop or rotate photos if needed to improve composition.
- Apply filters or special effects to give your photos a unique touch.
Uploading Photos to Google Drive
Once you've organized and edited your photos in iPhoto, you're ready to upload them to Google Drive.
Sign in to Google Drive
-
If you don't have a Google account, sign up for one at https://accounts.google.com/signup.
-
Open your preferred web browser and navigate to https://drive.google.com.
- Sign in using your Google account credentials.
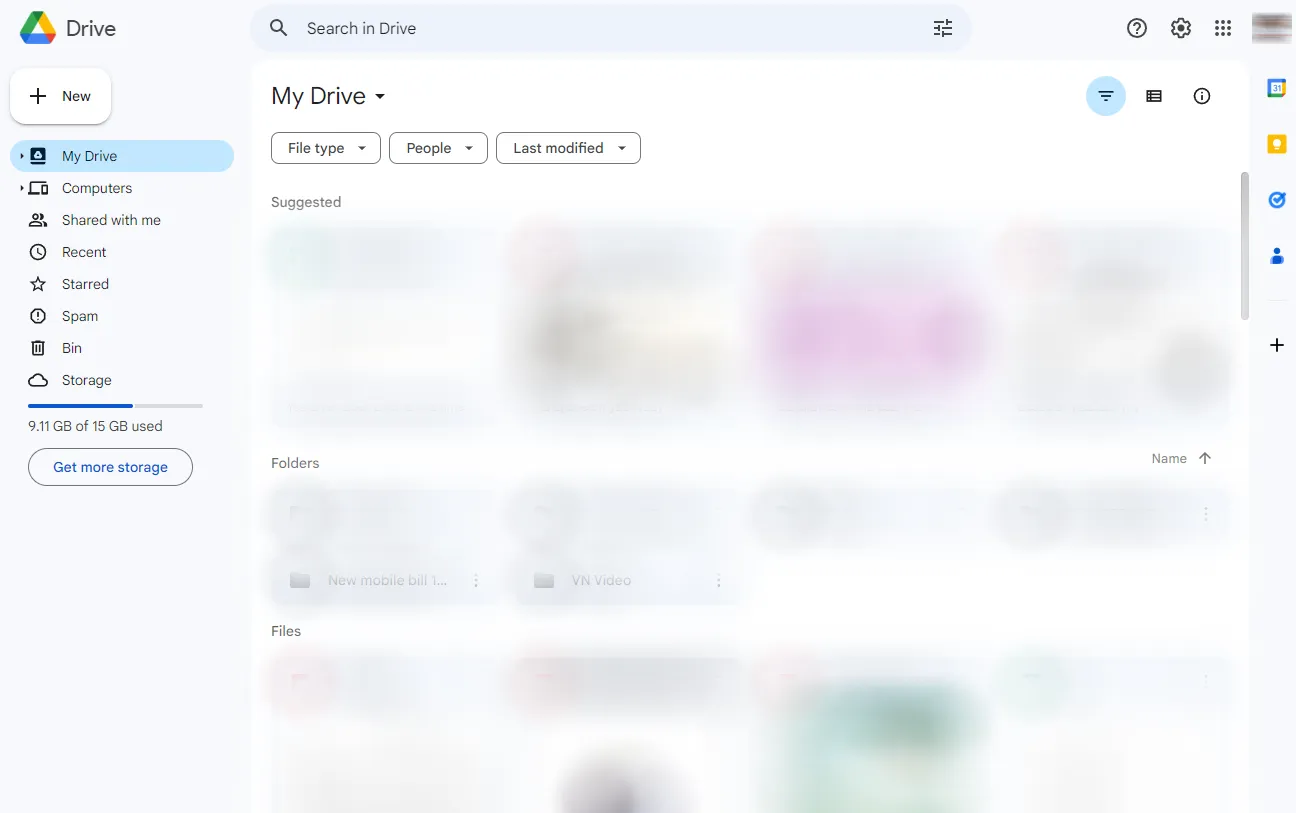
Create a New Folder
- In Google Drive, click on the "+ New" button on the left-hand side of the screen.
- Select "Folder" from the drop-down menu.
- Enter a name for your folder, such as "iPhoto Uploads."
- Click "Create" to create the folder.
Upload Photos to Google Drive
- Open the folder you just created or the desired location where you want to store your photos.
- Click on the "+ New" button again and select "File upload" from the drop-down menu.
- Locate the photos you want to upload from iPhoto and select them.
- Click "Open" or "Choose" to begin the upload process.
- Google Drive will start uploading your photos. The time required will depend on the number and size of the files.
The Benefits of Storing Photos in Google Drive
Storing your photos in Google Drive offers several advantages:
- Accessibility: You can access your photos from any device with an internet connection, including smartphones, tablets, and computers.
- Cross-Platform Compatibility: Google Drive is compatible with both iOS and Android devices, allowing seamless access across different platforms.
- Automatic Backup: By storing your photos in the cloud, you ensure they are automatically backed up, reducing the risk of permanent loss.
- Storage Space: Google Drive provides free storage space, and additional storage options are available for larger photo collections.
- Easy Sharing: You can easily share your photos with friends and family by providing them with the appropriate access permissions.
How to Access Your Uploaded Photos Anywhere
Once your photos are uploaded to Google Drive, you can access them from any device connected to the internet. Follow these steps:
- On your preferred device, open a web browser.
- Go to https://drive.google.com.
- Sign in to your Google account if you're not already signed in.
- Navigate to the folder where you uploaded your photos.
- Click on the photos to view or download them.
Ensuring Data Safety and Security
When uploading your photos to Google Drive, it's crucial to consider data safety and security. Follow these best practices:
- Enable Two-Factor Authentication: Add an extra layer of security to your Google account by enabling two-factor authentication. This ensures that even if someone gains access to your password, they won't be able to log in without the second verification step.
- Use Strong Passwords: Choose a strong, unique password for your Google account and avoid using the same password for multiple online services.
- Regularly Update Security Settings: Keep an eye on your Google account's security settings and make any necessary updates or changes to enhance the protection of your data.
- Be Mindful of Sharing Permissions: When sharing your photos or folders with others, review and set appropriate sharing permissions to control who can view, edit, or download your photos.
Quick Tip to ensure your Photos never go missing
Photos are precious memories and all of us never want to ever lose them to hard disk crashes or missing drives. PicBackMan is the easiest and simplest way to keep your photos safely backed up in one or more online accounts.
Simply download PicBackMan (it's free!), register your account, connect to your online store and tell PicBackMan where your photos are - PicBackMan does the rest, automatically. It bulk uploads all photos and keeps looking for new ones and uploads those too. You don't have to ever touch it.
You can install PicBackMan's Google Drive uploader for Mac from the website and start backing up photos and videos.
Conclusion
Uploading your photos from iPhoto to Google Drive offers a practical solution for keeping your precious memories safe and accessible from anywhere. By following the step-by-step guide provided in this article, you can easily transfer your photos to the cloud, ensuring their protection and availability. Embrace the convenience of cloud storage and enjoy the peace of mind that comes with knowing your memories are safeguarded.
FAQs
Q: How do I upload my entire photo library to Google Drive?
A: To upload your entire photo library to Google Drive, you can follow these steps:
- Open Google Drive on your computer or smartphone.
- Create a new folder in Google Drive to store your photos.
- Open your photo library on your device.
- Select all the photos you want to upload.
- Drag and drop the selected photos into the folder you created in Google Drive.
- Wait for the upload to complete, and your entire photo library will be stored in Google Drive.
Q: How do I move photos from Mac to Google Drive?
A: To move photos from your Mac to Google Drive, you can use the Google Drive desktop app or follow these steps:
- Open Google Drive in your web browser.
- Create a new folder in Google Drive to store your photos.
- Open the folder on your Mac that contains the photos you want to move.
- Select the photos you want to move to Google Drive.
- Drag and drop the selected photos into the folder you created in Google Drive.
- The photos will start uploading to Google Drive, and once the process is complete, they will be available in your Google Drive account.
Q: How do I manually upload photos from iPhone to Google Photos?
A: To manually upload photos from your iPhone to Google Photos, follow these steps:
- Download and install the Google Photos app from the App Store.
- Open the Google Photos app and sign in to your Google account.
- Tap on the "+" icon or the "Upload" button.
- Select the photos you want to upload from your iPhone.
- Tap on the "Upload" button or the checkmark symbol to start the upload process.
- The selected photos will be uploaded to your Google Photos account.
Q: Why can't I upload photos to Google Drive from iPhone?
A: If you're experiencing difficulties uploading photos from your iPhone to Google Drive, there could be a few reasons:
- Check your internet connection: Ensure that you have a stable internet connection to upload photos.
- Update Google Drive: Make sure you have the latest version of the Google Drive app installed on your iPhone.
- Check storage space: Ensure that you have enough storage space available in your Google Drive account.
- Check file size: If the photos you're trying to upload are too large, they might exceed the upload limit for Google Drive.
- Restart your device: Sometimes, restarting your iPhone can resolve temporary issues with uploading photos.
Q: Why is Google Drive not letting me upload photos?
A: If you're facing issues with Google Drive not allowing you to upload photos, consider the following troubleshooting steps:
- Check your internet connection: Make sure you have a stable and active internet connection.
- Clear cache and cookies: Clearing the cache and cookies of your web browser or the Google Drive app can resolve any temporary issues.
- Update Google Drive: Ensure that you have the latest version of the Google Drive app installed on your device.
- Check storage space: Verify that you have sufficient storage space available in your Google Drive account.
- Try a different browser or device: If the issue persists, try uploading photos from a different web browser or device to identify if the problem is specific to your current setup.
Q: How do I select all photos on my iPhone to upload to Google Drive?
A: To select all photos on your iPhone for uploading to Google Drive, follow these steps:
- Open the Photos app on your iPhone.
- Tap on the "Select" button in the top-right corner.
- While holding down the "Select" button, swipe your finger across the screen from the first photo to the last to select all photos.
- Alternatively, if you want to select all photos in a specific album, open the album and tap on the "Select" button in the top-right corner.
- Once all the photos are selected, tap on the "Share" button.
- From the sharing options, choose the Google Drive app, and your selected photos will be uploaded to Google Drive.


