Menu
Start Free $129 Lifetime
Why is it the #1 bulk uploader?
- Insanely fast!
- Maintains folder structure.
- 100% automated upload.
- Supports RAW files.
- Privacy default.
How can you get started?
Download PicBackMan and start free, then upgrade to annual or lifetime plan as per your needs. Join 100,000+ users who trust PicBackMan for keeping their precious memories safe in multiple online accounts.
Trusted by users in 125+ countries.
“Your pictures are scattered. PicBackMan helps you bring order to your digital memories.”
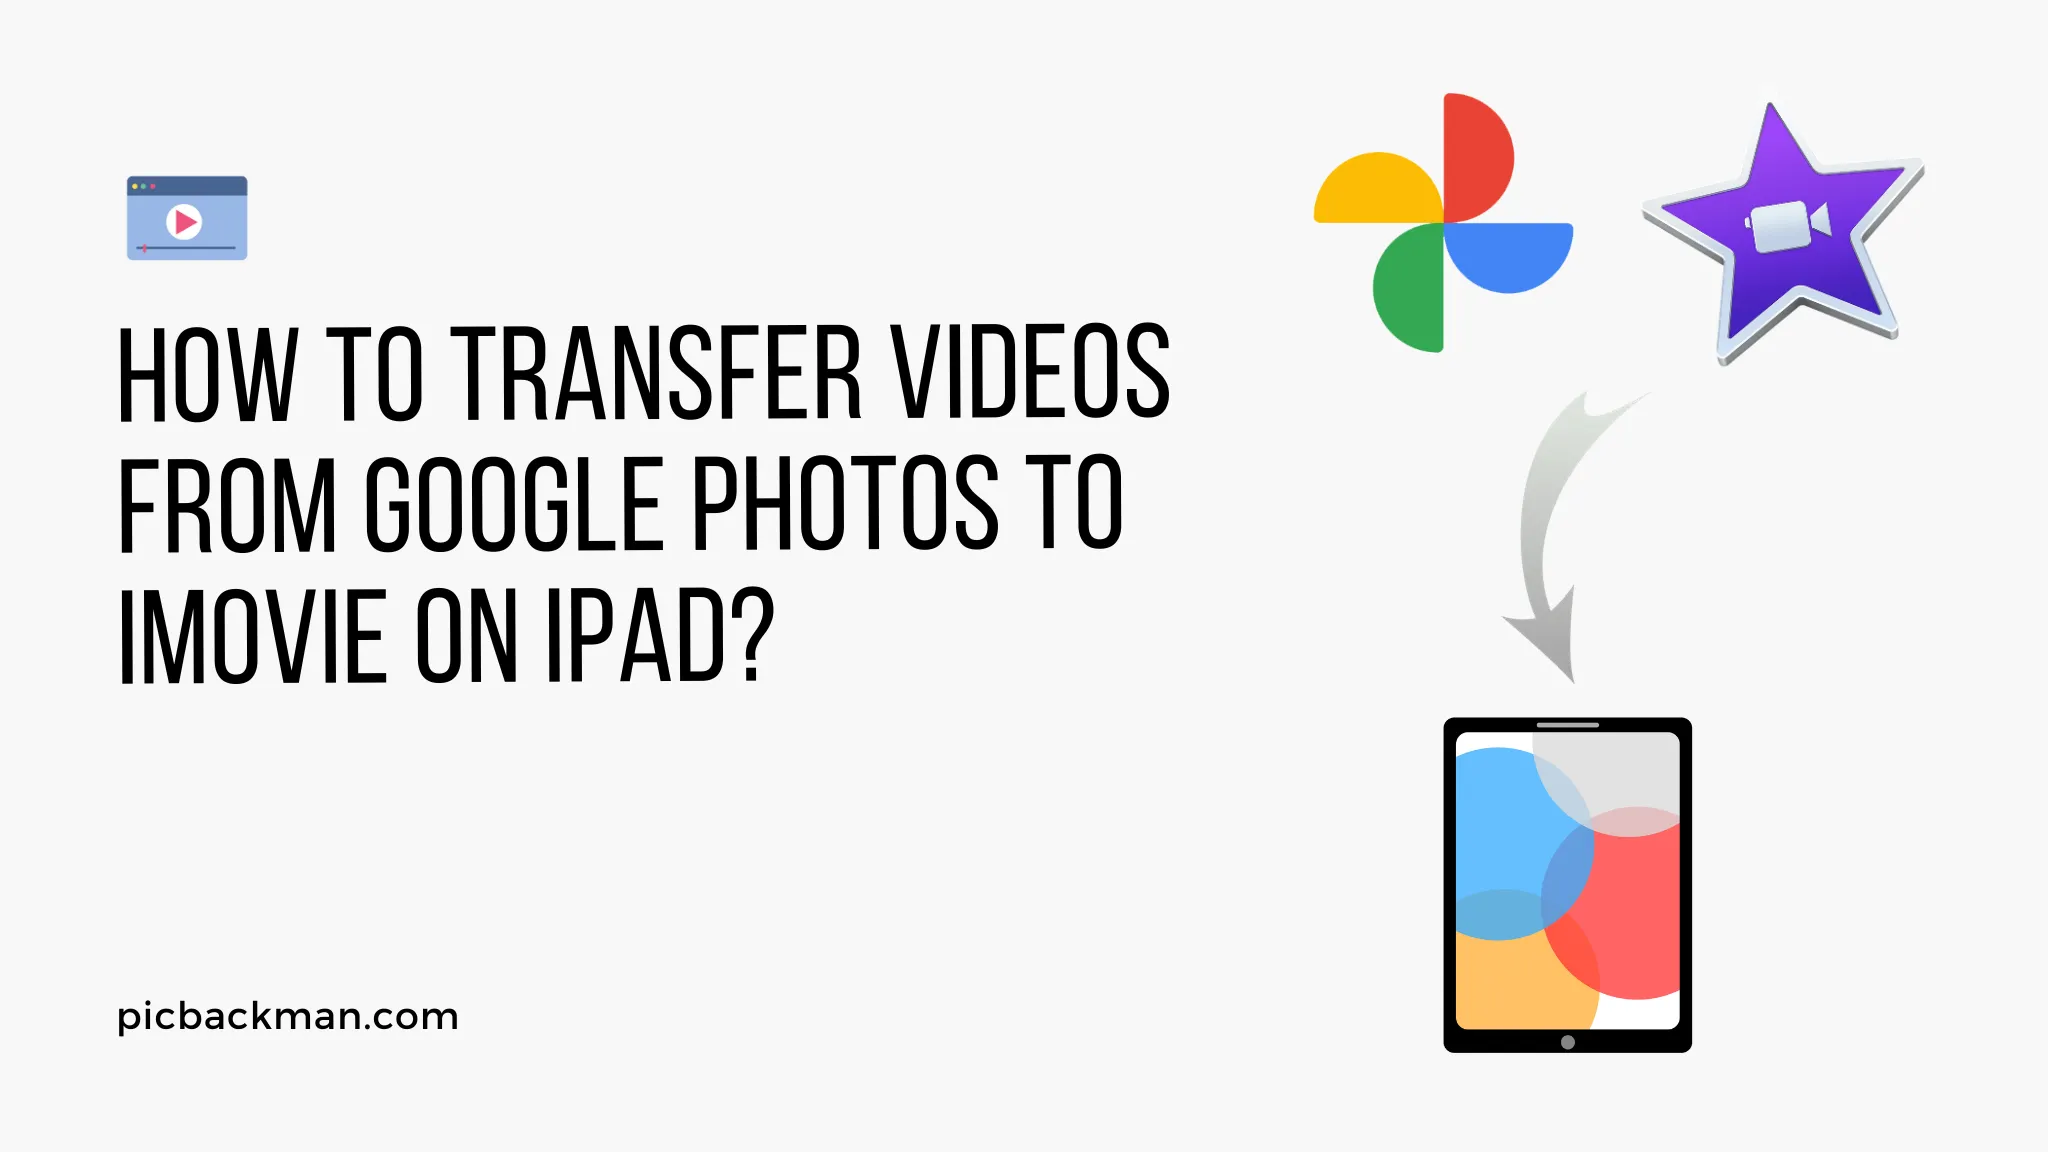
How to Transfer Videos from Google Photos to iMovie on iPad?

Transferring videos from Google Photos to iMovie on your iPad is easy with just a few steps. Google Photos is a great platform for storing all your photos and videos in the cloud. However, if you want to edit your videos, iMovie on iPad provides a powerful and intuitive video editing suite right on your tablet. In this comprehensive guide, we will walk you through the complete process of downloading videos from Google Photos and importing them into iMovie for editing on your iPad.
Prerequisites for Transferring Google Photos Videos to iMovie
Before we get into the step-by-step instructions, let's look at what you need to get started:
- An iPad with iMovie installed - iMovie comes pre-installed on most recent iPad models or can be downloaded from the App Store.
- The latest version of the Google Photos app installed on your iPad.
- A Google account with photos/videos uploaded to Google Photos.
- Internet connectivity on your iPad - Wi-Fi or cellular data will work.
- Apple ID signed into iMovie and Google Photos app.
- Enough available storage space on your iPad for transferred videos.
As long as you have the above covered, you are all set to transfer videos from Google Photos and edit them using iMovie on your iPad.
Step 1 - Download the Videos from Google Photos to iPad
The first step is to open the Google Photos app on your iPad and download the videos you want to transfer. Here is how to do it:
- Launch the Google Photos app on your iPad.
- Navigate and find the video(s) you want to download.
- Tap on a video thumbnail to open it.
- Tap on the three-dot menu icon in the top-right corner.
- Choose "Download" from the menu options.
- The video will start downloading to the "Downloads" folder on your iPad.
- Similarly, download all the videos you want to transfer to iMovie.
The downloaded videos get saved locally on your iPad storage. Once the downloads are complete, we can now import them into the iMovie app for editing.
Why Download from Google Photos and Not Stream?
You may be wondering - why go through the extra step of downloading videos instead of directly importing them from Google Photos into iMovie?
Here are some good reasons for downloading first:
- Streaming videos directly through the integration takes up cellular data. Downloading them over Wi-Fi preserves your data allowance.
- Streaming integration is not reliable and may disconnect or fail while importing a large number of videos.
- Downloaded videos get stored on your device so you don't need an active internet connection for importing or editing them later in iMovie.
So it's better to take the extra minute to download your videos from Google Photos to your iPad first before importing them to iMovie.
Step 2 - Import Videos into iMovie on iPad
Once your videos from Google Photos are downloaded locally on the iPad, open the iMovie app to import them:
- Launch iMovie on your iPad.
- Tap the "+" button at the top-right corner.
- Select "Movie" to import the videos into a new project.
- Tap "Import Media" on the import screen.
- Select the "Downloads" folder.
- Tap to select the videos you want to import.
- Tap "Import" at the top-right to add the selected videos to your iMovie project.
The downloaded videos will now show up in your iMovie project timeline, ready for editing!
Optimize iMovie Settings For Best Performance
Before you start editing, it's a good idea to update the iMovie settings on your iPad for optimal performance:
- Navigate to the Settings app > iMovie and turn on "Optimize Video Encoding". This will ensure high-quality exports.
- In iMovie settings, also increase the "Projects" storage space if needed depending on the size and number of videos you plan to edit.
Optimizing these settings will allow you to edit and export your Google Photos videos smoothly using iMovie on the iPad.
Step 3 - Edit Your Videos in iMovie
Now that your videos are imported into iMovie, it's time for the fun part - editing! iMovie on iPad has a powerful and intuitive editing suite allowing you to:
- Trim video clips precisely by dragging the edges
- Split and rearrange video segments
- Add transitions between clips with a tap
- Import and edit photos along with videos
- Add text captions, titles andanimated credits
- Record voiceovers and add music from the sound library
- Apply video filters like black & white, vintage, etc.
- Adjust color balance, saturation, exposure
- Zoom and pan on clips using the Ken Burns effect
- Add slow motion, fast forward or picture-in-picture effects
- And much more!
The drag-and-drop timeline in iMovie makes video editing a breeze on iPad. Use your creativity to produce engaging movies using all the tools at your fingertips.
Handy iMovie Editing Tips
- Use the precision editor for frame-by-frame trimming of video clips
- Double tap on a clip to view and adjust video and audio settings
- Touch-hold a clip and drag upwards to quickly duplicate it on the timeline
- Use two fingers on a clip to adjust the Ken Burns start/end points
- Tap the Action button to access the clipping, effects and audio tools
- Undo mistakes with the "Revert Video" option in the top-left corner
Following these pro tips will help you become an expert at editing your videos efficiently within iMovie on an iPad.
Step 4 - Export Your Edited iMovie Project
When your movie project editing is complete in iMovie, it's time to export it as a shareable video file. Here are the steps to export a finished iMovie project on iPad:
- Tap the Export button in the top-right corner of the iMovie app.
- Choose a Resolution for the export - higher resolution like 720p or 1080p results in better quality.
- Select a Frame Rate, typically 24 or 30 fps. Match this with your original video frame rate.
- Choose the File Format - MP4 is ideal for sharing online and compatibility.
- Tap on Share to export the video. Pick a sharing option like Save Video, AirDrop, Email, etc.
The exported MP4 video from iMovie will now be available in your Photos app or the share destination you selected. You may want to share it directly online or transfer it to your computer for further use.
Handy Video Export Tips
- Match the export resolution to your original video quality for no loss in quality
- Higher resolution and frame rates result in larger file sizes - balance quality with file size
- MP4 format is universally compatible across apps and platforms compared to MOV
- Use AirDrop for quick sharing to Macs and iOS devices nearby
- Share videos under 16MB directly via email
By following the export tips above, you can get optimized iMovie video files ready to share online or with family & friends.
Quick Tip to ensure your videos never go missing
Videos are precious memories and all of us never want to ever lose them to hard disk crashes or missing drives. PicBackMan is the easiest and simplest way to keep your videos safely backed up in one or more online accounts.

Simply Download PicBackMan (it's free!), register your account, connect to your online store and tell PicBackMan where your videos are - PicBackMan does the rest, automatically. It bulk uploads all videos and keeps looking for new ones and uploads those too. You don't have to ever touch it.
Top 5 iMovie Editing Features
Beyond the basics, iMovie for iPad has some powerful advanced editing features. Here are 5 top iMovie features on iPad worth utilizing:
1. Multi-Clip Editing
Add videos and photos from the gallery to create dynamic multi-clip projects with ease.
2. Green Screen
Transform your backdrop and transport people anywhere using the intuitive green screen tool.
3. Trailers
Choose from a range of Hollywood-style trailer templates and easily customize your own movie preview.
4. Picture-in-Picture & Side-by-Side
Stack clips and photos on top of each other or in a split view for engaging effects.
5. Slo-Mo, Fast Forward & Rewind
Slow things down to highlight moments or speed up clips to keep things moving - the creative choice is yours.
Take your iMovie projects to the next level by taking advantage of these cool editing tools available right on your iPad.
Concluding Thoughts - Edit Videos Like a Pro with iMovie
The ability to take videos from Google Photos and turn them into professionally edited films using iMovie on iPad opens up a whole new creative avenue. Using the steps and tips covered in this comprehensive guide, you will be able to:
- Download multiple videos from Google Photos to your iPad offline
- Import them seamlessly into iMovie to start a new project
- Utilize iMovie's advanced features to edit like a pro
- Export your final movie masterpiece and share it with the world
So go ahead, access that lifetime of memories on Google Photos and turn them into cinematic wonders with iMovie on your iPad! Dazzle your friends and family with your editing skills and create video memories that will last forever.
FAQs - Importing Google Photos Videos into iMovie
Here are answers to some frequently asked questions about transferring Google Photos videos to iMovie on the iPad:
Do the videos need to be downloaded to iPad storage to import them into iMovie?
Yes, downloading the videos saves them locally so iMovie can access those files directly for the import process. Streaming integration is not fully reliable.
Can I edit the original videos in Google Photos using iMovie?
No, iMovie only allows editing of videos imported into its local library, not ones streamed straight from Google Photos. You need to first download them.
Will the video quality change when exporting from iMovie on an iPad?
Video quality will remain unchanged as long as you choose the matching export resolution and frame rate. The compression level may reduce quality slightly.
How do I get my finished iMovie project back into Google Photos?
You can export your final edited video from iMovie and then upload it Google Photos from your iPad camera roll to add it back.
Is there a way to work on iMovie projects across my iPhone, iPad, and Mac?
Yes! Turn on iCloud sync for iMovie in your Apple ID settings. This will allow working on the same projects across devices signed into your account.


