Menu
Start Free $129 Lifetime
Why is it the #1 bulk uploader?
- Insanely fast!
- Maintains folder structure.
- 100% automated upload.
- Supports RAW files.
- Privacy default.
How can you get started?
Download PicBackMan and start free, then upgrade to annual or lifetime plan as per your needs. Join 100,000+ users who trust PicBackMan for keeping their precious memories safe in multiple online accounts.
Trusted by users in 125+ countries.
“Your pictures are scattered. PicBackMan helps you bring order to your digital memories.”
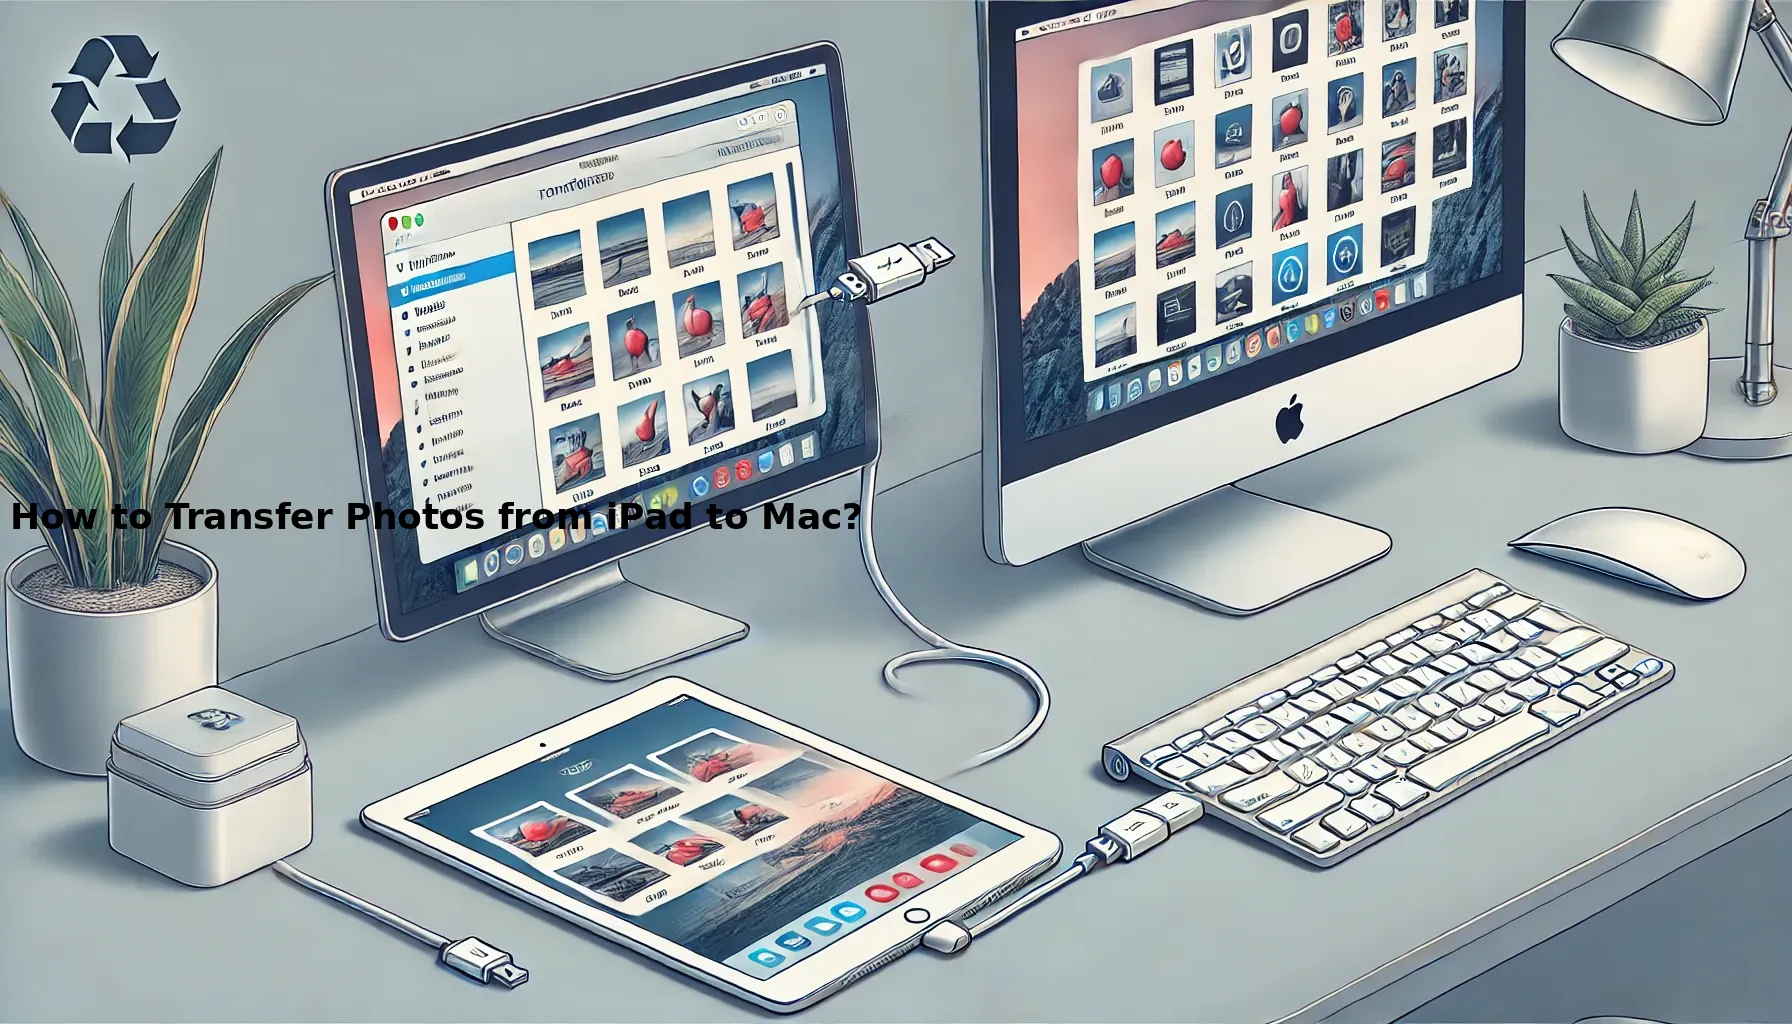
How to Transfer Photos from iPad to Mac?

In today's digital age, our devices are brimming with cherished memories captured through countless photographs. For iPad users, the need to transfer these visual treasures to a Mac computer is a common scenario. Whether you're looking to free up space on your tablet, create a backup, or simply organize your photo collection, knowing how to efficiently move your images from iPad to Mac is an essential skill. This comprehensive guide will walk you through various methods, from wireless transfers to cloud-based solutions, ensuring you can seamlessly manage your digital photo library across devices.
Transferring photos from your iPad to your Mac is a straightforward process that can be accomplished through several methods. The most common approaches include using Apple's built-in AirDrop feature, connecting your devices with a USB cable, or leveraging cloud services like iCloud. Each method has its advantages, and the best choice depends on factors such as the number of photos you need to transfer, your internet connection, and your personal preferences.
Let's explore these methods in detail, providing step-by-step instructions to ensure a smooth transfer process, regardless of your technical expertise.
Using AirDrop: The Wireless Wonder
AirDrop is Apple's proprietary wireless file transfer technology, offering a quick and cable-free way to move photos from your iPad to your Mac. This method is ideal for transferring a moderate number of photos without the need for physical connections or internet access.
To use AirDrop:
- Ensure both your iPad and Mac have Wi-Fi and Bluetooth turned on.
- On your iPad, open the Photos app and select the images you wish to transfer.
- Tap the share icon (the square with an upward arrow).
- In the share sheet, tap "AirDrop."
- Select your Mac from the list of available devices.
- On your Mac, accept the incoming AirDrop transfer.
The photos will be automatically saved to your Mac's Downloads folder, unless you've specified a different location for AirDrop files.
AirDrop is particularly useful for its simplicity and speed, making it a go-to option for many users. However, it's worth noting that for very large photo libraries, a wired connection or cloud-based solution might be more efficient.
Wired Transfer: The Reliable Classic
For those who prefer a more traditional approach or need to transfer a substantial number of photos, connecting your iPad to your Mac using a USB cable remains a reliable method. This approach ensures a stable connection and is often faster for large transfers.
Follow these steps for a wired transfer:
- Connect your iPad to your Mac using a USB cable.
- On your Mac, open the Photos app if it doesn't launch automatically.
- Your iPad should appear in the Photos app sidebar under "Devices."
- Select your iPad, and you'll see all the photos stored on the device.
- Choose the photos you want to import, or click "Import All New Items" to transfer everything.
- Once the import is complete, you can optionally delete the photos from your iPad to free up space.
This method is particularly useful when you're dealing with a large number of photos or if you're in an environment where wireless transfers might be unreliable or slow.
iCloud Photos: Seamless Syncing Across Devices
iCloud Photos offers a cloud-based solution for keeping your photo library in sync across all your Apple devices. When enabled, it automatically uploads your photos to iCloud and makes them accessible on your Mac, eliminating the need for manual transfers.
To set up iCloud Photos:
- On your iPad, go to Settings > [Your Name] > iCloud > Photos.
- Toggle on "iCloud Photos."
- On your Mac, open System Preferences > Apple ID > iCloud.
- Ensure the box next to "Photos" is checked.
Once set up, any photo taken on your iPad will automatically appear in the Photos app on your Mac, as long as both devices are connected to the internet. This method is ideal for those who want a hands-off approach to photo management across devices.
It's important to note that iCloud Photos requires sufficient iCloud storage space, which may involve purchasing additional storage depending on the size of your photo library.
Third-Party Cloud Services: Expanding Your Options
While Apple's ecosystem provides robust solutions for transferring photos, third-party cloud services offer additional flexibility and features. Popular options include Google Photos, Dropbox, and OneDrive, each with its own unique advantages.
For example, to use Google Photos:
- Download the Google Photos app on your iPad from the App Store.
- Sign in with your Google account.
- Allow the app to access your photos and enable automatic backup.
- On your Mac, visit photos.google.com and sign in to access your uploaded photos.
These services often provide free storage tiers and cross-platform compatibility, making them excellent choices for users who work across different operating systems or want additional backup options.
Image Capture: The Mac's Hidden Gem
For those seeking a native Mac solution that offers more control over the transfer process, the Image Capture app is an often-overlooked tool that comes pre-installed on every Mac.
To use Image Capture:
- Connect your iPad to your Mac via USB.
- Open Image Capture from the Applications folder.
- Select your iPad from the devices list.
- Choose where you want to save the imported photos.
- Select the photos you want to transfer or click "Import All" to transfer everything.
Image Capture provides a straightforward interface and allows for more granular control over which photos are transferred and where they are saved on your Mac.
Optimizing Your Photo Transfer Experience
Regardless of the method you choose, there are several best practices to ensure a smooth and efficient photo transfer process:
-
Organize Before You Transfer: Sort through your photos on your iPad and delete any unwanted images to save time and space during the transfer.
-
Check Your Storage: Ensure you have enough free space on your Mac to accommodate the incoming photos.
-
Maintain a Consistent Naming Convention: If you're manually organizing photos after transfer, establish a clear naming system to make future searches easier.
-
Regular Backups: Treat photo transfers as an opportunity to create backups of your precious memories. Consider using multiple storage solutions for added security.
-
Update Your Software: Keep both your iPad and Mac operating systems up to date to ensure compatibility and access to the latest features.
By following these tips, you can streamline your photo transfer process and maintain a well-organized digital photo library across your devices.
Troubleshooting Common Issues
Even with straightforward methods, you might encounter some hiccups during the transfer process. Here are solutions to common problems:
-
Device Not Recognized: If your Mac doesn't detect your iPad, try using a different USB port or cable. Ensure your iPad is unlocked and trusted by your Mac.
-
Slow Transfers: For large libraries, wired transfers are generally faster. If using wireless methods, ensure you have a strong Wi-Fi connection.
-
Insufficient Storage: If you run out of space during transfer, consider using cloud services or external storage solutions.
-
Photos Not Syncing: For iCloud issues, check your internet connection and iCloud settings on both devices. Ensure you have enough iCloud storage.
By being aware of these potential issues and their solutions, you can navigate any challenges that arise during the photo transfer process.
Quick Tip to ensure your videos never go missing

Videos are precious memories and all of us never want to ever lose them to hard disk crashes or missing drives. PicBackMan is the easiest and simplest way to keep your videos safely backed up in one or more online accounts. Simply Download PicBackMan (it's free!), register your account, connect to your online store and tell PicBackMan where your videos are - PicBackMan does the rest, automatically. It bulk uploads all videos and keeps looking for new ones and uploads those too. You don't have to ever touch it.
Frequently Asked Questions
How do I share photos between iPad and Mac?
You can share photos between iPad and Mac using several methods: AirDrop for wireless transfers, iCloud Photos for automatic syncing, or by connecting your iPad to your Mac with a USB cable and using the Photos app or Image Capture. Each method offers different benefits depending on your needs and the number of photos you want to share.
How do I transfer photos from iPad to computer?
To transfer photos from iPad to computer, you can use a USB cable to connect your iPad to your computer and then use your computer's default photo import tool (Photos app on Mac or Windows Photos on PC). Alternatively, you can use cloud services like iCloud, Google Photos, or Dropbox to sync your photos wirelessly between devices.
How do I transfer photos from iPad to another device?
Transferring photos from iPad to another device can be done through various methods. For Apple devices, AirDrop is a quick and easy option. You can also use cloud services like iCloud or Google Photos to sync photos across multiple devices. For non-Apple devices, email or messaging apps can be used for small numbers of photos, while cloud services work well for larger transfers.
How can I transfer files from iPad to Mac?
To transfer files from iPad to Mac, you have several options: use AirDrop for wireless transfers, iCloud Drive for cloud-based syncing, or connect your iPad to your Mac with a USB cable and use the Finder (on macOS Catalina or later) or iTunes (on earlier macOS versions) to transfer files. You can also use third-party apps like Dropbox or Google Drive for file transfers.
How do I transfer photos from iPad to Mac?
To transfer photos from iPad to Mac, you can use AirDrop for wireless transfers, connect your iPad to your Mac with a USB cable and use the Photos app or Image Capture, or set up iCloud Photos to automatically sync your photos across devices. Each method has its advantages, so choose the one that best fits your needs and the number of photos you're transferring.
How do I transfer a file from my iPad to my computer?
To transfer a file from your iPad to your computer, you can use various methods depending on the file type and your preferences. For photos and videos, you can use the Photos app or Image Capture on Mac, or the Photos app on Windows. For other file types, you can use cloud services like iCloud Drive, Dropbox, or Google Drive. You can also email files to yourself or use AirDrop if you're transferring to a Mac. For a direct connection, use a USB cable and access your iPad through Finder (on macOS Catalina or later) or iTunes (on earlier macOS versions or Windows).
Conclusion
Transferring photos from your iPad to your Mac doesn't have to be a daunting task. Whether you prefer the wireless convenience of AirDrop, the reliability of a wired connection, or the seamless syncing of cloud services, there's a method that suits your needs. By understanding these various approaches and following best practices, you can ensure that your cherished memories are safely transferred and easily accessible across your devices.
Remember, the key to successful photo management is regular transfers and backups. By incorporating these methods into your digital lifestyle, you'll never have to worry about losing those precious moments captured on your iPad. Embrace the technology at your fingertips and enjoy the peace of mind that comes with a well-organized photo library.


