Start Free $129 Lifetime
Why is it the #1 bulk uploader?
- Insanely fast!
- Maintains folder structure.
- 100% automated upload.
- Supports RAW files.
- Privacy default.
How can you get started?
Download PicBackMan and start free, then upgrade to annual or lifetime plan as per your needs. Join 100,000+ users who trust PicBackMan for keeping their precious memories safe in multiple online accounts.
“Your pictures are scattered. PicBackMan helps you bring order to your digital memories.”
How to download from Google Photos to your Computer or Laptop
Last Updated :On November 12, 2020, Google made an announcement that would completely change the way photo backup is done in the future. Until now, all of us had been enjoying the sweet taste of free unlimited photo storage, but not anymore.
June 2021 onwards, Google will no longer offer free photo storage to its users. Therefore, all users will have to follow the Google Photos storage limit wherein you will get only 15GB of storage.
One method of overcoming this problem is to transfer Google Photos to a computer.
How To Transfer Photos From Google Photos To Your Computer Or Laptop?
PicBackMan makes it very easy to migrate from Google Photos. All you have to do is follow the simple procedure given below -
- Open the internet browser on your computer or laptop and go to www.picbackman.com.
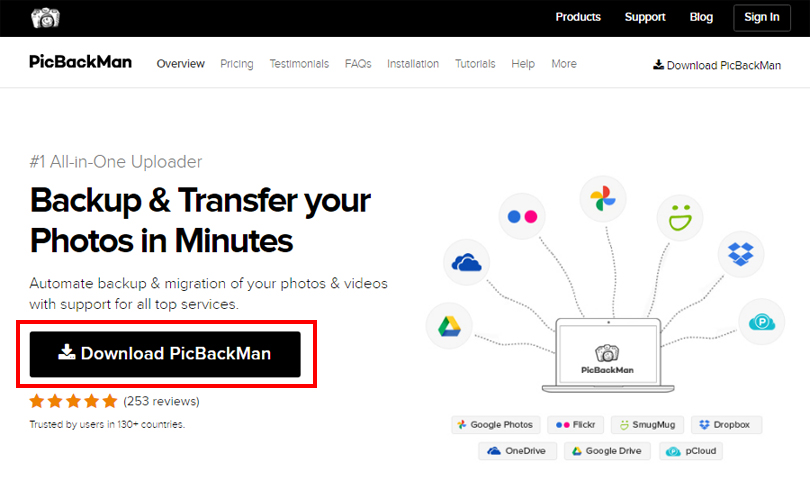
- Once the page loads, click on the ‘Download PicBackMan’ button.
Note: PicBackMan is supported by several operating systems that range from Windows XP to Windows 10 in the Windows operating system and also includes Mountain Lion, Sierra, and many more in the Mac operating system.
- After the file completes downloading, run the file, and follow the installation procedure in the setup wizard.
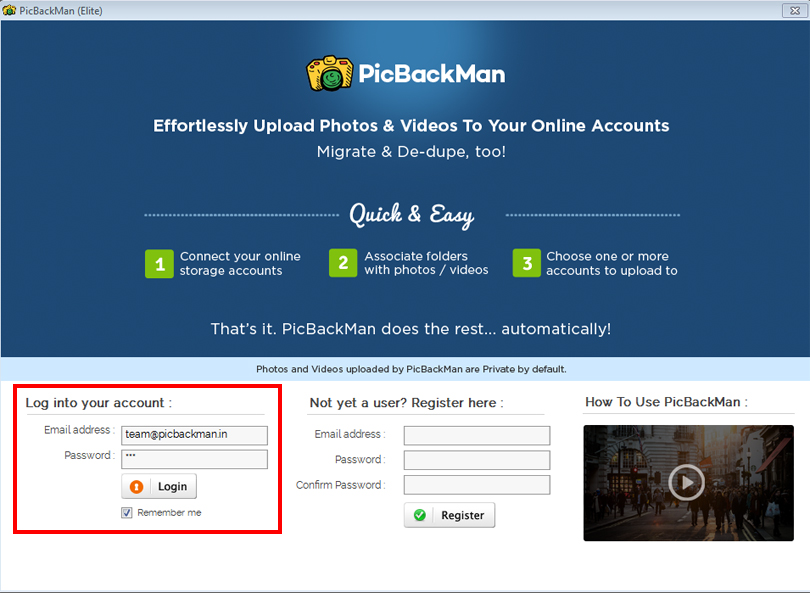
- Open the PicBackMan desktop app on your computer or laptop. On the first page, you are provided with an option to sign-in using your log-in credentials or to sign-up if you haven’t created your account yet.
- PicBackMan provides various services like Photo uploading, Video uploading, etc. But to transfer Google Photos to your computer, go to the ‘Account’ tab.
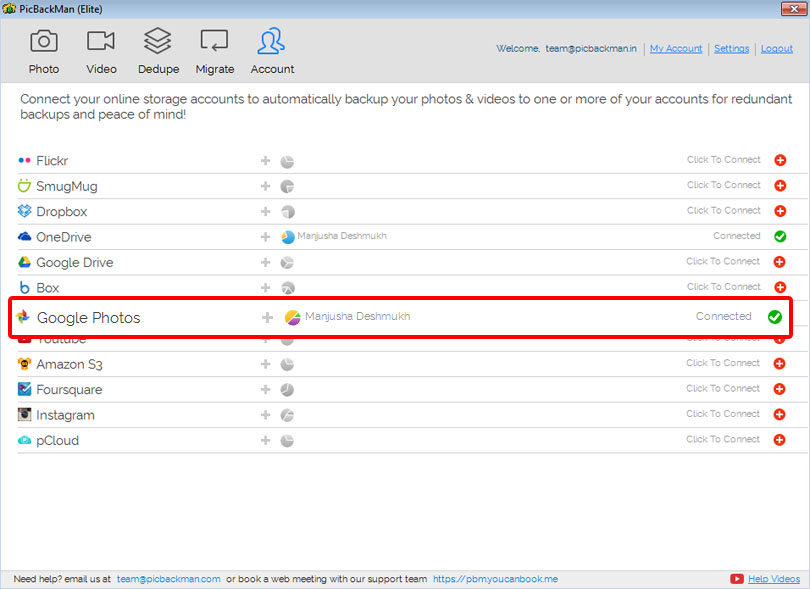
- As you want to download Google Photos files to PC, select Google Photos from the list provided, and link your account with PicBackMan.
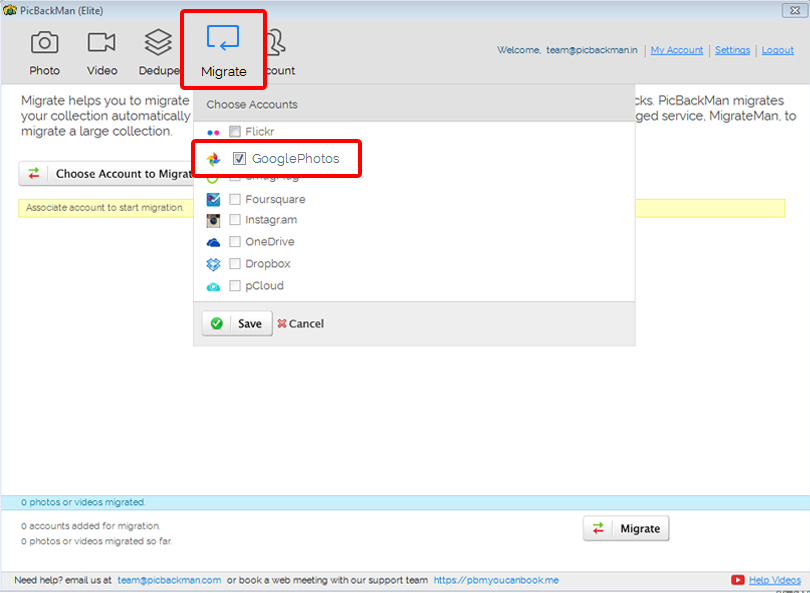
- Now, head over to the ‘Migrate’ tab and select the ‘Choose Account to Migrate’ option. Again, select Google Photos here because our main goal is Google Photos migration. Click Save.
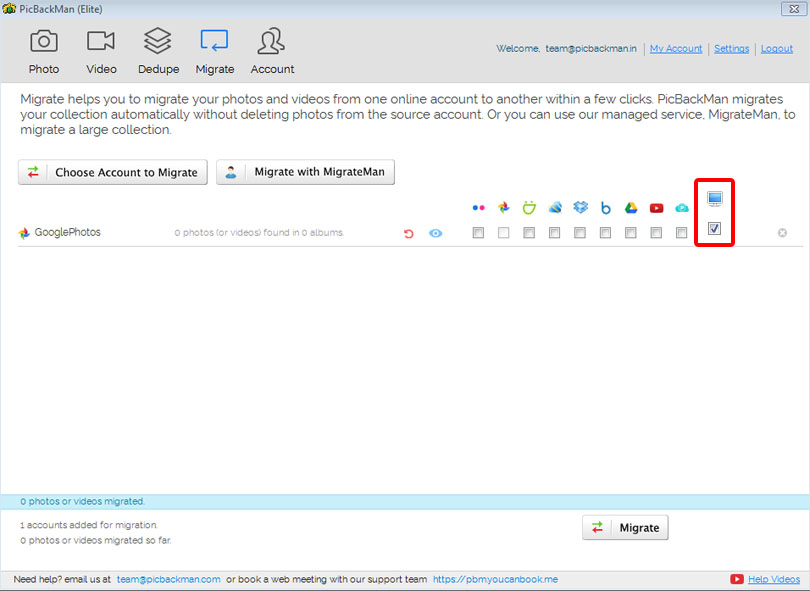
- You will find a list of checkboxes each corresponding to online photo storage solutions like Flickr, SmugMug, OneDrive, Dropbox, etc. But choose the last one that resembles the ‘My Computer’ icon.
- Finally, click on the ‘Migrate’ button at the bottom of your screen and sit back and relax.
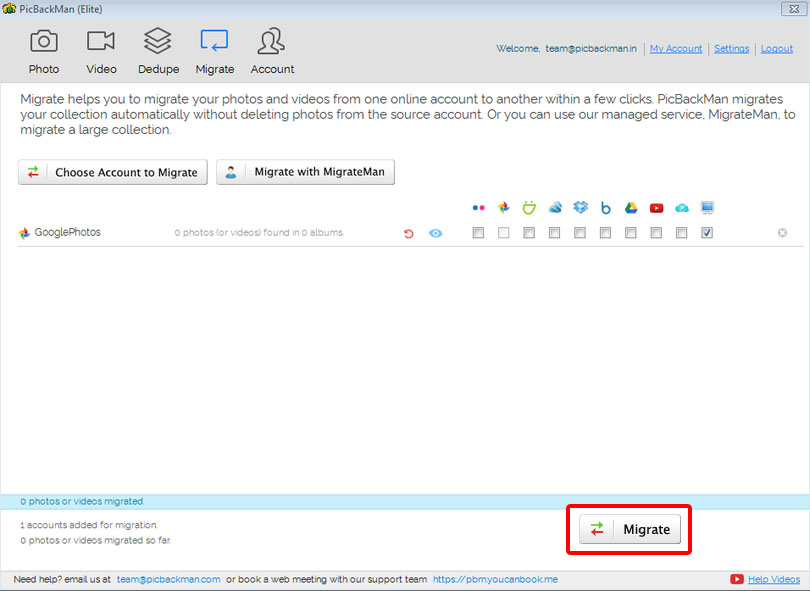
In 9 simple steps, you have successfully moved all your pictures and videos from Google Photos to your desktop or laptop.
What Are The Benefits Of Migrating Photos & Videos Using PicBackMan?
When it comes to migrating pictures and videos, PicBackMan makes it very easy and reliable for you to transfer Google Photos to laptop. And to add a cherry to the cake, PicBackMan also has the option to dedupe, which essentially removes all the duplicated pictures from your album automatically without making any changes to the album or its arrangement.
You can even download from Google Photos to a zip file. So what are you waiting for? Download PicBackMan and enjoy its many features today!


