Why is it the #1 bulk uploader?
- Insanely fast!
- Maintains folder structure.
- 100% automated upload.
- Supports RAW files.
- Privacy default.
How can you get started?
Download PicBackMan and start free, then upgrade to annual or lifetime plan as per your needs. Join 100,000+ users who trust PicBackMan for keeping their precious memories safe in multiple online accounts.
“Your pictures are scattered. PicBackMan helps you bring order to your digital memories.”
How to Bulk Upload Photos from Android Gallery to Google Drive?


In today's digital age, we capture countless moments through our Android smartphones. However, as the number of photos increases, so does the need for a reliable backup solution.
Google Drive offers an excellent platform to store and organize your cherished memories, providing a safe and secure environment.
This comprehensive guide will walk you through the process of bulk uploading photos from your Android gallery to Google Drive.
Whether you're an amateur photographer or simply looking to declutter your device, this article will equip you with the knowledge to seamlessly transfer your photos and preserve them for years to come.
Preparing Your Android Device
Before embarking on the bulk upload process, it's essential to ensure that your Android device is ready for the task. Here are a few preparatory steps to follow:
Check Available Storage Space

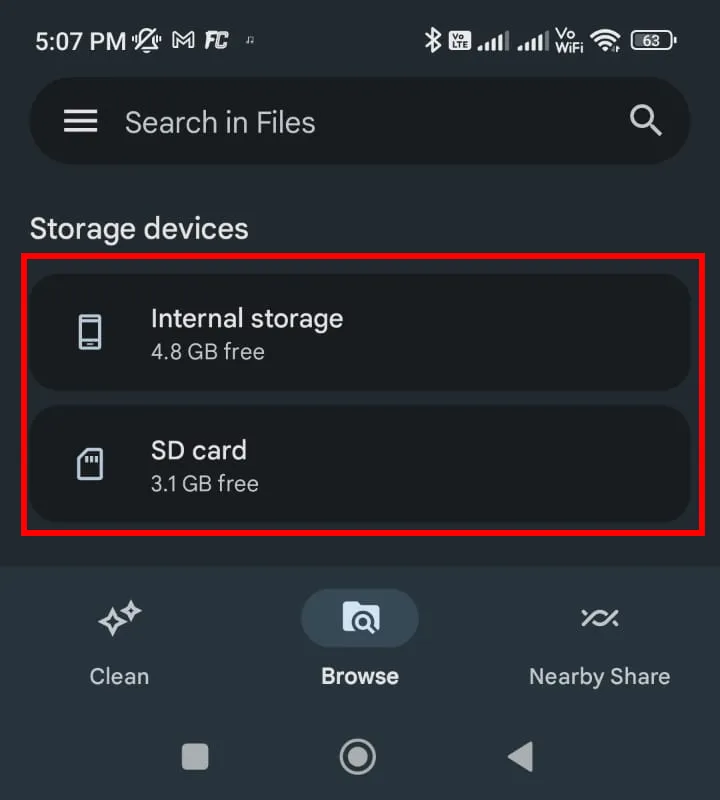
To avoid any interruptions during the upload process, it's crucial to have sufficient storage space on your Android device. Open your device's settings and navigate to the storage section to check the available space.
If necessary, consider removing unnecessary files or transferring them to an external storage device.
Update Google Drive App

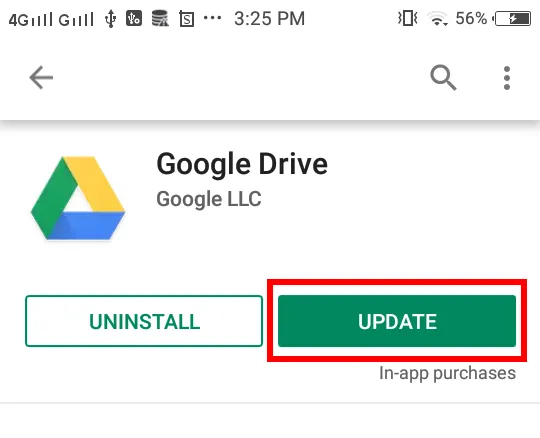
To take advantage of the latest features and improvements, ensure that your Google Drive app is up to date. Open the Google Play Store, search for "Google Drive," and update the app if a new version is available. Keeping your apps updated ensures a smoother and more reliable user experience.
Organizing Photos in Your Android Gallery
Before diving into the bulk upload process, it's wise to organize your photos within the Android gallery. This step will streamline the upload and future management of your pictures. Here are a couple of tips for organizing your photos effectively:
Create Folders for Easy Management
By creating folders, you can categorize your photos based on various criteria, such as events, locations, or dates. To create a folder, open your gallery app, select the photos you wish to group together, and choose the "Create New Folder" option.
Give your folder a descriptive name and move the selected photos into it. This method ensures easy navigation and retrieval of specific photos later on.
Arrange Photos into Albums
In addition to folders, albums provide an excellent way to organize your photos. Albums are virtual collections that allow you to group photos based on specific themes or subjects.
To create an album, open your gallery app, select the desired photos, and tap the "Add to Album" or "Create Album" option. Give your album a relevant name and add photos to it accordingly. Albums enable quick access to specific sets of photos without physically rearranging them.
Using Google Drive for Photo Backup
Google Drive offers a reliable and convenient solution for backing up your photos. Follow these steps to ensure a seamless photo backup process:
Install Google Drive App
If you haven't already, install the Google Drive app from the Google Play Store. Open the Play Store, search for "Google Drive," and tap the "Install" button. Once the installation is complete, you'll find the app icon in your app drawer.
Sign in to Google Drive
Launch the Google Drive app and sign in using your Google account credentials. If you don't have an account, you can create one by tapping the "Create account" option. It's essential to sign in to ensure that your photos are securely backed up to your personal Google Drive storage.
Enable Backup and Sync

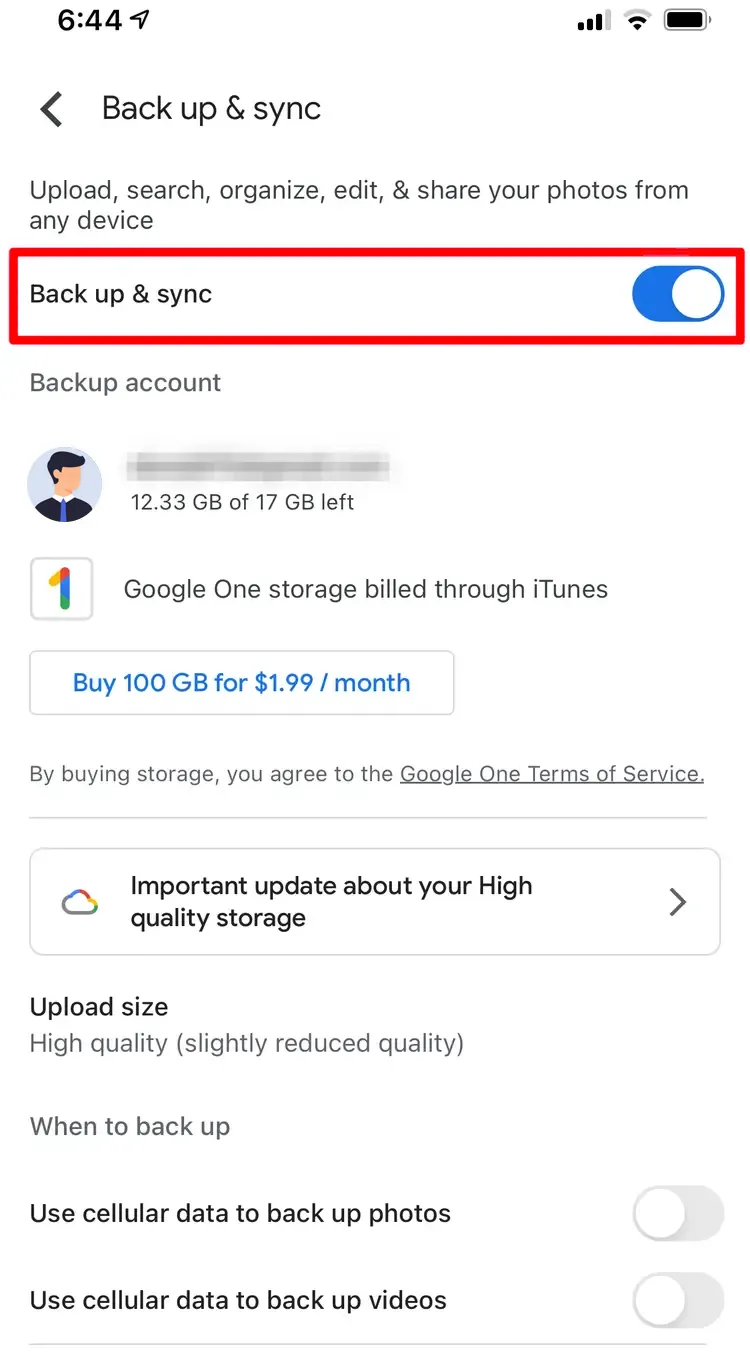
In the Google Drive app, tap the menu icon (usually three horizontal lines) in the top-left corner of the screen. From the menu, select "Settings" and then choose "Backup and Sync." Toggle the switch next to "Backup and Sync" to enable the feature. This setting allows your Android device to automatically back up photos to your Google Drive.
Bulk Uploading Photos to Google Drive
With your Android device prepared and Google Drive ready, it's time to embark on the bulk upload process. Follow these steps to transfer multiple photos to your Google Drive:
Selecting Multiple Photos
Open your Android gallery app and navigate to the desired folder or album containing the photos you wish to upload. To select multiple photos, tap and hold on one photo until it's highlighted, and then tap on the other photos you want to include. Alternatively, you can tap the "Select All" option if you want to upload all photos within the folder or album.
Uploading Photos to Google Drive
After selecting the desired photos, tap the "Share" or "Share icon" (usually represented by three dots connected by lines) in your gallery app. From the sharing options, select "Save to Drive" or "Send to Drive." The Google Drive app will open, allowing you to choose the destination folder in your Google Drive where you want to save the photos. Select the appropriate folder and tap the "Save" or "Upload" button to initiate the upload process.
Monitoring Upload Progress
During the upload process, you can monitor the progress within the Google Drive app. Notifications will appear, indicating the number of photos being uploaded and the remaining time. You can also open the Google Drive app and navigate to the destination folder to view the upload progress. It's essential to ensure a stable internet connection to avoid interruptions during the upload.
Backup & Transfer your Photos in Minutes
Trusted by users in 125+ countries.
Alternative Method: Using Google Photos
If you prefer using the Google Photos app instead of the Android gallery, the process is similar. Open the Google Photos app, select the photos you want to upload, tap the "Share" button, and choose the "Save to Drive" or "Upload to Drive" option. The photos will be transferred to Google Drive in bulk.
Tips for Efficient Bulk Upload
To make the bulk upload process even more efficient, consider the following tips:
- Ensure a stable internet connection to avoid interruptions during the transfer.
- Connect your Android device to a power source to prevent battery drain.
- Check your available storage space on Google Drive to ensure you have enough capacity for the photos you want to upload.
- Clear any unnecessary photos from your Android gallery before initiating the bulk upload to save storage space and streamline the process.
Troubleshooting Common Issues
While bulk uploading photos to Google Drive is generally straightforward, you may encounter some common issues. Here are a few troubleshooting tips:
- If the upload process is slow, check your internet connection speed and consider connecting to a faster network.
- If certain photos fail to upload, ensure they are not corrupted or protected by DRM (Digital Rights Management) restrictions.
- If you encounter any error messages during the upload, try restarting your device and initiating the bulk upload again.
Conclusion
Bulk uploading photos from your Android gallery to Google Drive is a time-saving and efficient method for backing up and organizing your precious memories.
By following the steps outlined in this article, you can streamline the process and ensure your photos are securely stored in the cloud.
FAQ
1. How do I upload my entire gallery to Google Drive?
To upload your entire gallery to Google Drive, you can use the bulk upload method mentioned in the article. Open your gallery, select all the photos you want to upload, tap the "Share" button, and choose the "Save to Drive" or "Upload to Drive" option.
2. How do I upload more than 500 photos to Google Drive?
If you have more than 500 photos to upload to Google Drive, you can follow the bulk upload process mentioned in the article. Select the photos you want to upload from your gallery, tap the "Share" button, and choose the "Save to Drive" or "Upload to Drive" option. The photos will be transferred to Google Drive in bulk.
3. How do I upload 1000 photos from my iPhone to Google Drive?
To upload 1000 photos from your iPhone to Google Drive, you can use the Google Drive app. Install the app on your iPhone, sign in with your Google account, select the photos you want to upload from your iPhone's gallery, and choose the "Save to Drive" or "Upload to Drive" option to initiate the bulk upload process.
4. How many photos can I upload to Google Drive at once?
The number of photos you can upload to Google Drive at once depends on various factors such as the size of the photos and your available storage space. Google Drive does not have a strict limit on the number of photos you can upload, but there may be storage limitations based on your account type (e.g., free or paid).
5. Does Google Drive compress photos?
By default, Google Drive does not compress photos. It stores them in their original quality. However, if you choose to upload photos using the "High quality" option in Google Photos, which provides unlimited storage, the photos may be compressed slightly to save space. Uploading photos directly to Google Drive from your gallery will retain their original quality.
6. Is there a limit to how many photos you can share on Google Photos?
Google Photos allows you to share an album with up to 20,000 photos or videos. If you exceed this limit, you may need to create multiple albums or consider other methods for sharing a large number of photos, such as using Google Drive to share the photos as files.


