Menu
Start Free $129 Lifetime
Why is it the #1 bulk uploader?
- Insanely fast!
- Maintains folder structure.
- 100% automated upload.
- Supports RAW files.
- Privacy default.
How can you get started?
Download PicBackMan and start free, then upgrade to annual or lifetime plan as per your needs. Join 100,000+ users who trust PicBackMan for keeping their precious memories safe in multiple online accounts.
Trusted by users in 125+ countries.
“Your pictures are scattered. PicBackMan helps you bring order to your digital memories.”
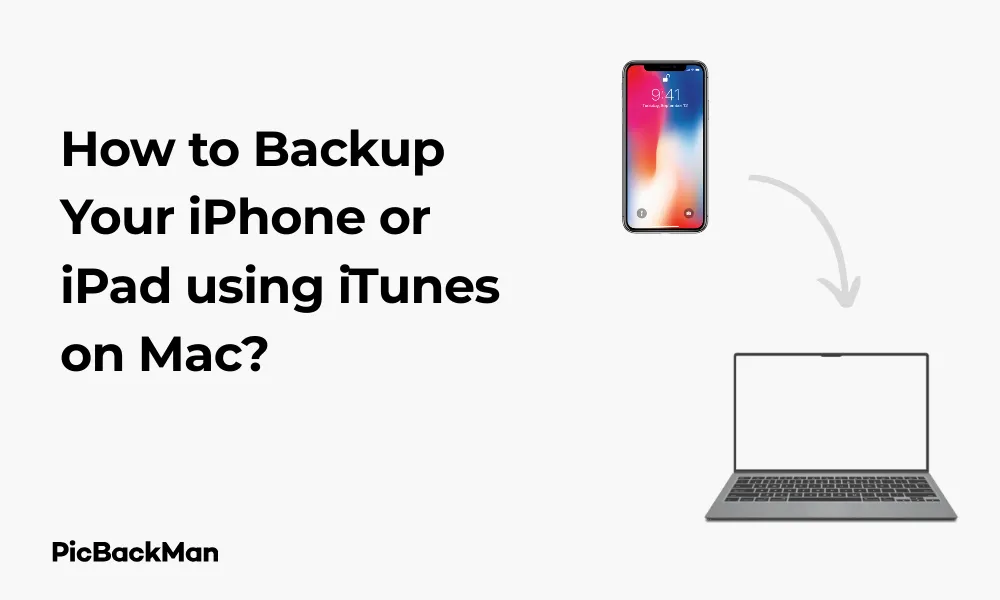
How to Backup Your iPhone or iPad using iTunes on Mac?

Backing up your iPhone or iPad is essential to protect your precious data. While iCloud offers wireless backups, using iTunes on Mac provides a local backup option that many users prefer. This guide will walk you through every step of backing up your iOS device using iTunes on Mac, ensuring your photos, messages, and other important data stay safe.
Why Backup Your iPhone or iPad Using iTunes?
Before diving into the how-to steps, let's quickly look at why you might want to use iTunes for backups:
- No monthly iCloud storage fees
- Faster restoration process for large backups
- Complete backup without internet connection
- Greater control over your backup files
- Option to encrypt backups with password protection
What You'll Need
To successfully back up your iPhone or iPad using iTunes on Mac, make sure you have:
- A Mac computer
- The latest version of macOS (or iTunes if using older macOS)
- Your iPhone or iPad
- A Lightning to USB or USB-C cable
- Enough storage space on your Mac
Step-by-Step Guide to Backing Up Your iPhone or iPad Using iTunes
Step 1: Connect Your Device to Your Mac
The first step in the backup process is establishing a physical connection between your iOS device and Mac:
- Unlock your iPhone or iPad
- Connect your device to your Mac using the appropriate cable
- If prompted on your iOS device, tap “Trust This Computer” and enter your passcode
Your Mac should recognize your device within seconds. If it doesn't, try using a different cable or USB port.
Step 2: Open iTunes or Finder
Depending on your macOS version, you'll use either iTunes or Finder to manage your device:
For macOS Catalina and newer:
- Open Finder from your Dock
- Look for your device in the sidebar under “Locations”
- Click on your device name
For macOS Mojave and older:
- Launch iTunes from your Applications folder or Dock
- Wait for iTunes to detect your device
- Click the device icon that appears in the top-left area of iTunes
Step 3: Configure Backup Settings
Before starting the backup, you can customize several important settings:
Encryption Options
Encrypting your backup adds a layer of security and ensures all your sensitive data gets backed up:
- In the Summary or General tab, find the “Backups” section
- Check the box for "Encrypt local backup"
- Create a strong password you won't forget (there's no way to recover this password if lost!)
- Click "Set Password" and confirm
An encrypted backup includes additional sensitive data that unencrypted backups don't, such as:
- Health data
- Saved passwords
- Website history
- Call history
- Wi-Fi settings
Backup Location Settings
By default, iTunes stores backups in a specific location, but you can change this:
- Go to iTunes Preferences (iTunes > Preferences)
- Click the "Devices" tab
- You'll see your backup files listed here
The default backup location on Mac is:
~/Library/Application Support/MobileSync/Backup/
Step 4: Start the Backup Process
Now you're ready to create your backup:
- In the Summary/General tab of your device in iTunes/Finder
- In the Backups section, click "Back Up Now"
- Wait for the backup process to complete (the time varies depending on how much data you have)
During the backup process, you'll see a progress bar at the top of the iTunes window or in the Finder window. Don't disconnect your device until the backup is complete.
Step 5: Verify Your Backup
After the backup finishes, it's important to verify it was successful:
In macOS Catalina and newer:
- In Finder, with your device selected
- Look under the General tab
- You'll see the date and time of the last backup
In macOS Mojave and older:
- Open iTunes Preferences
- Click the "Devices" tab
- You should see your device backup listed with the date and time
Managing Your iTunes Backups
Once you've created backups, you'll want to know how to manage them effectively:
Viewing Your Backups
To see all your existing backups:
- Open iTunes (or Finder in newer macOS)
- Go to iTunes > Preferences > Devices (or Finder > Preferences)
- You'll see a list of all backups with dates and device names
Deleting Old Backups
To free up space by removing old backups:
- Open iTunes > Preferences > Devices (or Finder > Preferences)
- Select the backup you want to delete
- Click "Delete Backup"
- Confirm your choice
Creating a Backup Schedule
While iTunes doesn't have automatic scheduling built in, you can:
- Set calendar reminders to perform regular backups
- Use third-party automation tools like Automator
- Consider using both iTunes and iCloud backups for redundancy
Troubleshooting Common iTunes Backup Issues
Sometimes things don't go as planned. Here are solutions to common backup problems:
Device Not Recognized
If your Mac doesn't detect your iPhone or iPad:
- Try a different USB cable (counterfeit cables often fail)
- Use a different USB port on your Mac
- Restart both your Mac and iOS device
- Update macOS and your device's iOS/iPadOS
- Check for and install any available iTunes updates
Backup Process Fails
If the backup starts but doesn't complete:
- Free up storage space on your Mac
- Update iTunes to the latest version
- Temporarily disable antivirus software
- Try putting your device in recovery mode and then backing up
"Not Enough Space" Errors
When your Mac doesn't have enough storage for the backup:
- Delete unnecessary files from your Mac
- Remove old backups you no longer need
- Consider an external drive for backups
- Reduce the size of your iOS device content before backing up
Comparing iTunes Backups vs. iCloud Backups
| Feature | iTunes Backup | iCloud Backup |
|---|---|---|
| Cost | Free (uses Mac storage) | Free for 5GB, requires subscription for more |
| Backup Speed | Faster (direct connection) | Slower (depends on internet speed) |
| Backup Frequency | Manual only | Automatic (daily when connected to Wi-Fi) |
| Restore Speed | Faster | Slower (depends on internet) |
| Convenience | Requires physical connection | Wireless, happens automatically |
| Storage Limits | Limited by Mac storage | Limited by iCloud plan |
Restoring Your iPhone or iPad from an iTunes Backup
If you need to restore your device from a backup, here's how:
Complete Restore Process
- Connect your device to your Mac
- Open iTunes or Finder
- Select your device when it appears
- Click "Restore Backup"
- Choose the relevant backup from the list
- Enter your encryption password if prompted
- Click "Restore" and wait for the process to complete
- Keep your device connected until it restarts and syncs
Selective Restore Options
Unfortunately, iTunes doesn't allow you to restore selective content from backups - it's all or nothing. If you need to restore only specific items:
- Consider using third-party software designed for selective restores
- Use iCloud backup instead, which allows app-by-app data restoration
- Extract specific files from the backup using specialized tools
Advanced iTunes Backup Tips
Archiving Backups
To prevent iTunes from overwriting your backups:
- Create a backup as normal
- Go to iTunes > Preferences > Devices
- Right-click on your most recent backup
- Select "Archive"
Archived backups are marked with the date they were archived and won't be overwritten by future backups.
Transferring Backups to a New Mac
If you get a new Mac, you can transfer your backups:
- Find your backups in ~/Library/Application Support/MobileSync/Backup/
- Copy the entire Backup folder to external storage
- On your new Mac, copy the Backup folder to the same location
- Open iTunes/Finder to verify the backups are recognized
Using Terminal to Manage Backups
Advanced users can use Terminal commands to manage backups:
# List all backups
ls -la ~/Library/Application Support/MobileSync/Backup/

# Copy backups to external drive
cp -R ~/Library/Application Support/MobileSync/Backup/ /Volumes/ExternalDrive/iOSBackups/
What Gets Backed Up with iTunes?
An iTunes backup includes most of your device's data and settings:
- App data (but not the apps themselves in newer iOS versions)
- Device settings
- Home screen organization
- iMessage, SMS, and MMS messages
- Photos and videos in your Camera Roll
- Purchase history from Apple services
- Visual Voicemail password
- Health app data (only if backup is encrypted)
- Keychain data (only if backup is encrypted)
What's Not Included in iTunes Backups
Some items aren't included in standard iTunes backups:
- Content synced from iTunes like imported MP3s or CDs
- Files already stored in iCloud such as iCloud Photos
- Face ID or Touch ID settings
- Apple Pay information and settings
- Activity, Health, and Keychain data (unless backup is encrypted)
- App Store content (can be re-downloaded)
Quick Tip to ensure your videos never go missing
Videos are precious memories and all of us never want to lose them to hard disk crashes or missing drives. PicBackMan is the easiest and simplest way to keep your videos safely backed up in one or more online accounts.

Simply download PicBackMan (it's free!) , register your account, connect to your online store and tell PicBackMan where your videos are - PicBackMan does the rest, automatically. It bulk uploads all videos and keeps looking for new ones and uploads those too. You don't have to ever touch it.
iTunes Alternatives for Mac Users
If you prefer not to use iTunes, consider these alternatives:
Official Apple Alternatives
- Finder (built into macOS Catalina and newer)
- iCloud Backups (wireless, automatic)
- Apple Configurator 2 (designed for multiple device management)
Third-Party Backup Solutions
- iMazing (powerful backup and device management)
- AnyTrans (comprehensive iOS data management)
- dr.fone (backup and recovery solution)
- iExplorer (browse and extract from backups)
Frequently Asked Questions
How often should I back up my iPhone or iPad using iTunes?
You should back up your device at least once a week if you regularly add new content like photos or messages. If you make significant changes to your device or before installing iOS updates, it's wise to create a fresh backup. Some users prefer to create daily backups if they use their devices for critical work or business purposes.
What happens if I lose my iTunes backup encryption password?
Unfortunately, if you forget your iTunes backup encryption password, there's no official way to recover it or access the encrypted data. Apple designed this security measure to be robust. Your only option would be to create a new backup with a new password that you'll remember, but you'll lose access to the previous encrypted backup. This is why it's crucial to store your encryption password in a secure password manager.
Can I back up multiple iOS devices to the same Mac using iTunes?
Yes, you can back up multiple iPhones and iPads to the same Mac. iTunes creates separate backup files for each device based on its unique identifier. When you connect a different device, iTunes recognizes it as separate and creates or updates its dedicated backup file. This makes it convenient for families sharing a Mac or individuals with multiple Apple devices.
Does iTunes backup take up a lot of space on my Mac?
iTunes backups can be quite large depending on the content of your device. A typical iPhone backup might range from 5GB to 50GB or more, especially if you have lots of photos and videos. If you're running low on Mac storage, consider either deleting old backups, moving them to an external drive, or using iCloud backups instead. You can check the size of your backups in iTunes Preferences > Devices.
Can I access individual files from my iTunes backup without restoring my entire device?
iTunes itself doesn't provide a way to browse or extract individual files from backups. However, there are third-party tools designed for this purpose, such as iMazing, iExplorer, or iPhone Backup Extractor. These applications allow you to view the contents of your backup and selectively extract photos, messages, contacts, and other data without performing a full restore to your device.
Conclusion
Backing up your iPhone or iPad using iTunes on Mac is a straightforward yet powerful way to protect your important data. By following the steps outlined in this guide, you can create secure, local backups that don't rely on cloud storage or internet connectivity. Remember to back up regularly, especially before iOS updates or when making significant changes to your device.
Whether you choose iTunes backups, iCloud backups, or a combination of both, the important thing is having a reliable backup strategy. Your photos, messages, and other personal data are irreplaceable, so taking the time to set up proper backups is always worth the effort.


