Menu
Start Free $129 Lifetime
Why is it the #1 bulk uploader?
- Insanely fast!
- Maintains folder structure.
- 100% automated upload.
- Supports RAW files.
- Privacy default.
How can you get started?
Download PicBackMan and start free, then upgrade to annual or lifetime plan as per your needs. Join 100,000+ users who trust PicBackMan for keeping their precious memories safe in multiple online accounts.
Trusted by users in 125+ countries.
“Your pictures are scattered. PicBackMan helps you bring order to your digital memories.”
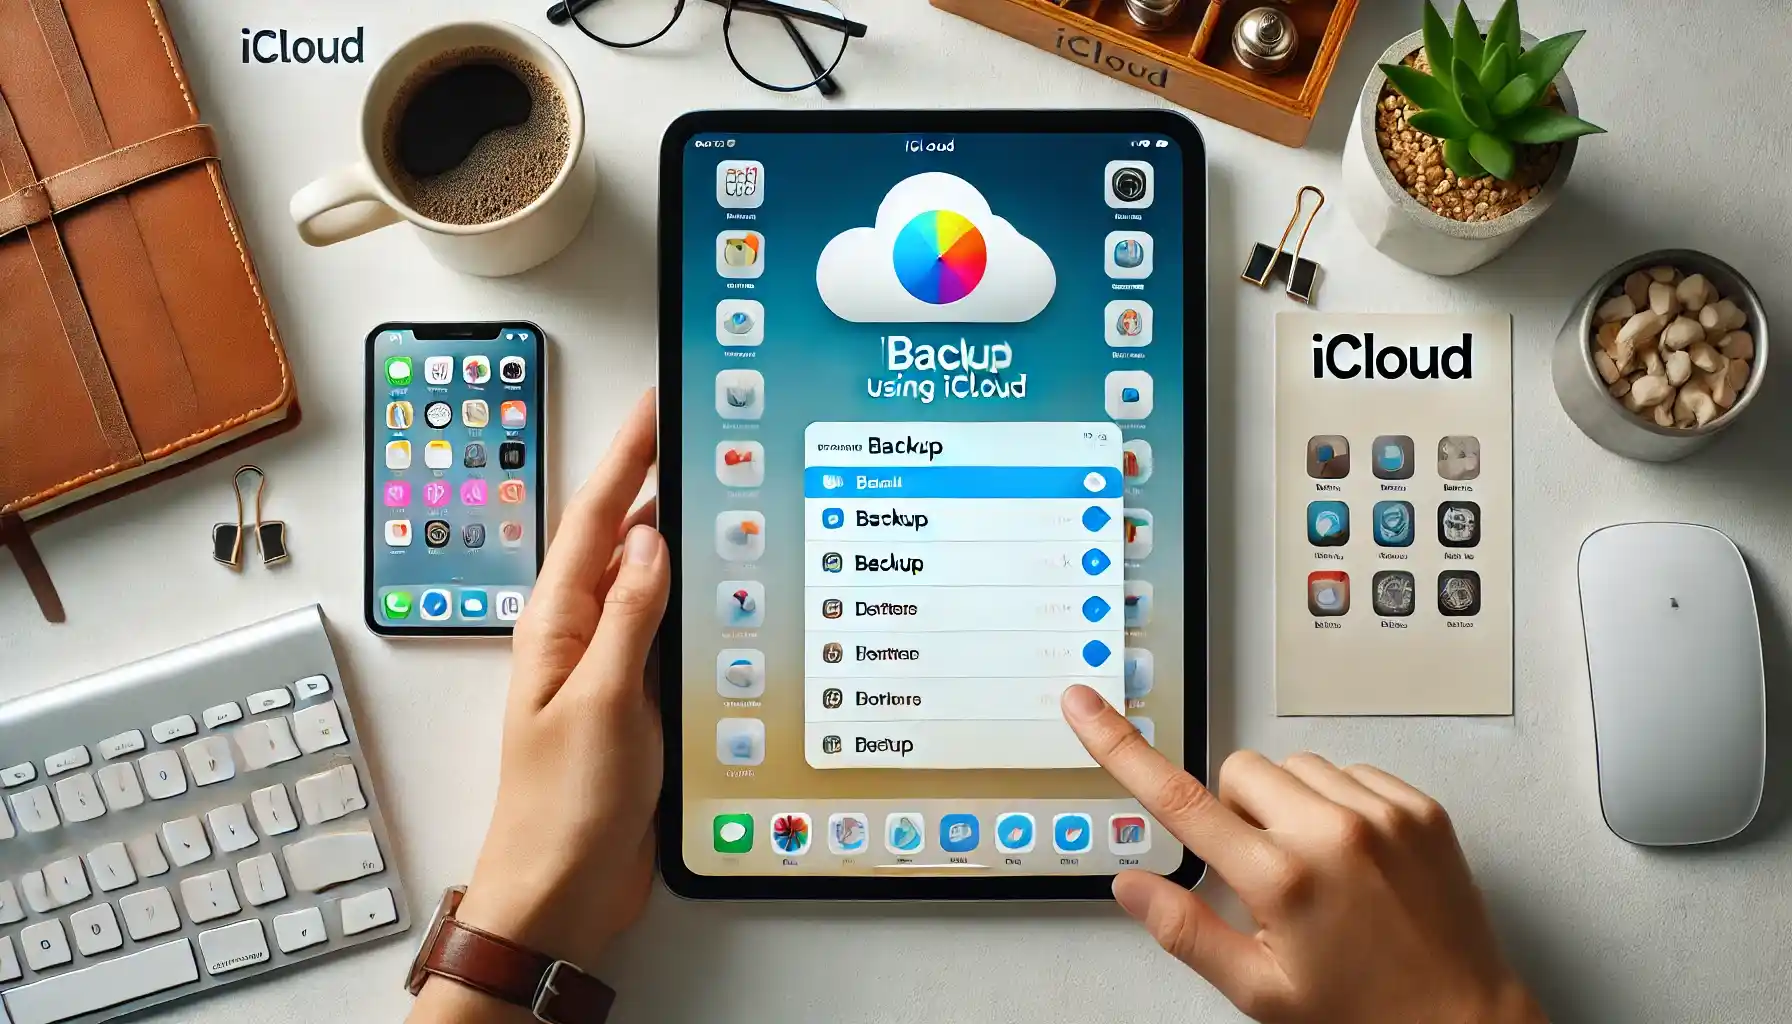
How to Backup an iPad Using iCloud?

Backing up your iPad is something you should do regularly to protect your data, photos, and important files. With iCloud, Apple makes this process straightforward, but many users still find themselves confused about how to properly back up their devices. In this guide, I'll walk you through exactly how to backup an iPad using iCloud, step by step, so you can keep your data safe without any stress.
Whether you've just bought a new iPad or have been using one for years, knowing how to create reliable backups will save you from potential heartbreak if your device gets damaged, lost, or needs to be reset. Let's dive into the simple process of using iCloud to protect everything on your iPad.
What Is an iCloud Backup?
Before we get into the steps, it's helpful to understand what an iCloud backup actually includes. When you back up your iPad to iCloud, the following data gets saved:
- App data and settings
- Device settings
- Home screen and app organization
- Messages (iMessage, SMS, and MMS)
- Photos and videos (unless you use iCloud Photos)
- Purchase history from Apple services
- Ringtones
- Visual Voicemail password
It's worth noting that iCloud backups don't include data already stored in iCloud such as Contacts, Calendars, Bookmarks, Mail, iCloud Photos, Notes, Voice Memos, Messages in iCloud, and files stored in iCloud Drive.
Prerequisites for Backing Up to iCloud
Before you start the backup process, make sure you have:
- An active internet connection (Wi-Fi recommended)
- Enough free space in your iCloud account
- Your iPad charged or connected to power
- Your Apple ID and password
Checking Your Available iCloud Storage
Apple gives every user 5GB of free iCloud storage, but this fills up quickly. To check how much space you have:
- Open the Settings app on your iPad
- Tap on your name at the top of the screen
- Tap "iCloud"
- Look at the storage bar at the top to see how much space is available
If you don't have enough space, you'll need to either free up some storage or purchase more. Apple offers several iCloud storage plans:
| Storage Plan | Monthly Cost (US) |
|---|---|
| 5GB | Free |
| 50GB | $0.99 |
| 200GB | $2.99 |
| 2TB | $9.99 |
How to Enable Automatic iCloud Backups on iPad
The easiest way to keep your iPad backed up is to enable automatic backups. Here's how:
- Connect your iPad to a Wi-Fi network
- Open the Settings app
- Tap on your name at the top
- Select "iCloud"
- Scroll down and tap "iCloud Backup"
- Toggle the "iCloud Backup" switch to ON (green)
For automatic backups to work, your iPad needs to meet three conditions: it must be connected to Wi-Fi, connected to a power source, and have the screen locked. When these conditions are met, your iPad will automatically back up daily.
Once enabled, your iPad will automatically back up when:
- Your iPad is connected to power
- Connected to Wi-Fi
- The screen is locked
These backups typically happen overnight while you're sleeping, making the process completely hands-off once set up.
How to Manually Back Up Your iPad to iCloud
Sometimes you might want to create a backup right away, especially before installing a major iOS update or if you're about to switch devices. Here's how to manually back up your iPad to iCloud:
- Connect your iPad to a Wi-Fi network
- Open the Settings app
- Tap on your name at the top
- Select "iCloud"
- Scroll down and tap "iCloud Backup"
- Tap "Back Up Now"
The backup process will begin immediately. You'll see a progress bar indicating how long the backup will take. The time required depends on:
- How much data needs to be backed up
- Your internet connection speed
- When your last backup occurred
It's smart to stay connected to Wi-Fi and keep your iPad plugged in until the backup completes.
Checking if Your Backup Was Successful
To verify that your backup completed successfully:
- Open Settings
- Tap your name
- Tap "iCloud"
- Tap "iCloud Backup"
- Look under "Back Up Now" where you'll see the date and time of the last successful backup
Choosing What Data Gets Backed Up to iCloud
You can control exactly what data gets included in your iCloud backups. This is useful if you're trying to save space or only want to back up your most important information.
Managing App Data Backups
To choose which apps back up their data to iCloud:
- Go to Settings
- Tap your name
- Tap "iCloud"
- Scroll down to see the list of apps using iCloud
- Toggle the switch next to each app ON or OFF
Apps that are toggled ON will store their data in iCloud and include it in backups. Turning off apps you don't need to back up can save significant space.
Managing Photos and Videos
Photos and videos often take up the most space in backups. You have two options for handling them:
Option 1: iCloud Photos
With iCloud Photos enabled, your photos and videos sync directly to iCloud and aren't included in backups (since they're already in iCloud). To enable this:
- Go to Settings
- Tap your name
- Tap "iCloud"
- Tap "Photos"
- Toggle "iCloud Photos" to ON
Option 2: Include in iCloud Backup
If you don't use iCloud Photos, your photos and videos will be included in your iCloud backup. This can take up significant space but ensures all your media is backed up.
If you're running out of iCloud storage space, enabling iCloud Photos and disabling it from the backup can help save space while still keeping your photos safe. This is because iCloud Photos stores your photos and videos separately from your backup.
Troubleshooting iCloud Backup Issues
Sometimes you might run into problems when trying to back up your iPad. Here are solutions to common issues:
Not Enough Storage Space
If you see a message saying you don't have enough storage, you have several options:
- Buy more iCloud storage
- Delete old backups:
- Go to Settings > [Your Name] > iCloud > Manage Storage > Backups
- Select old backups and tap "Delete Backup"
- Reduce what's being backed up:
- Go to Settings > [Your Name] > iCloud > Manage Storage > Backups
- Select your current iPad
- Under "Choose Data to Back Up," turn off apps you don't need backed up
Backup Taking Too Long
If your backup seems to be taking forever, try these fixes:
- Check your Wi-Fi connection - switch to a stronger, faster network if possible
- Restart your iPad
- Make sure your iPad has enough battery or is connected to power
- If you haven't backed up in a long time, the first backup might take hours - be patient
Backup Won't Start
If your backup won't begin at all:
- Make sure you're connected to Wi-Fi
- Check that you have enough iCloud storage
- Restart your iPad
- Sign out of iCloud and back in:
- Settings > [Your Name] > Sign Out
- Sign back in with your Apple ID
- Check for iOS updates and install if available
Restoring Your iPad from an iCloud Backup
The whole point of creating backups is being able to restore your data when needed. Here's how to restore your iPad from an iCloud backup:
For a New or Reset iPad
- Turn on your iPad
- Follow the setup steps until you reach the "Apps & Data" screen
- Tap "Restore from iCloud Backup"
- Sign in with your Apple ID
- Choose the most relevant backup (usually the most recent one)
- Stay connected to Wi-Fi and power while the restore completes
For an Existing iPad (Requires Reset)
If you want to restore a backup to your current iPad, you'll need to reset it first:
- Go to Settings > General > Reset
- Tap "Erase All Content and Settings"
- Confirm and wait for the iPad to reset
- When it restarts, follow the setup process
- At the "Apps & Data" screen, select "Restore from iCloud Backup"
- Sign in and select your backup
The restore process can take some time depending on how much data is in your backup and your internet speed. Your apps will download after the initial restore completes.
Comparing iCloud Backup with Other Backup Methods
iCloud isn't the only way to back up your iPad. Let's compare it with other methods:
| Feature | iCloud Backup | iTunes/Finder Backup | Third-Party Apps |
|---|---|---|---|
| Storage Cost | 5GB free, paid plans available | Limited by computer storage | Varies by service |
| Backup Location | Cloud (remote) | Local computer | Usually cloud-based |
| Automation | Automatic when conditions are met | Manual or when connected to computer | Varies by app |
| Internet Required | Yes | No | Usually yes |
| Encryption | Always encrypted | Optional encryption | Varies by service |
When to Use iCloud vs. Computer Backups
iCloud backups are ideal when:
- You want a hands-off, automated solution
- You don't regularly connect to a computer
- You want your backups stored off-site (safer if your computer is damaged)
Computer backups (via iTunes or Finder) are better when:
- You have limited internet bandwidth
- You don't want to pay for iCloud storage
- You want to back up and restore more quickly
- You need to archive multiple backups
Best Practices for iPad Backups
To ensure your data is always protected, follow these backup best practices:
Backup Frequency
- Enable automatic iCloud backups
- Manually back up before installing iOS updates
- Create a fresh backup before selling or giving away your iPad
- Back up after adding important data or making significant changes
Managing Multiple Devices
If you have multiple Apple devices, each one needs its own backup. Keep in mind:
- Each device's backup counts against your iCloud storage limit
- You can view and manage all device backups in Settings > [Your Name] > iCloud > Manage Storage > Backups
- Delete old backups of devices you no longer own
Security Considerations
Your iCloud backups contain personal information, so security is important:
- Use a strong Apple ID password
- Enable two-factor authentication for your Apple ID
- Never share your Apple ID credentials
- Be careful about public Wi-Fi when initiating backups
Advanced iCloud Backup Tips
Once you're comfortable with basic backups, try these advanced techniques:
Managing Backup Size
To reduce the size of your backups:
- Go to Settings > [Your Name] > iCloud > Manage Storage > Backups
- Select your device
- Under "Choose Data to Back Up," review which apps use the most storage
- Toggle off apps with large amounts of data that you don't need backed up
Using Family Sharing for iCloud Storage
If you have Family Sharing set up, you can share an iCloud storage plan:
- Purchase the 200GB or 2TB iCloud storage plan
- Go to Settings > [Your Name] > Family Sharing
- Tap "iCloud Storage"
- Follow the prompts to set up shared storage
This allows everyone in your family to back up their devices without each person needing to buy separate storage plans.
Backing Up While Traveling
When you're traveling or away from your usual Wi-Fi:
- Use hotel or other secure Wi-Fi for backups
- Consider creating a manual backup before leaving on your trip
- If needed, you can use cellular data for a backup by going to Settings > [Your Name] > iCloud > iCloud Backup and toggling on "Back Up Over Cellular"
Frequently Asked Questions
How often does iCloud automatically back up my iPad?
iCloud automatically backs up your iPad daily when it's connected to Wi-Fi, connected to power, and the screen is locked. This typically happens overnight while you're sleeping, but can occur at any time when these three conditions are met.
Will iCloud backup work if I have a slow internet connection?
Yes, iCloud backup will work with slow internet, but it will take longer to complete. If your connection is very slow or unstable, the backup might pause and resume multiple times. For large initial backups, it's best to use a fast, reliable Wi-Fi connection.
Can I access individual files from my iCloud backup?
No, you can't browse or access individual files within an iCloud backup. iCloud backups are designed to be restored as a complete set to an iPad. If you want to access individual files, use iCloud Drive or iCloud Photos instead, which allow you to view and download specific files.
Does iCloud backup include my passwords?
Yes, iCloud backups include your saved passwords, but they're encrypted for security. When you restore from a backup, your saved website passwords, Wi-Fi passwords, and app passwords will be restored. For added security, some sensitive data is only included if you have an encrypted backup.
If I delete an app, will its data still be in my iCloud backup?
When you delete an app, its data remains in your iCloud backup for a period of time. However, if you create several new backups after deleting the app, eventually the app data will be removed from your backup. If you want to permanently remove an app's data from your backup immediately, you can go to Settings > [Your Name] > iCloud > Manage Storage > Backups > [Your Device] and toggle off the app before creating a new backup.
Quick Tip to ensure your videos never go missing

Conclusion
Backing up your iPad to iCloud is a simple yet crucial habit that protects your data from loss. By following the steps outlined in this guide, you can ensure your photos, messages, apps, and settings are safely stored in the cloud, ready to be restored whenever needed.
The beauty of iCloud backups is their simplicity - once set up, they happen automatically in the background while you sleep, requiring almost no ongoing effort on your part. Whether you're upgrading to a new iPad, dealing with a damaged device, or just want peace of mind, regular iCloud backups are your safety net.
Remember to occasionally check that your backups are working correctly and that you have enough iCloud storage space. With these habits in place, you'll never have to worry about losing your important data again.


