Menu
Start Free $129 Lifetime
Why is it the #1 bulk uploader?
- Insanely fast!
- Maintains folder structure.
- 100% automated upload.
- Supports RAW files.
- Privacy default.
How can you get started?
Download PicBackMan and start free, then upgrade to annual or lifetime plan as per your needs. Join 100,000+ users who trust PicBackMan for keeping their precious memories safe in multiple online accounts.
Trusted by users in 125+ countries.
“Your pictures are scattered. PicBackMan helps you bring order to your digital memories.”
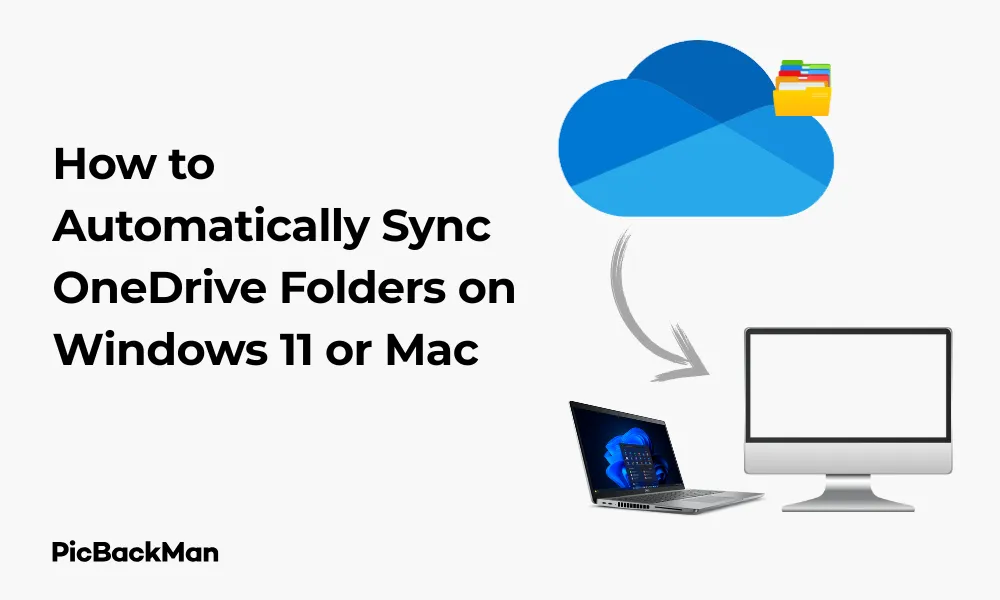
How to Automatically Sync OneDrive Folders on Windows 11 or Mac

Setting up automatic syncing for your OneDrive folders can save you time and ensure your files are always backed up and available across all your devices. Whether you're using Windows 11 or a Mac, this guide will walk you through the process step by step, helping you keep your important documents, photos, and other files in sync without manual uploads.
What is OneDrive Syncing?
OneDrive syncing is the process where files stored in your OneDrive cloud storage are automatically updated across all your connected devices. When you make changes to a file on one device, those changes appear on all your other devices that have OneDrive set up.
The beauty of automatic syncing is that you don't need to manually upload or download files - it happens in the background while you work.
Setting Up Automatic OneDrive Sync on Windows 11
Windows 11 comes with OneDrive pre-installed, making the setup process straightforward. Here's how to get your folders syncing automatically:
Initial OneDrive Setup on Windows 11
- Click on the OneDrive cloud icon in the taskbar notification area (if you don't see it, click the "Show hidden icons" arrow)
- If OneDrive isn't set up yet, you'll be prompted to sign in with your Microsoft account
- Enter your email address and password
- Follow the on-screen instructions to complete the initial setup
Choosing Which Folders to Sync on Windows 11
Once you've signed in, you can select which folders to sync automatically:
- Right-click the OneDrive cloud icon in the taskbar
- Select "Settings"
- Go to the "Account" tab
- Click "Choose folders"
- A new window will open showing all your OneDrive folders
- Check the boxes next to the folders you want to sync to your computer
- Click "OK" to save your choices
Setting Up Files On-Demand in Windows 11
Files On-Demand is a helpful feature that saves space on your computer by downloading files only when you need them:
- Right-click the OneDrive icon in the taskbar
- Select "Settings"
- Go to the "Settings" tab
- Check the box next to "Save space and download files as you use them"
- Click "OK" to save changes
Understanding OneDrive File Status Icons on Windows 11
When using Files On-Demand, you'll see different icons next to your files that indicate their sync status:
- Cloud icon - Online-only file that doesn't take up space on your computer
- Green checkmark - Locally available file that's been downloaded to your device
- Solid green circle with checkmark - Always available file that will stay on your device
- Sync icon (circular arrows) - File that's currently syncing
Making Files Always Available Offline on Windows 11
For files you need access to even without internet:
- Open File Explorer and navigate to your OneDrive folder
- Right-click on the file or folder you want available offline
- Select "Always keep on this device"
Setting Up Automatic OneDrive Sync on Mac
Mac users need to download the OneDrive app first, then set up syncing. Here's how:
Installing OneDrive on Mac
- Visit Microsoft's OneDrive download page
- Click "Download" for macOS
- Once downloaded, open the installer package
- Follow the installation instructions
- When prompted, sign in with your Microsoft account
Choosing Which Folders to Sync on Mac
- Click the OneDrive cloud icon in the menu bar at the top of your screen
- Click the three dots (more options) and select “Preferences”
- Go to the "Account" tab
- Click "Choose Folders"
- Select the folders you want to sync to your Mac
- Click "OK" to save your selections
Setting Up Files On-Demand on Mac
Files On-Demand works on Mac too, helping you save storage space:
- Click the OneDrive icon in the menu bar
- Click the three dots and select “Preferences”
- Go to the "Settings" tab
- Check the box next to "Save space and download files as you use them"
- Click "OK" to apply changes
Making Files Always Available Offline on Mac
- Open Finder and navigate to your OneDrive folder
- Right-click (or Control-click) on the file or folder you want available offline
- Select "Always Keep on This Device"
Advanced OneDrive Sync Settings for Both Platforms
Setting Up Selective Sync for Specific Folders
Selective sync lets you choose exactly which folders sync to which devices, which is useful if you have multiple computers with different storage capacities.
On Windows 11:
- Right-click the OneDrive icon in the taskbar
- Select "Settings"
- Go to the "Account" tab
- Click "Choose folders"
- Uncheck folders you don't want on this specific computer
- Click "OK" to save
On Mac:
- Click the OneDrive icon in the menu bar
- Click the three dots and select “Preferences”
- Go to the "Account" tab
- Click "Choose Folders"
- Uncheck folders you don't want on this Mac
- Click "OK" to save
Setting Up Network Bandwidth Limits
If OneDrive sync is slowing down your internet, you can limit how much bandwidth it uses:
On Windows 11:
- Right-click the OneDrive icon in the taskbar
- Select "Settings"
- Go to the "Network" tab
- Under "Upload rate," select "Limit to:" and choose a speed
- Under "Download rate," select "Limit to:" and choose a speed
- Click "OK" to save
On Mac:
- Click the OneDrive icon in the menu bar
- Click the three dots and select “Preferences”
- Go to the "Network" tab
- Adjust the upload and download rate limits as needed
- Click "OK" to save
Setting Up Battery Optimization
To prevent OneDrive from draining your laptop battery:
On Windows 11:
- Right-click the OneDrive icon in the taskbar
- Select "Settings"
- Go to the "Settings" tab
- Check "Pause sync when this device is in battery saver mode"
- Click "OK" to save
On Mac:
- Click the OneDrive icon in the menu bar
- Click the three dots and select “Preferences”
- Go to the "Settings" tab
- Check "Pause sync when on battery power"
- Click "OK" to save
Troubleshooting OneDrive Sync Issues
Even with the right setup, you might occasionally run into syncing problems. Here's how to fix the most common issues:
OneDrive Not Syncing
If your files aren't syncing properly, try these steps:
For Windows 11:
- Check your internet connection
- Right-click the OneDrive icon in the taskbar
- Select "Close OneDrive"
- Open the Start menu and search for "OneDrive"
- Open OneDrive to restart it
-
If that doesn't work, try the OneDrive troubleshooter:
- Right-click the OneDrive icon
- Select "Settings"
- Go to the "Account" tab
- Click "Run diagnostics"
For Mac:
- Check your internet connection
- Click the OneDrive icon in the menu bar
- Click the three dots and select “Quit OneDrive”
- Reopen OneDrive from your Applications folder
-
If issues persist, try resetting OneDrive:
- Quit OneDrive
- Open Terminal
-
Type:
/Applications/OneDrive.app/Contents/MacOS/OneDrive /reset - Press Enter
- Restart OneDrive
Dealing with Sync Conflicts
Sync conflicts happen when the same file is changed on multiple devices. Here's how to resolve them:
- Look for files with "conflicted copy" in their name
- Open both the original and conflicted versions
- Decide which version to keep or merge the changes manually
- Save the version you want to keep with the original filename
- Delete the conflicted copy
Fixing "File In Use" Errors
If you see errors about files being in use:
- Close any programs that might be using the file
- Wait a few minutes for OneDrive to try syncing again
- If the problem persists, restart your computer
Comparing OneDrive Sync Methods
| Sync Method | Pros | Cons | Best For |
|---|---|---|---|
| Full Sync (all folders) |
All files available offline
Complete backup |
Uses more storage space
Initial sync can be slow |
Users with plenty of storage space who need all files available |
| Selective Sync |
Saves storage space
Faster initial setup |
Some files not available offline
Must manually select folders |
Users with limited storage who only need certain files |
| Files On-Demand |
Minimal storage use
All files visible |
Requires internet for accessing some files
Might have a slight delay opening files |
Users with limited storage who need to see all files |
Best Practices for OneDrive Syncing
Organizing Your OneDrive Folders
Good organization makes syncing more efficient:
- Create a logical folder structure before starting large syncs
- Keep similar files together in dedicated folders
- Use descriptive folder names for easy identification
- Consider creating separate folders for different devices or purposes
Managing Large Files
Large files can slow down syncing. Try these tips:
- Compress large files before adding them to OneDrive
- Consider using selective sync to exclude folders with very large files
- Split extremely large files into smaller parts if possible
- Use Files On-Demand for large media files you don't need offline access to
Keeping Your OneDrive Secure
Security is important when automatically syncing files:
- Enable two-factor authentication on your Microsoft account
- Don't sync sensitive documents to shared computers
- Use strong, unique passwords for your Microsoft account
- Regularly check which devices are connected to your OneDrive
Syncing Specific File Types with OneDrive
Syncing Photos and Videos
Media files often take up significant space. Here's how to manage them:
- Consider using Files On-Demand for your media folders
- On mobile devices, enable camera upload in the OneDrive app settings
- Create separate folders for photos from different devices or time periods
- Use selective sync to only download important media to certain devices
Syncing Documents and Work Files
For important work documents:
- Create a dedicated "Work" or "Documents" folder
- Set these folders to "Always keep on this device" for offline access
- Use Office integration to save directly to OneDrive
- Check version history for important documents if you need to recover previous versions
Syncing App Data and Settings
Some apps can store their data in OneDrive:
- Check if your apps support OneDrive storage
- Create a dedicated "App Data" folder
- Configure apps to save settings and data to this folder
- Make sure this folder is synced across all your devices
Quick Tip to ensure your videos never go missing
Videos are precious memories and all of us never want to lose them to hard disk crashes or missing drives. PicBackMan is the easiest and simplest way to keep your videos safely backed up in one or more online accounts.

Simply download PicBackMan (it's free!) , register your account, connect to your online store and tell PicBackMan where your videos are - PicBackMan does the rest, automatically. It bulk uploads all videos and keeps looking for new ones and uploads those too. You don't have to ever touch it.
Using OneDrive Across Multiple Devices
Syncing between Windows and Mac
If you use both operating systems:
- Use the same Microsoft account on all devices
- Keep folder structures consistent
- Be aware of filename limitations (Windows has more restrictions than Mac)
- Consider file format compatibility when working across platforms
Adding Mobile Devices to Your Sync Setup
Include your smartphones and tablets in your OneDrive ecosystem:
- Download the OneDrive app from your device's app store
- Sign in with the same Microsoft account
- Enable camera upload if you want photos automatically backed up
- Configure which folders to make available offline on your mobile device
Managing Multiple OneDrive Accounts
If you have personal and work OneDrive accounts:
-
On Windows 11:
- Click "Add an account" in OneDrive settings
- Sign in with your second account
- Choose which folders to sync for each account
-
On Mac:
- Click the OneDrive icon in the menu bar
- Click the three dots and select “Preferences”
- Click "Add Account"
- Sign in with your second account
- Configure sync settings for each account separately
Conclusion
Setting up automatic OneDrive folder syncing on Windows 11 or Mac is a straightforward process that can significantly improve your productivity and file security. By following the steps outlined in this guide, you can ensure your important files are always backed up and accessible across all your devices.
Remember to use selective sync and Files On-Demand to optimize storage space, set up appropriate bandwidth limits to prevent OneDrive from slowing down your internet, and organize your folders logically for the best experience. With these settings in place, you'll have a seamless cloud storage solution that works automatically in the background.
Whether you're a student, professional, or casual user, properly configured OneDrive sync can make your digital life much easier by eliminating manual file transfers and providing peace of mind that your files are safely backed up.
Frequently Asked Questions
1. Why is my OneDrive sync so slow on Windows 11?
Slow OneDrive syncing can be caused by several factors: poor internet connection, too many files syncing at once, large file sizes, or bandwidth limitations. Try checking your internet speed, temporarily pausing syncing of large folders, or adjusting OneDrive's network settings to allow more bandwidth usage.
2. Can I sync folders outside my OneDrive folder on Mac?
By default, OneDrive only syncs files within the main OneDrive folder. However, you can use folder shortcuts or symbolic links to make it appear as though external folders are within OneDrive. Create a symbolic link in Terminal or use the Finder to make an alias of the external folder and place it in your OneDrive folder.
3. How do I stop certain files from syncing without moving them out of OneDrive?
You can exclude specific file types from syncing by creating a ".ignore" file. Right-click in your OneDrive folder, create a new text document, rename it to “onedrive.ignore” (remove the .txt extension), and edit it to add file patterns like “*.mp4” or “*.psd” to exclude those file types from syncing.
4. What happens if I delete a file from my OneDrive folder on my computer?
When you delete a file from your local OneDrive folder, it will also be deleted from OneDrive cloud storage and all other synced devices. However, you can recover deleted files from the OneDrive Recycle Bin on the web for up to 30 days (or 93 days for work/school accounts). After that period, the files are permanently deleted.
5. How much OneDrive storage do I get for free, and what happens if I exceed it?
Microsoft provides 5GB of free OneDrive storage with a personal account. If you exceed this limit, new files won't sync until you free up space or upgrade to a paid plan. You'll receive notifications when approaching your storage limit. Microsoft 365 subscribers get 1TB or more depending on their subscription plan. Educational and business accounts may have different storage allocations.


