Menu
Start Free $129 Lifetime
Why is it the #1 bulk uploader?
- Insanely fast!
- Maintains folder structure.
- 100% automated upload.
- Supports RAW files.
- Privacy default.
How can you get started?
Download PicBackMan and start free, then upgrade to annual or lifetime plan as per your needs. Join 100,000+ users who trust PicBackMan for keeping their precious memories safe in multiple online accounts.
Trusted by users in 125+ countries.
“Your pictures are scattered. PicBackMan helps you bring order to your digital memories.”
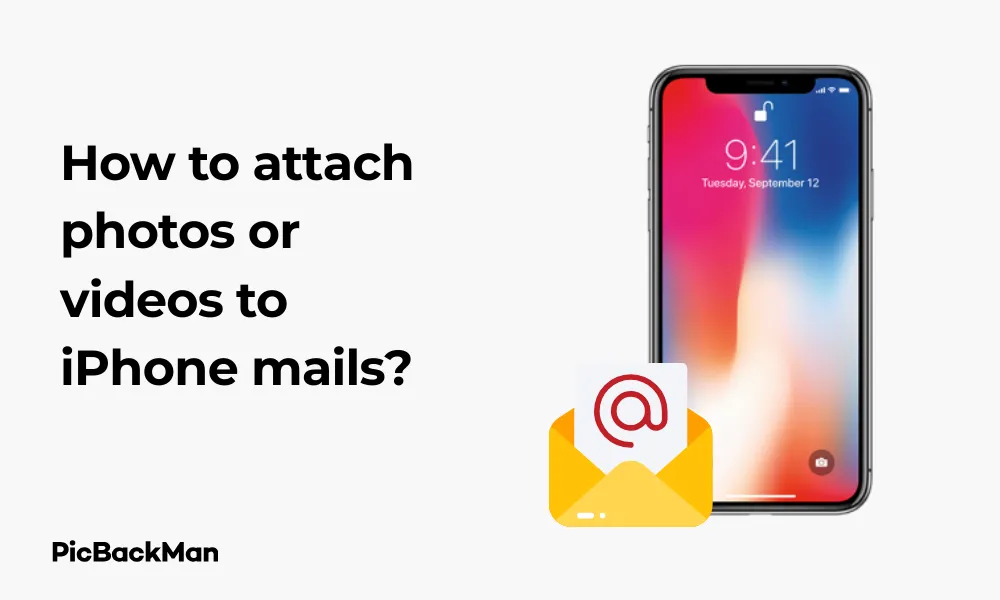
How to attach photos or videos to iPhone mails?

Sending photos and videos through email on your iPhone is a basic yet essential skill in today's digital communication. Whether you're sharing vacation memories with family, sending work documents to colleagues, or just passing along that funny meme to friends, knowing how to properly attach media to your emails saves time and prevents frustration.
This guide walks you through various methods to attach photos and videos to your iPhone emails, troubleshooting common issues, and sharing some helpful tips to make the process smoother. Let's get started with the basics and work our way to more advanced techniques.
Attaching Photos to Emails on iPhone
There are several ways to attach photos to your emails on iPhone, depending on whether you're starting from the Mail app or the Photos app. Let's explore each method.
Method 1: Attaching Photos While Composing an Email
This is the most common way to attach photos when you're already writing an email:
- Open the Mail app on your iPhone
- Start a new email by tapping the compose icon (square with pencil) in the bottom right corner
- Fill in the recipient's email address, subject, and any message text
- Tap and hold anywhere in the body of the email until a menu appears
- Tap the right arrow if needed, then select "Insert Photo or Video"
- Your photo library will open, allowing you to browse and select images
- Tap on the photo(s) you want to attach (a blue checkmark appears on selected photos)
- Tap "Choose" in the bottom right corner
- The selected photos will be inserted into your email
- Complete your message and tap "Send"
Method 2: Sharing Photos Directly from the Photos App
If you're already browsing your photos and decide to email one:
- Open the Photos app on your iPhone
- Find and tap on the photo you want to send
- Tap the share icon (square with an arrow pointing up) at the bottom left
- To select multiple photos, tap "Select" in the top right, then tap each photo you want to share
- From the share menu, scroll down and tap "Mail"
- A new email will open with the photo(s) already attached
- Fill in the recipient's email address, subject, and any message text
- Tap "Send" when you're ready
Method 3: Copy and Paste Photos
You can also use the copy and paste method:
- Open the Photos app and find the photo you want to send
- Tap and hold on the photo until a menu appears
- Select "Copy" from the menu
- Open the Mail app and start a new email
- Tap and hold in the body of the email until a menu appears
- Select "Paste"
- The photo will be inserted into your email
- Complete your email and send it
Attaching Videos to Emails on iPhone
Attaching videos follows similar steps to photos, but there are some important differences to note, especially regarding file size limitations.
Method 1: Attaching Videos While Composing an Email
- Open the Mail app and start a new email
- Tap and hold in the body of the email until a menu appears
- Tap the right arrow if needed, then select "Insert Photo or Video"
- Navigate to the "Videos" album or wherever your video is stored
- Tap on the video you want to attach
- You may be prompted to choose a size for the video (small, medium, large, or actual size)
- Select the appropriate size based on your needs
- The video will be inserted into your email
- Complete your message and tap "Send"
Method 2: Sharing Videos Directly from the Photos App
- Open the Photos app on your iPhone
- Find and tap on the video you want to send
- Tap the share icon at the bottom left
- Scroll down and tap "Mail"
- You'll be asked to choose a size for the video
- A new email will open with the video attached
- Complete your email and send it
Understanding Video Size Options
When attaching videos to emails on your iPhone, you'll typically be presented with several size options:
| Size Option | Description | Best For |
|---|---|---|
| Small | Heavily compressed, lowest quality | Quick sharing when quality isn't important |
| Medium | Balanced compression and quality | General purpose sharing |
| Large | Better quality, larger file size | When details matter but file size is still a concern |
| Actual Size | Original video quality | When maximum quality is needed (but beware of email size limits) |
Attaching Multiple Photos and Videos
Sending multiple media files at once is easy on iPhone:
From the Mail App:
- Start composing a new email
- Tap and hold in the email body
- Select "Insert Photo or Video"
- Tap on multiple photos or videos to select them (a blue checkmark will appear)
- Tap "Choose" when you've selected all the files you want
- All selected media will be inserted into your email
From the Photos App:
- Open the Photos app
- Tap "Select" in the top right corner
- Tap on all the photos and videos you want to send
- Tap the share icon
- Select "Mail" from the sharing options
- Complete your email and send it
Dealing with File Size Limitations
Email has inherent file size limitations that can prevent you from sending large photos or videos. Here's how to handle this:
Understanding Email Size Limits
Most email providers limit attachment sizes:
- Gmail: 25MB
- Yahoo Mail: 25MB
- Outlook/Hotmail: 20MB
- iCloud Mail: 20MB
Remember that these limits refer to the total size of all attachments in a single email.
Options for Sending Large Files
If your photos or videos exceed email size limits, try these alternatives:
1. Use Mail Drop for iCloud Users
When your attachments are too large, iCloud Mail offers Mail Drop:
- Attach your large photos or videos as normal
- When you try to send, you'll see a prompt asking if you want to use Mail Drop
- Tap "Use Mail Drop"
- Your files will be uploaded to iCloud and a download link will be sent to your recipient
- The link remains active for 30 days
2. Compress Videos Before Sending
You can reduce video size by choosing a smaller size option when prompted during the attachment process.
3. Use Cloud Storage Services
Instead of attaching files directly:
- Upload your photos or videos to a service like iCloud Drive, Google Drive, or Dropbox
- Create a shareable link
- Paste the link in your email
4. Split Your Media Across Multiple Emails
If all else fails, you can always send your photos or videos in batches across multiple emails.
Troubleshooting Common Issues
Even with the straightforward process, you might encounter some problems when attaching media to emails. Here are solutions to common issues:
Photos or Videos Not Attaching
If you're having trouble attaching media:
- Check your internet connection - A weak connection can interrupt the attachment process
- Restart the Mail app - Close the app completely and reopen it
- Verify storage space - Ensure you have enough free space on your iPhone
- Update iOS - Make sure your iPhone is running the latest version of iOS
Email Fails to Send
If your email with attachments won't send:
- Check attachment size - You might be exceeding your email provider's size limits
- Verify email settings - Ensure your email account is properly configured
- Try a different network - Switch from Wi-Fi to cellular data or vice versa
Poor Quality Photos or Videos
If your attachments look low quality after sending:
- Check compression settings - Choose "Actual Size" when prompted
- Use Mail Drop or cloud storage - These options preserve quality better
Tips for Successfully Emailing Photos and Videos
Best Practices for Photo Attachments
- Be selective - Only send the best photos rather than dozens of similar shots
- Consider organizing photos into albums before selecting them to attach
- Edit photos before sending - Crop, adjust lighting, etc. in the Photos app first
- Check orientation - Make sure your photos are properly oriented before attaching
Best Practices for Video Attachments
- Trim videos - Use the edit function in Photos to cut out unnecessary footage
- Choose appropriate quality - Balance quality needs with file size considerations
- Consider converting to GIF for very short clips (using third-party apps)
- Test send to yourself first for important videos to ensure they work correctly
General Email Attachment Tips
- Use descriptive file names when possible
- Mention the attachments in your email text so recipients know to look for them
- Send when connected to Wi-Fi for faster uploads and to save cellular data
- Be patient with large attachments - they may take time to upload
Quick Tip to ensure your videos never go missing
Videos are precious memories and all of us never want to lose them to hard disk crashes or missing drives. PicBackMan is the easiest and simplest way to keep your videos safely backed up in one or more online accounts.

Simply download PicBackMan (it's free!) , register your account, connect to your online store and tell PicBackMan where your videos are - PicBackMan does the rest, automatically. It bulk uploads all videos and keeps looking for new ones and uploads those too. You don't have to ever touch it.
Alternative Methods for Sharing Photos and Videos
While email is convenient, there are other options that might work better depending on your needs:
iMessage and SMS
For sharing with other iPhone users:
- Maintains better quality than email for iPhone-to-iPhone sharing
- Easier and faster for casual sharing
- Allows reactions and replies to specific photos
AirDrop
For nearby Apple devices:
- Fastest method for sharing with nearby Apple devices
- Preserves original quality
- No size limitations
- No internet connection required
Shared Albums
For ongoing photo sharing:
- Create shared albums in Photos app
- Invite others to view and contribute
- Great for events, projects, or family photo collections
Third-Party Apps
Many apps offer specialized media sharing:
- WhatsApp, Telegram, or Signal for messaging with media
- Instagram or Snapchat for social sharing
- Google Photos or Flickr for photo organization and sharing
How to Manage Sent Attachments
After sending photos and videos, you might want to track or manage them:
Finding Sent Emails with Attachments
- Open the Mail app
- Go to the "Sent" folder
- Look for the paperclip icon which indicates attachments
Saving Space on Your iPhone
Sending large or numerous attachments can fill up your sent mail folder:
- Regularly delete large sent emails with attachments
- Use "Offload Unused Apps" in Settings to free up space
- Back up and remove original videos from your phone after sending
Frequently Asked Questions
Why can't I attach large videos to my iPhone emails?
Email providers typically limit attachment sizes (usually 20-25MB). For larger videos, your iPhone will likely prompt you to use Mail Drop (for iCloud users) or to reduce the video size. You can also use cloud storage services like iCloud Drive, Google Drive, or Dropbox to share a link to the video instead.
How can I send multiple photos at once in an email from my iPhone?
In the Photos app, tap "Select" in the top right corner, then tap each photo you want to include. After selecting all desired photos, tap the share icon and choose "Mail." You can also start from the Mail app, tap and hold in the message body, select "Insert Photo or Video," and then select multiple photos before tapping "Choose."
What's the difference between the video size options when attaching to an email?
When attaching videos, iPhone offers size options like Small, Medium, Large, and Actual Size. Small provides the lowest quality but smallest file size, while Actual Size maintains original quality but creates the largest file. Medium and Large offer balance points between quality and size. Choose based on your recipient's needs and your email provider's limitations.
Why do my photos look lower quality after I email them?
Email apps often compress photos to reduce file size for faster sending. To maintain higher quality, select "Actual Size" when prompted during the attachment process. Alternatively, use Mail Drop (for iCloud users) or cloud storage links, which typically preserve better quality than direct email attachments.
Can I recall an email with attachments after I've sent it?
Unfortunately, once an email is sent from your iPhone's Mail app, it generally cannot be recalled or unsent. Some third-party email providers like Gmail have a brief "undo send" window (typically 5-30 seconds), but this must be set up in the provider's settings, not in the iPhone Mail app. Always double-check your emails and attachments before sending.
Conclusion
Attaching photos and videos to emails on your iPhone is a straightforward process once you know the steps. Whether you start from the Mail app or the Photos app, you have multiple options to share your media easily. Remember to be mindful of file sizes, especially when sending videos, and consider using alternatives like Mail Drop or cloud storage links when dealing with larger files.
With the tips and troubleshooting advice in this guide, you should be well-equipped to share your photos and videos via email without hassle. As your iPhone and iOS continue to evolve, the process may change slightly, but the basic principles will remain the same.


