Menu
Start Free $129 Lifetime
Why is it the #1 bulk uploader?
- Insanely fast!
- Maintains folder structure.
- 100% automated upload.
- Supports RAW files.
- Privacy default.
How can you get started?
Download PicBackMan and start free, then upgrade to annual or lifetime plan as per your needs. Join 100,000+ users who trust PicBackMan for keeping their precious memories safe in multiple online accounts.
Trusted by users in 125+ countries.
“Your pictures are scattered. PicBackMan helps you bring order to your digital memories.”
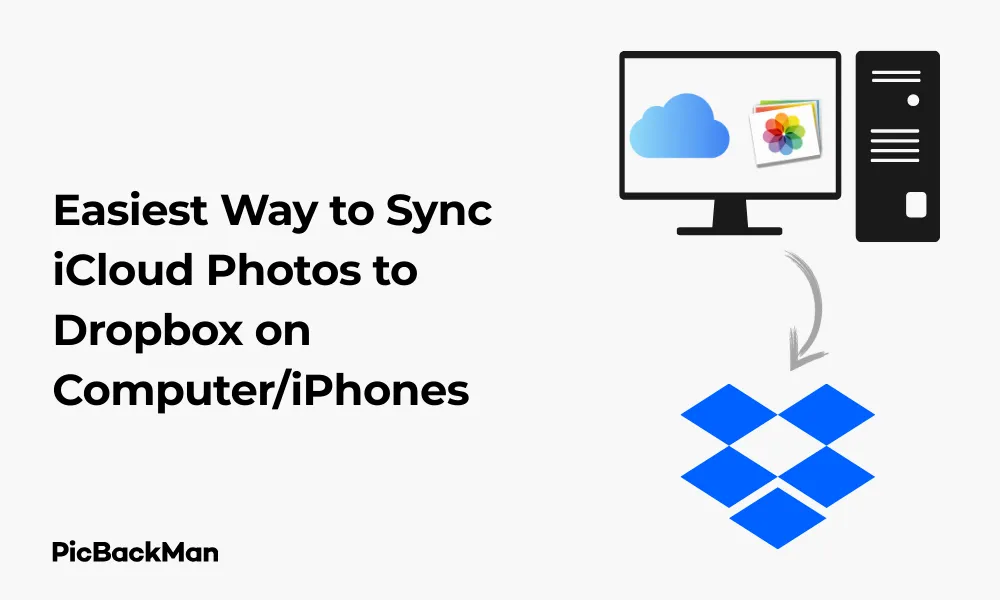
Easiest Way to Sync iCloud Photos to Dropbox on Computer/iPhones

Need to sync your iCloud photos to Dropbox but don't know where to start? You're not alone. Many Apple users want to back up their precious memories to Dropbox for extra security or easier sharing. In this guide, I'll walk you through the simplest methods to sync your iCloud photos to Dropbox on both computers and iPhones.
Whether you're looking to free up space on your iCloud account, create an additional backup, or just want easier access to your photos across all devices, this step-by-step tutorial will help you get it done quickly and efficiently.
Why Sync iCloud Photos to Dropbox?
Before diving into the how-to, let's quickly look at why you might want to sync these two cloud services:
- Extra backup security (never keep photos in just one place)
- Dropbox offers generous free storage options
- Easier sharing with non-Apple users
- Access your photos on any device, not just Apple products
- Free up iCloud storage space
Method 1: Syncing iCloud Photos to Dropbox on Mac
If you're using a Mac, this is perhaps the most straightforward method to get your photos from iCloud to Dropbox.
Step-by-Step Instructions
1. Download and Set Up Required Apps
- Make sure you have the latest version of Photos app on your Mac
- Download and install the Dropbox desktop app if you haven't already
- Sign in to both your iCloud account and Dropbox account
2. Enable iCloud Photos on Mac
- Open the Photos app on your Mac
- Click on "Photos" in the menu bar
- Select "Preferences"
- Go to the "iCloud" tab
- Check the box next to "iCloud Photos"
- Select “Download Originals to this Mac” to ensure you have all photos locally
3. Wait for Photos to download
Depending on your photo library size and internet speed, this may take some time. Make sure all your photos have downloaded before proceeding to the next step.
4. Create a folder in Dropbox
- Open the Dropbox app or go to Dropbox in Finder
- Create a new folder where you want to store your iCloud photos (eg, "iCloud Photos Backup")
5. Export and Move Photos
- Return to the Photos app
- Select all photos you want to sync (press Command+A to select all)
- Right-click and select "Export"
- Choose your preferred export settings (I recommend "Unmodified Original" for full quality)
- Select the Dropbox folder you created as the destination
- Click "Export"
Your photos will now begin copying to Dropbox. The time this takes depends on how many photos you're transferring.
Method 2: Using Automator on Mac for Automatic Syncing
Want to set up an automatic sync between iCloud Photos and Dropbox? Automator on Mac can help.
Creating an Automator Workflow
1. Set Up Automator
- Open Automator (found in Applications)
- Select "New Document"
- Choose "Folder Action" as the type of document
2. Configure the Workflow
- At the top of the window, select your Photos library folder from the dropdown menu
- From the Actions library, find and drag “Get Specific Finder Items” into the workflow
- Add "Copy Finder Items" action to the workflow
- Set the destination to your created Dropbox folder
3. Save and Enable the Workflow
- Save your Automator workflow with a recognizable name
- The workflow will run whenever new items are added to your Photos library
This method creates a simple automation that copies new photos to your Dropbox folder whenever they appear in your Photos library.
Method 3: Syncing iCloud Photos to Dropbox on Windows PC
If you're a Windows user, you can still sync your iCloud photos to Dropbox with these steps.
Step-by-Step Instructions
1. Install Required Software
- Download and install iCloud for Windows from Apple's website
- Install the Dropbox desktop application
- Sign in to both applications with your credentials
2. Configure iCloud for Windows
- Open iCloud for Windows
- Check the box next to "Photos"
- Click "Options" next to Photos
- Select "Download new photos and videos to my PC"
- Click "Done" and then "Apply"
3. Locate Your iCloud Photos Folder
- By default, iCloud Photos downloads to: C:Users[YourUsername]PicturesiCloud Photos
- Make sure photos are downloaded properly to this location
4. Set Up Dropbox to Sync the iCloud Photos Folder
- Open Dropbox preferences
- Go to the "Backups" tab
- Click "Set up" or "Add folder"
- Browse and select your iCloud Photos folder
- Click "Choose" or "Select Folder"
Dropbox will now back up your iCloud Photos folder automatically whenever new photos are downloaded.
Method 4: Using iPhone to Sync iCloud Photos to Dropbox
Don't have access to a computer? You can sync directly from your iPhone.
Manual Method
1. Set Up Your iPhone
- Make sure iCloud Photos is enabled on your iPhone (Settings > [Your Name] > iCloud > Photos)
- Download and install the Dropbox app from the App Store
- Sign in to your Dropbox account
2. Upload photos to Dropbox
- Open the Photos app on your iPhone
- Select the photos you want to upload (tap “Select” and choose multiple photos)
- Tap the Share icon (square with up arrow)
- Scroll through the apps and select "Dropbox"
- Choose the folder where you want to save the photos
- Tap "Upload" or "Save"
This method works well for smaller batches of photos but can be time-consuming for large libraries.
Using Shortcuts App for Automation
1. Create a New Shortcut
- Open the Shortcuts app on your iPhone
- Tap the “+” button to create a new shortcut
- Tap "Add Action"
- Search for "Find Photos" and add it
2. Configure the Shortcut
- Set filters for which photos to find (like date range or album)
- Add the "Save to Dropbox" action
- Specify the Dropbox folder destination
3. Run and Automate the Shortcut
- Tap "Done" to save your shortcut
- Run it manually by tapping on it in the Shortcuts app
- Set up automation to run it periodically if desired
This creates a semi-automated way to transfer photos from your iPhone to Dropbox without needing a computer.
Method 5: Using Third-Party Apps for Syncing
Several third-party apps can help streamline the process of syncing between cloud services.
Popular Third-Party Sync Tools
PicBackMan
- Visit PicBackMan.com and create a free account
- Download and install the PicBackMan app (Windows or Mac)
- Open the app and sign in to your PicBackMan account
- Add Apple Photos / iCloud Photos as the source (via Apple Photos integration)
- Add Dropbox as the destination
- Select the photos and videos you want to sync
- Click “Start Migration” to let PicBackMan automatically upload your media to Dropbox
CloudHQ
- Sign up for CloudHQ
- Connect both cloud services
- Set up a sync pair between iCloud Photos and Dropbox
- Choose sync options (one-way or two-way)
- Start the sync
These services often provide additional features like filtering which photos to sync or setting up continuous syncing relationships.
Comparison of Methods: Which One Should You Choose?
| Method | Ease of Use | Speed | Automation Capability | Best For |
|---|---|---|---|---|
| Mac Direct Export | Easy | Medium | No | One-time transfers |
| Mac Automator | Medium | Fast | Yes | Ongoing syncing |
| Windows PC | Easy | Medium | Yes | Windows users |
| iPhone Manual | Easy | Slow | No | Small batches |
| iPhone Shortcuts | Medium | Medium | Partial | Regular small transfers |
| Third-Party Apps | Medium | Fast | Yes | Complex sync needs |
Tips for Successful iCloud to Dropbox Photo Syncing
Maintaining Organization
- Create a clear folder structure in Dropbox before syncing
- Consider organizing year/month or event
- Use consistent naming conventions
Handling Large Libraries
- Break down large transfers into smaller batches
- Start with recent photos first
- Consider overnight transfers for huge libraries
Managing Storage Space
- Check available Dropbox storage before starting
- Consider upgrading your Dropbox plan if needed
- Remove duplicate photos before syncing
Dealing with Metadata and Live Photos
- Be aware that some metadata might not transfer perfectly
- Live Photos will typically transfer as still images plus a video file
- Check a few test photos after transfer to ensure quality is maintained
Troubleshooting Common Issues
Sync Errors
If you encounter errors during syncing:
- Check your internet connection
- Ensure both accounts have sufficient storage
- Try syncing smaller batches of photos
- Restart the apps or your device
Missing Photos
If some photos don't transfer:
- Verify they've downloaded completely to your device first
- Check for format compatibility issues
- Try transferring those specific photos again
Slow Transfer Speeds
To improve slow transfers:
- Connect to faster Wi-Fi
- Close other bandwidth-heavy applications
- Try during off-peak hours
- Transfer in smaller batches
Keeping Your Photos in Sync Long-Term
Setting Up Ongoing Sync Solutions
For continuous syncing between iCloud and Dropbox:
- Use Automator on Mac for automatic folder monitoring
- Schedule regular transfers using third-party tools
- Create a monthly calendar reminder to manually sync new photos
Managing Changes Across Platforms
If you edit photos on either platform:
- Decide on a “primary” platform for edits
- Consider one-way syncing (iCloud to Dropbox only)
- Be careful with deletions as they might not sync across platforms
Privacy and Security Considerations
Protecting Your Photos
- Use strong, unique passwords for both iCloud and Dropbox
- Enable two-factor authentication on both services
- Be cautious when using third-party sync services
- Review privacy policies before granting access to your photos
Managing Shared Access
If you share your photo library:
- Be selective about which photos you sync to shared folders
- Use Dropbox's permission settings to control who can view or edit
- Consider creating separate folders for private and shared photos
Quick Tip to ensure your videos never go missing
Videos are precious memories and all of us never want to lose them to hard disk crashes or missing drives. PicBackMan is the easiest and simplest way to keep your videos safely backed up in one or more online accounts.

Simply download PicBackMan (it's free!) , register your account, connect to your online store and tell PicBackMan where your videos are - PicBackMan does the rest, automatically. It bulk uploads all videos and keeps looking for new ones and uploads those too. You don't have to ever touch it.
Conclusion
Syncing your iCloud photos to Dropbox doesn't have to be complicated. Whether you prefer the direct approach on your Mac or PC, want to sync directly from your iPhone, or need an automated solution with third-party tools, there's a method that will work for your needs.
By following the steps outlined in this guide, you can ensure your precious memories are safely backed up in multiple locations while making them more accessible across all your devices. Remember to consider factors like library size, automation needs, and organization when choosing your method.
The peace of mind that comes from having your photos securely stored in both iCloud and Dropbox is well worth the initial setup time. And with the right automation in place, you can keep everything in sync with minimal ongoing effort.
Frequently Asked Questions
1. Will syncing photos to Dropbox delete them from iCloud?
No, syncing your photos to Dropbox creates a copy of your photos and doesn't affect the originals in iCloud. Your iCloud photos will remain intact unless you manually delete them. This process is additive, not subtractive.
2. How much Dropbox storage do I need for my iCloud Photos?
You'll need at least as much free space in Dropbox as your iCloud Photos library uses. To check your iCloud Photos size, go to Settings > [Your Name] > iCloud > Manage Storage > Photos on your iPhone. The free Dropbox plan offers 2GB, which isn't much for photos, so you might need to consider a paid plan.
3. Will photo edits and albums transfer when syncing to Dropbox?
Basic photo edits will transfer if you export modified versions. However, the album structure from iCloud Photos won't automatically transfer to Dropbox. You'll need to recreate your organization system in Dropbox manually or use a third-party tool that preserves folder structures.
4. Can I set up automatic syncing between iCloud and Dropbox?
Yes, but not natively. You'll need to use either Automator on Mac, scheduled tasks on Windows, or third-party services like MultCloud or CloudHQ to create automatic syncing between these platforms. These solutions can monitor for new photos and transfer them automatically.
5. Is it safe to use third-party apps to sync my photos?
Reputable third-party sync services are generally safe, but they do require access to your cloud accounts. Always research the company, read reviews, check their privacy policy, and use services that don't store your credentials. For maximum security, stick with manual methods or first-party tools when possible.


