Menu
Start Free $129 Lifetime
Why is it the #1 bulk uploader?
- Insanely fast!
- Maintains folder structure.
- 100% automated upload.
- Supports RAW files.
- Privacy default.
How can you get started?
Download PicBackMan and start free, then upgrade to annual or lifetime plan as per your needs. Join 100,000+ users who trust PicBackMan for keeping their precious memories safe in multiple online accounts.
Trusted by users in 125+ countries.
“Your pictures are scattered. PicBackMan helps you bring order to your digital memories.”
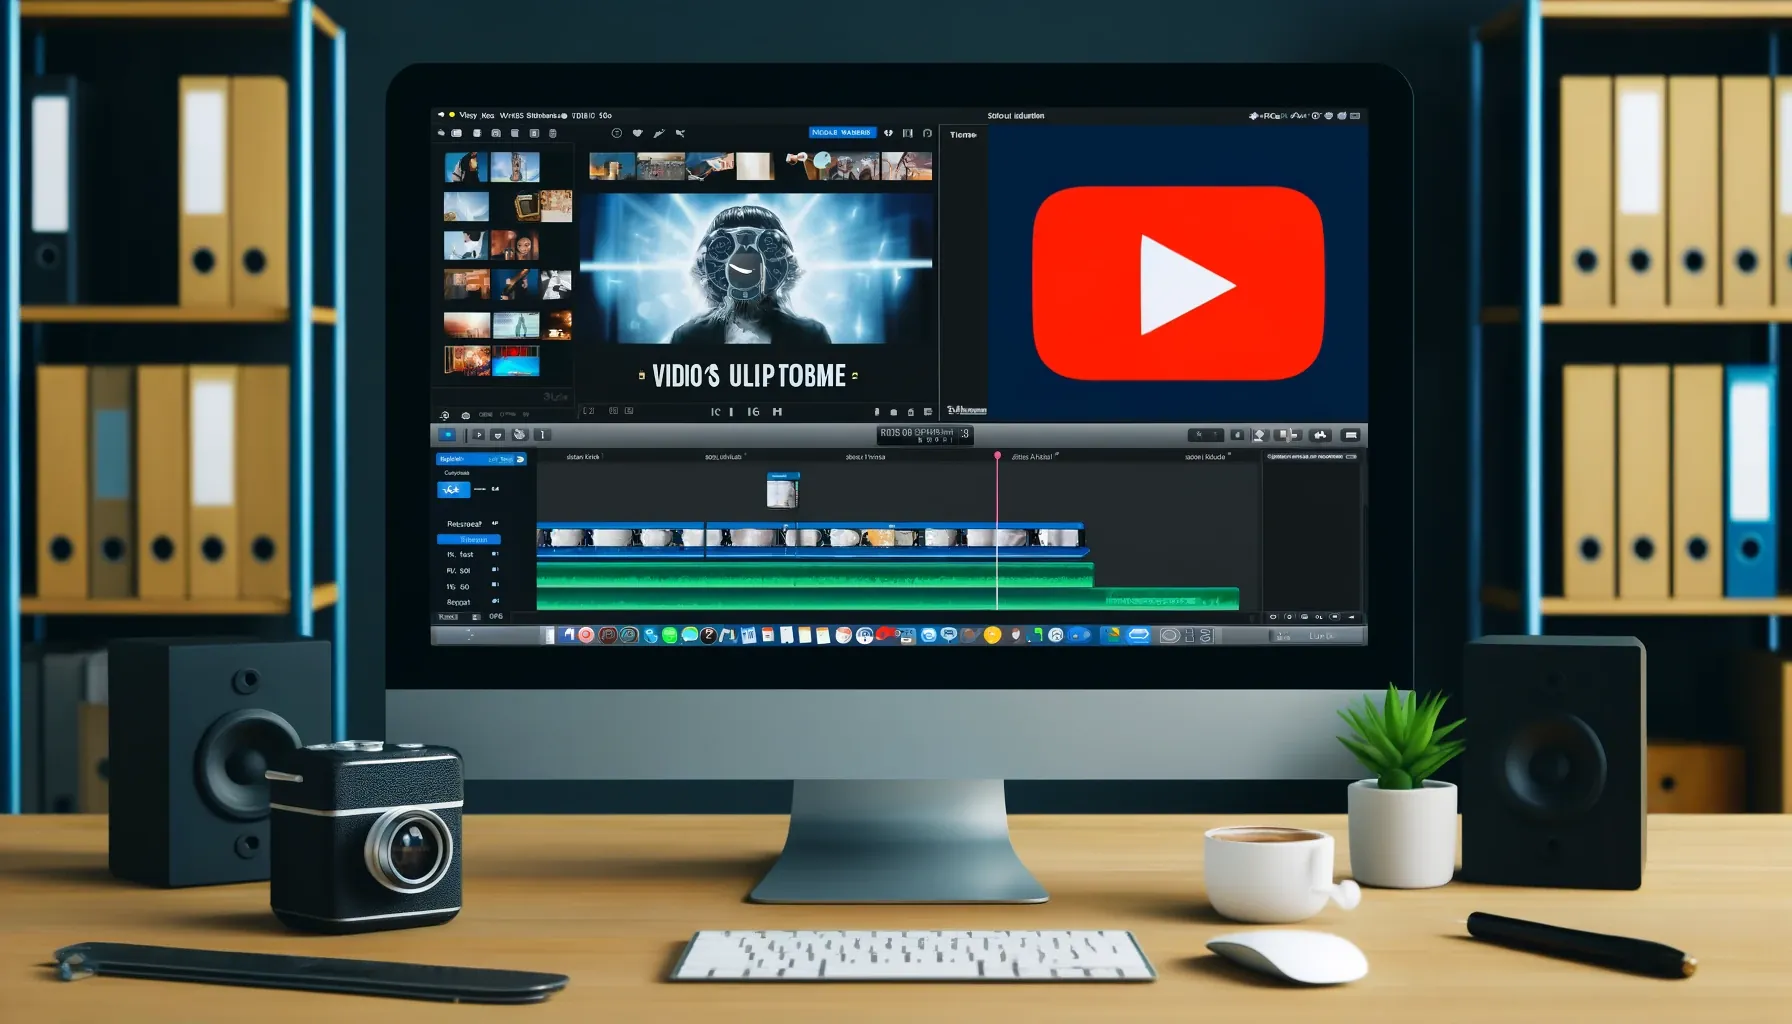
How to Upload Videos to YouTube from iMovie?

In today's digital age, video content reigns supreme. Whether you're a vlogger, educator, or hobbyist, sharing your videos on platforms like YouTube can significantly expand your reach. YouTube, being the second largest search engine after Google, provides a massive audience for your content. This guide focuses on how to upload videos to YouTube from iMovie, making the process seamless and efficient.
Benefits of Using iMovie for YouTube Videos
iMovie is an excellent tool for video editing, offering a user-friendly interface and powerful features. It allows you to create professional-looking videos without the steep learning curve associated with other editing software. By uploading directly from iMovie to YouTube, you save time and ensure your videos maintain the highest quality.
Preparing Your Video for Upload
Ensuring High-Quality Video Editing
Before uploading, it's crucial to ensure your video is polished and professional. Utilize iMovie's editing tools to trim unwanted footage, add transitions, and enhance the overall look of your video. A well-edited video not only attracts more viewers but also retains their attention.
Choosing the Right Format and Resolution
Selecting the appropriate format and resolution is essential for maintaining video quality. iMovie supports various formats, but for YouTube, it's best to export in MP4 format with a resolution of at least 1080p. This ensures your video looks great on all devices, from smartphones to large screens. If your original footage is below 1080p, you can also upscale video using AI before uploading, enhancing resolution and sharpening detail so older or low-quality clips meet YouTube's recommended quality standards.
Adding Titles, Descriptions, and Tags in iMovie
While editing your video, it's a good practice to think about the titles, descriptions, and tags you will use. These elements are crucial for YouTube's search algorithm and help your video reach a broader audience. Craft a compelling title, write a detailed description, and choose relevant tags to enhance discoverability.
Exporting Your Video from iMovie
Steps to Export Your Project
- Open Your Project: Launch iMovie and open the project you wish to export.
- Go to File > Share > File: This option prepares your video for export.
- Choose Export Settings: Select the desired format, resolution, and quality settings.
- Export: Click the export button and wait for the process to complete.
Selecting the Best Export Settings
For YouTube, choose the highest resolution available (usually 1080p or 4K) and the best quality settings. Ensure the format is MP4 to maintain compatibility with YouTube's requirements. This step is crucial to preserve the video's quality during the upload process.
Troubleshooting Common Export Issues
Sometimes, you may encounter issues while exporting. Common problems include large file sizes, long export times, or errors. To resolve these, ensure your Mac has enough free storage space, close unnecessary applications to free up memory, and check for software updates.
Linking Your YouTube Account to iMovie
Signing into Your YouTube Account
To upload directly from iMovie, you need to link your YouTube account. Open iMovie, click on the share button, and select YouTube. Sign in with your YouTube credentials to establish the connection.
Authorizing iMovie to Access Your YouTube Channel
Once signed in, authorize iMovie to access your YouTube account. This step is necessary for iMovie to upload videos on your behalf. Ensure you grant the required permissions to avoid any upload issues.
Understanding Privacy and Permissions
When linking your accounts, it's important to understand the privacy and permission settings. You can choose to make your video public, unlisted, or private. Each setting has its own benefits, depending on your audience and the nature of your content.
Uploading Directly from iMovie
Step-by-Step Guide to Direct Upload
- Open iMovie and Your Project: Launch iMovie and open the project you wish to upload.
- Click on Share > YouTube: This opens the upload interface within iMovie.
- Enter Video Details: Fill in the title, description, and tags for your video.
- Set Privacy Settings: Choose whether to make your video public, unlisted, or private.
- Upload: Click the upload button and wait for the process to complete.
Setting Up Video Details in iMovie
While uploading, you can enter your video's title, description, and tags directly within iMovie. These details are crucial for SEO and help your video get discovered by a broader audience. Make sure to include relevant keywords and a compelling description.
Customizing Privacy Settings for Your Upload
Privacy settings determine who can see your video. Public videos are visible to everyone, unlisted videos are accessible via direct link, and private videos are only visible to you and selected individuals. Choose the setting that best suits your needs.
Editing Video Details on YouTube
Finalizing Titles, Descriptions, and Tags on YouTube
After uploading, you can edit your video's details on YouTube. Navigate to YouTube Studio, find your video, and make any necessary changes to the title, description, and tags. This step is crucial for optimizing your video for search engines.
Adding Thumbnails and End Screens
Custom thumbnails attract more clicks and improve your video's performance. Create an eye-catching thumbnail that accurately represents your video's content. Additionally, add end screens to promote other videos and encourage viewers to stay on your channel.
Understanding YouTube’s Metadata Best Practices
Metadata, including titles, descriptions, and tags, plays a vital role in your video's discoverability. Follow YouTube's best practices by using relevant keywords, writing detailed descriptions, and choosing appropriate tags. This helps your video rank higher in search results.
Optimizing Your Video for YouTube
Importance of Keywords and SEO
Keywords are crucial for YouTube SEO. Conduct keyword research to find terms your target audience is searching for. Incorporate these keywords naturally into your title, description, and tags to improve your video's visibility.
Using Tags Effectively
Tags help YouTube understand your video's content. Use a mix of broad and specific tags to cover all relevant aspects of your video. Avoid keyword stuffing and focus on relevance and accuracy.
Creating Eye-Catching Thumbnails
Thumbnails are the first thing viewers see. Design thumbnails that are visually appealing and accurately represent your video. Use high-quality images, bold text, and vibrant colors to catch viewers' attention.
Promoting Your Video
Sharing Your Video on Social Media
Promote your video across various social media platforms to reach a wider audience. Share your video on Facebook, Twitter, Instagram, and LinkedIn. Engage with your followers and encourage them to share your content.
Engaging with Your Audience through Comments
Respond to comments on your video to build a community and foster engagement. Thank viewers for their feedback, answer questions, and engage in meaningful conversations. This helps build loyalty and encourages more interactions.
Collaborating with Other YouTubers
Collaborations can significantly boost your channel's visibility. Partner with other YouTubers in your niche to create collaborative content. This exposes your channel to their audience and helps you gain new subscribers.
Managing Your YouTube Channel
Analyzing Video Performance with YouTube Analytics
YouTube Analytics provides valuable insights into your video's performance. Monitor key metrics such as views, watch time, and audience retention. Use this data to understand what works and optimize your
future content.
Responding to Viewer Feedback
Viewer feedback is invaluable. Pay attention to comments, likes, and dislikes to gauge viewer satisfaction. Use this feedback to improve your content and address any concerns or suggestions.
Planning Future Content Based on Analytics
Use the insights gained from YouTube Analytics to plan your future content. Identify trends, popular topics, and areas for improvement. This helps you create content that resonates with your audience and drives engagement.
Quick Tip to ensure your videos never go missing

Videos are precious memories and all of us never want to ever lose them to hard disk crashes or missing drives. PicBackMan is the easiest and simplest way to keep your videos safely backed up in one or more online accounts. Simply Download PicBackMan (it's free!), register your account, connect to your online store and tell PicBackMan where your videos are - PicBackMan does the rest, automatically. It bulk uploads all videos and keeps looking for new ones and uploads those too. You don't have to ever touch it.
Frequently Asked Questions (FAQs)
Can I use iMovie to make YouTube videos?
Yes, you can use iMovie to create and edit videos for YouTube. iMovie is a powerful video editing software developed by Apple, and it allows you to import footage, apply effects, add transitions, and export your final video in a format suitable for uploading to YouTube.
How to upload iMovie to YouTube longer than 15 minutes?
By default, YouTube has a limit of 15 minutes for video uploads from unverified accounts. To upload videos longer than 15 minutes, you need to verify your account. Once verified, you can upload videos up to 12 hours in length. To verify your account, follow these steps: Sign in to YouTube, go to your YouTube Settings, select "View Additional Features," and follow the instructions to verify your account.
How do I upload a video to YouTube from my Mac?
To upload a video to YouTube from your Mac, follow these steps:
1. Sign in to your YouTube account on the YouTube website.
2. Click the "Upload" button at the top of the page.
3. In the upload window, select the video file from your Mac's iMovie library or the location where you exported
the
video.
4. Enter a title, description, and tags for your video.
5. Choose the desired privacy settings and other options.
6. Click "Upload" to begin uploading your video to YouTube.
Why is my iMovie blurry on YouTube?
If your iMovie video appears blurry on YouTube, it could be due to several reasons:
1. Low resolution or quality settings in iMovie during export.
2. YouTube's compression algorithms reducing the video quality.
3. Your internet connection speed during the upload process.
To prevent blurriness, export your iMovie project at a high resolution (e.g., 1080p or higher) and ensure a stable
internet connection during the upload.
How do I upload an iMovie to YouTube without losing quality?
To upload an iMovie video to YouTube without losing quality, follow these steps:
1. In iMovie, go to the "Share" menu and select "File" to export your project.
2. Choose a high-quality export setting, such as "Export for Computer" or "Export Movie at Maximum Quality."
3. Select the desired resolution (e.g., 1080p or higher) and click "Export."
4. Once exported, sign in to your YouTube account and upload the high-quality video file.
5. YouTube will process the video, and you should see a clear, high-quality version on your video page.
How do I transfer iMovie to YouTube?
To transfer an iMovie project to YouTube, follow these steps:
1. Open iMovie and locate the project you want to upload.
2. Go to the "Share" menu and select "YouTube."
3. Sign in to your YouTube account when prompted.
4. Enter a title, description, and tags for your video.
5. Choose the desired privacy settings and other options.
6. Click "Upload" to begin uploading your iMovie project directly to YouTube.
Conclusion
Uploading videos to YouTube from iMovie is a straightforward process that empowers you to share your creative projects with a global audience. By following the steps outlined in this guide, you can ensure your videos are well-prepared, optimized for SEO, and engaging for viewers. Whether you're a beginner or an experienced content creator, mastering this process will help you grow your YouTube channel and connect with your audience. So, go ahead, create compelling content, and share it with the world through YouTube.


