Menu
Start Free $129 Lifetime
Why is it the #1 bulk uploader?
- Insanely fast!
- Maintains folder structure.
- 100% automated upload.
- Supports RAW files.
- Privacy default.
How can you get started?
Download PicBackMan and start free, then upgrade to annual or lifetime plan as per your needs. Join 100,000+ users who trust PicBackMan for keeping their precious memories safe in multiple online accounts.
Trusted by users in 125+ countries.
“Your pictures are scattered. PicBackMan helps you bring order to your digital memories.”
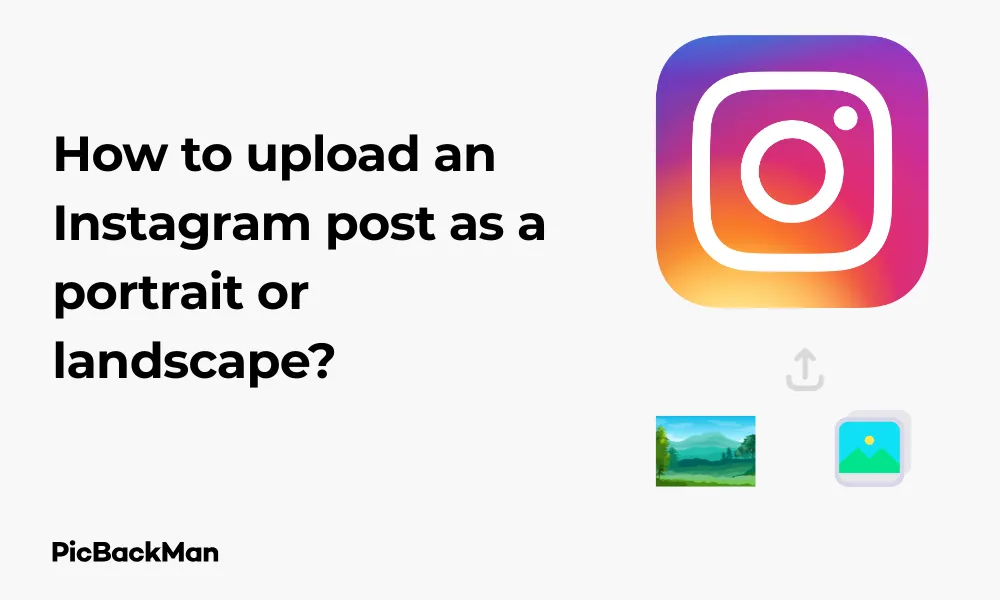
How to upload an Instagram post as a portrait or landscape?

Instagram has evolved from a simple photo-sharing app to a powerful social media platform where content presentation matters greatly. While Instagram originally only supported square photos, the platform now allows users to share portrait and landscape images. This flexibility gives content creators more creative freedom to showcase their work as intended. In this guide, I'll walk you through the step-by-step process of uploading portrait and landscape posts on Instagram, along with tips to make your content stand out.
Understanding Instagram's Image Dimensions
Before we dive into the upload process, let's get familiar with Instagram's supported dimensions for different orientations:
| Orientation | Aspect Ratio | Recommended Resolution |
|---|---|---|
| Square | 1:1 | 1080 x 1080 pixels |
| Portrait | 4:5 | 1080 x 1350 pixels |
| Landscape | 16:9 | 1080 x 608 pixels |
Instagram will automatically resize your images to fit within these parameters, but uploading photos with the correct dimensions ensures the best quality.
Step-by-Step Guide to Upload Portrait or Landscape Photos on Instagram
Method 1: Uploading Through the Instagram App
- Open the Instagram app on your smartphone or tablet.
- Tap the "+" icon at the bottom center of your screen (or top right on some devices).
- Select "Post" from the options that appear.
- Choose the photo or video you want to upload from your gallery.
- Tap the expand icon (looks like two outward-facing arrows) in the bottom left corner of the image preview to toggle between square, portrait, and landscape formats.
- Adjust your image within the frame if needed.
- Tap "Next" to proceed to filters and editing options.
- Edit your photo as desired and tap "Next" again.
- Add your caption, location, tags, and other details.
- Tap "Share" to publish your post.
Method 2: Using Instagram on Desktop
Instagram now allows posting directly from desktop browsers, which can be helpful for professional photographers or content creators who edit on computers.
- Go to Instagram.com and log into your account.
- Click the "+" icon in the top navigation bar.
- Select the photo or video you want to upload from your computer.
- Click the expand/contract icon in the bottom left of the image preview to switch between square, portrait, and landscape orientations.
- Adjust the zoom level if needed by using the slider.
- Click "Next" to move to filters and editing.
- Apply filters or adjustments as desired and click "Next" again.
- Add your caption and other details.
- Click "Share" to publish your post.
Tips for Perfect Portrait Photos on Instagram
Portrait orientation (taller than wide) is ideal for certain types of content. Here's how to make the most of this format:
When to Use Portrait Orientation
- Full-body shots - Perfect for fashion photography and outfit posts
- Architecture photos - Capture tall buildings and structures
- Product photography - Showcase items with vertical prominence
- Phone screenshots - Share mobile screen captures naturally
- Portraits of people - Frame faces and upper bodies effectively
Best Practices for Portrait Photos
To create stunning portrait-oriented posts:
- Follow the 4:5 ratio - This is Instagram's maximum vertical limit
- Consider the grid view - Remember that your image will appear smaller in users' feeds
- Use negative space - Create breathing room around your subject
- Position key elements centrally - Ensure important details aren't cropped
- Check your composition - Use the rule of thirds for balanced images
Portrait photos take up more screen space in the feed, potentially increasing engagement as users scroll. They're particularly effective for mobile viewing since they fill more of the vertical phone screen.
Mastering Landscape Photos on Instagram
Landscape orientation (wider than tall) works wonderfully for different scenarios. Here's how to use this format effectively:
When to Use Landscape Orientation
- Panoramic views - Showcase wide natural vistas and horizons
- Group photos - Fit multiple people in a single frame
- Interior design - Capture room layouts and spaces
- Wide-angle shots - Present scenes with a broad field of view
- Cinematic content - Create movie-like visuals
Best Practices for Landscape Photos
For eye-catching landscape-oriented posts:
- Stay within the 16:9 ratio - This ensures your image displays properly
- Consider how it appears in feed - Landscape photos appear smaller in the grid view
- Use leading lines - Draw the viewer's eye across the horizontal frame
- Balance the composition - Distribute visual weight across the image
- Mind the details - Ensure small elements remain visible when the image is reduced in size
Landscape photos can create a distinctive break in a feed dominated by square and portrait images, helping your content stand out.
Common Issues and Solutions
Even with Instagram's flexible formatting options, you might encounter some challenges:
Problem: Image Gets Cropped Unexpectedly
Solution: Make sure your image fits within Instagram's supported aspect ratios. For portrait photos, don't exceed the 4:5 ratio. For landscape, stay within 16:9. Images outside these parameters will be cropped automatically.
Problem: Low Image Quality After Upload
Solution: Instagram compresses images to save space. To minimize quality loss:
- Upload photos with optimal dimensions (see table above)
- Ensure good lighting in your original photo
- Use minimal filters and edits within Instagram
- Consider using a third-party app for editing before uploading
Problem: Can't Select Portrait/Landscape Option
Solution: If you can't find the expand/contract icon:
- Update your Instagram app to the latest version
- Check if your image is already perfectly square (in which case the option won't appear)
- Restart the app and try again
Problem: Multiple Photos with Different Orientations
Solution: When creating a carousel post with multiple photos, Instagram requires all images to have the same aspect ratio. Either crop all your photos to the same orientation beforehand or use a third-party app to create a cohesive carousel.
Advanced Tips for Professional-Looking Posts
Pre-Editing Your Photos
For maximum control over how your portrait and landscape photos appear:
- Edit in dedicated apps like Lightroom, VSCO, or Snapseed before uploading
- Create preset dimensions in your editing app that match Instagram's preferred ratios
- Consider adding borders to maintain your desired composition without cropping
- Apply consistent editing styles across your photos for a cohesive feed
- Sharpen slightly to counteract Instagram's compression
Planning Your Grid
Mixing portrait and landscape photos strategically can create a visually interesting profile:
- Use planning apps like Planoly or Later to visualize your grid before posting
- Create patterns with alternating orientations
- Consider color coordination between adjacent posts
- Use landscape photos to break up sections of your feed
- Save your most striking portrait shots for important announcements or featured content
Instagram Stories and Reels: Different Orientation Rules
While this guide focuses on regular Instagram posts, it's worth noting that Stories and Reels follow different orientation rules:
Instagram Stories
- Optimal aspect ratio: 9:16 (full-screen vertical)
- Recommended resolution: 1080 x 1920 pixels
- Landscape photos in Stories will appear with blank space above and below
- You can pinch to resize photos within the Story editor
- The "Create" mode allows for solid color backgrounds to fill extra space
Instagram Reels
- Optimal aspect ratio: 9:16 (vertical format)
- Recommended resolution: 1080 x 1920 pixels
- Reels are designed primarily for vertical viewing
- Horizontal content will be significantly reduced in size
- Consider shooting vertical video specifically for Reels
How Different Orientations Affect Engagement
Your choice between portrait and landscape can impact how users interact with your content:
Portrait Advantages
- Takes up more screen space in the feed
- Keeps users' attention longer as they scroll
- Works well with Instagram's primarily vertical scrolling behavior
- Often generates higher engagement rates for certain content types
- Ideal for mobile viewing experience
Landscape Advantages
- Creates a distinctive break in a feed dominated by portrait images
- Better showcases wide scenes and panoramas
- Feels more cinematic and professional for certain content
- Can help establish visual variety in your profile
- Ideal for desktop viewing experience
Studies suggest portrait photos generally receive slightly higher engagement on Instagram, but the content quality and relevance remain the most important factors.
Creative Ways to Use Different Orientations
Storytelling Through Orientation
You can use orientation strategically to enhance your narrative:
- Use portrait orientation to focus on individual subjects, emotions, and details
- Switch to landscape to establish setting, context, and relationships
- Create a carousel post that zooms from landscape (wide context) to portrait (specific detail)
- Maintain consistent orientation for series or themed content
Creative Grid Layouts
Your profile grid can become a canvas for creative expression:
- Create triptychs - Three consecutive posts that form one wide image
- Design checkerboard patterns - Alternating between portrait and square posts
- Use "row planning" - Keep each row of three posts in the same orientation
- Create "magazine spreads" - Pairs of landscape and portrait images that complement each other
Tools to Help with Instagram Formatting
These apps can help you prepare perfect portrait and landscape photos:
Photo Editing Apps
- Snapseed - Powerful mobile editing with precise cropping tools
- VSCO - Photo editor with aspect ratio options and filters
- Lightroom Mobile - Professional-grade editing with export presets
- Canva - Create custom-sized graphics with templates
- InShot - Resize photos and add borders without cropping
Feed Planning Apps
- Planoly - Visual planner to see how different orientations will look in your grid
- Later - Scheduling tool with visual Instagram planner
- Preview - Plan and analyze your Instagram feed aesthetics
- UNUM - Design-focused Instagram planning tool
Frequently Asked Questions
1. What's the maximum aspect ratio for portrait photos on Instagram?
Instagram limits portrait photos to a 4:5 aspect ratio (width:height). If you upload an image with a taller ratio, Instagram will automatically crop it to fit within these dimensions. For best results, crop your portrait photos to 4:5 before uploading.
2. Can I post both portrait and landscape photos in a single carousel post?
No, Instagram requires all photos in a carousel post to have the same aspect ratio. If you try to combine different orientations, Instagram will crop them all to match the first image's aspect ratio. To include mixed orientations, you'll need to edit your images beforehand to have consistent dimensions.
3. Why do my landscape photos look small in my Instagram feed?
Instagram allocates a standard width for posts in the feed, so landscape photos (which are wider than they are tall) will appear smaller vertically compared to square or portrait images. This is normal and happens because landscape images must fit within the same width while maintaining their aspect ratio.
4. Is there a way to post vertical photos without Instagram cropping them?
If your vertical photo exceeds Instagram's 4:5 ratio limit, you can add borders to make it fit. Several apps like InShot, Squaready, or Canva allow you to add white (or colored) borders to your image, preserving the entire photo while making it comply with Instagram's ratio requirements.
5. Which orientation gets better engagement on Instagram?
Studies suggest that portrait photos generally receive slightly higher engagement rates on Instagram because they take up more screen space as users scroll through their feeds. However, content quality, relevance to your audience, and consistency with your brand are more important factors than orientation alone. Test different formats with your specific audience to see what works best.
Quick Tip to ensure your videos never go missing
Videos are precious memories and all of us never want to lose them to hard disk crashes or missing drives. PicBackMan is the easiest and simplest way to keep your videos safely backed up in one or more online accounts.

Simply download PicBackMan (it's free!), register your account, connect to your online store and tell PicBackMan where your videos are - PicBackMan does the rest, automatically. It bulk uploads all videos and keeps looking for new ones and uploads those too. You don't have to ever touch it.
Conclusion
Uploading portrait and landscape photos to Instagram gives you creative freedom to present your content exactly as you envision it. By understanding the platform's aspect ratio requirements and following the step-by-step instructions in this guide, you can easily share photos in your preferred orientation. Remember to consider how different orientations appear in the feed and impact user engagement. Whether you're showcasing sweeping landscapes or detailed portraits, Instagram now accommodates your creative vision beyond the traditional square format.
The key is to be intentional with your choices - select portrait orientation when you want to highlight vertical subjects or create more impact in the feed, and choose landscape when you need to capture wide scenes or create a cinematic feel. With practice and attention to detail, you'll develop an eye for which orientation best serves each image, helping you create a visually compelling Instagram presence that truly represents your personal or brand aesthetic.


