Menu
Start Free $129 Lifetime
Why is it the #1 bulk uploader?
- Insanely fast!
- Maintains folder structure.
- 100% automated upload.
- Supports RAW files.
- Privacy default.
How can you get started?
Download PicBackMan and start free, then upgrade to annual or lifetime plan as per your needs. Join 100,000+ users who trust PicBackMan for keeping their precious memories safe in multiple online accounts.
Trusted by users in 125+ countries.
“Your pictures are scattered. PicBackMan helps you bring order to your digital memories.”
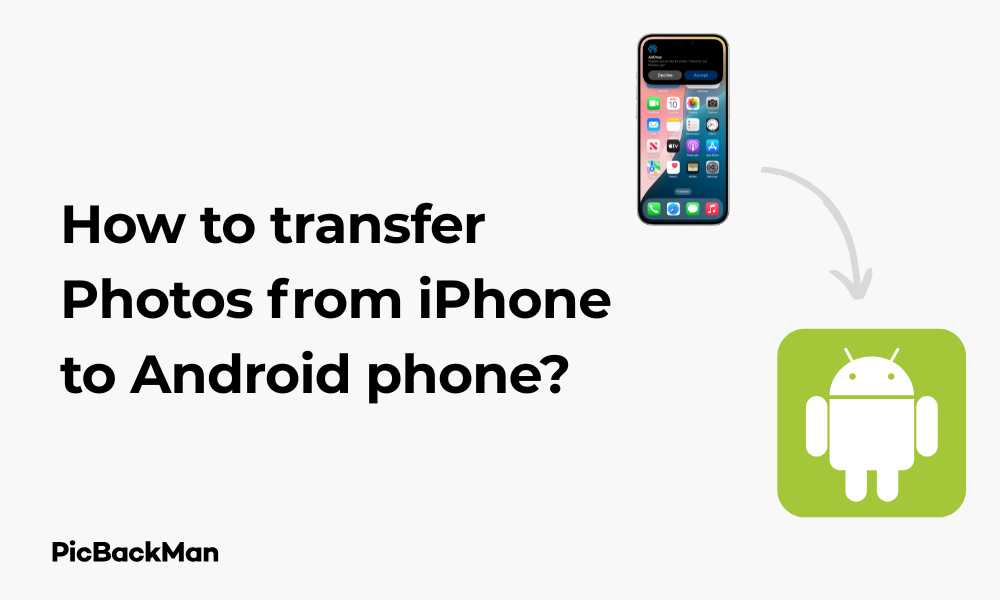
How to transfer Photos from iPhone to Android phone?

Switching from an iPhone to an Android phone doesn't mean you have to leave your precious photos behind. Whether you've just bought a new Android device or simply want to share photos between different operating systems, transferring photos from iPhone to Android is easier than you might think. In this guide, I'll walk you through several methods to move your photo memories safely across platforms.
Why Transferring Photos Between iPhone and Android Can Be Tricky
Apple and Google use different ecosystems, which can make transferring data between them a bit challenging. iPhones store photos in HEIC format (High-Efficiency Image Container), while Android typically uses JPEG. The different file systems and lack of direct connectivity options create some hurdles, but don't worry—there are multiple reliable solutions available.
Methods to Transfer Photos from iPhone to Android
Let's explore the most effective ways to move your photos across these different platforms. I've arranged these methods from simplest to more technical, so you can choose what works best for your comfort level and situation.
Method 1: Using Google Photos (Cloud Transfer)
Google Photos is probably the easiest and most straightforward way to transfer photos from iPhone to Android.
Step-by-Step Guide:
- On your iPhone, download Google Photos from the App Store
- Open the app and sign in with your Google account (the same one you'll use on your Android device)
- Tap your profile picture in the top right and select “Photos settings”
- Select “Backup & sync” and toggle it ON
- Choose your upload quality (either "Storage saver" or "Original quality")
- Wait for your photos to upload (this may take time depending on your internet connection and number of photos)
- Once complete, sign in to the same Google account on your Android device
- Open Google Photos on your Android phone, and all your photos will be accessible
- To save photos to your Android device, select the images you want to download, tap the three dots menu, and select “Download”
Important: If you have a large photo library, make sure you're connected to Wi-Fi before starting the upload process on your iPhone. Using cellular data could quickly deplete your data allowance and potentially result in extra charges from your carrier.
Method 2: Using a Computer as an Intermediary
If you prefer not to use cloud services or have limited internet connectivity, you can use a computer to transfer photos.
For Windows PC:
- Connect your iPhone to your computer using the lightning cable
- If prompted on your iPhone, tap “Trust This Computer” and enter your passcode
- On Windows, the iPhone should appear as a device in File Explorer
- Navigate to the DCIM folder, which contains your photos
- Select the photos you want to transfer and copy them to a folder on your computer
- Disconnect your iPhone and connect your Android device via USB cable
- If prompted on your Android device, select “File Transfer” or “Transfer Files” mode
- Navigate to your Android device in File Explorer
- Create a new folder or navigate to an existing one (like DCIM or Pictures)
- Paste the photos you copied from your iPhone
For Mac:
- Connect your iPhone to your Mac using the lightning cable
- If you're using macOS Catalina or later, open Finder. For older macOS versions, open Photos or Image Capture
- Select your iPhone from the sidebar
- Select the photos you want to transfer and drag them to a folder on your Mac
- Disconnect your iPhone and connect your Android device
- For Android File Transfer to work on Mac, you need to download and install Android File Transfer app from android.com/filetransfer
- Open Android File Transfer
- Navigate to the DCIM or Pictures folder on your Android device
- Drag and drop the photos from your Mac folder to the Android File Transfer window
Method 3: Using a USB OTG Adapter
A USB On-The-Go (OTG) adapter allows you to connect USB devices directly to your Android phone. This method requires an additional accessory but eliminates the need for a computer.
Steps:
- Purchase a USB OTG adapter compatible with your Android phone
- Connect the OTG adapter to your Android phone
- Connect a USB flash drive to the OTG adapter
- Use a file manager app on your Android to copy the photos from your phone to the USB drive
- Disconnect the USB drive and connect it to your iPhone using a Lightning to USB adapter
- On your iPhone, the Photos app should automatically detect the USB drive
- Import the photos from the USB drive to your iPhone
Method 4: Using Send Anywhere or Similar File Transfer Apps
Third-party apps can make the transfer process wireless and convenient.
Steps:
- Download Send Anywhere (or a similar file transfer app) on both your iPhone and Android device
- Open the app on your iPhone
- Select the photos you want to transfer
- Tap "Send" and the app will generate a 6-digit code
- Open Send Anywhere on your Android device
- Enter the 6-digit code
- The transfer will begin automatically
- Once complete, the photos will be saved to your Android device's gallery
Important: For this method to work, both devices must be connected to the same Wi-Fi network. If Wi-Fi is not available, you can use the mobile hotspot feature on one of the devices to create a direct connection between them.
Method 5: Using Dropbox, OneDrive, or other Cloud Storage Services
Similar to Google Photos, other cloud storage services can help you transfer photos between devices.
Steps:
- Install your preferred cloud storage app (Dropbox, OneDrive, etc.) on your iPhone
- Sign in to your account
- Upload your photos to the cloud service
- Install the same cloud storage app on your Android device
- Sign in with the same account
- Download the photos to your Android device
Comparing Different Transfer Methods
| Method | Pros | Cons | Best For |
|---|---|---|---|
| Google Photos | Easy to use, backs up photos automatically, maintains photo quality | Requires internet connection, limited free storage (15GB) | Users who want a simple solution and don't mind using cloud services |
| Computer Transfer | No internet required, full control over file selection | Requires computer and cables, more time-consuming | Users with limited internet or who prefer physical transfers |
| USB OTG Adapter | Direct transfer without computer or internet | Requires additional hardware, may not work with all devices | Tech-savvy users who have the necessary adapters |
| Send Anywhere | Wireless, easy to use, no account needed | Both devices must be online simultaneously | Quick transfers of selected photos |
| Other Cloud Services | May already have accounts, familiar interface | Limited free storage, requires internet | Users are already invested in a particular cloud ecosystem |
Troubleshooting Common Issues
Even with these methods, you might encounter some challenges. Here are solutions to common problems:
HEIC Format Compatibility
iPhones often save photos in HEIC format, which isn't always compatible with Android.
Solution:
- On your iPhone, go to Settings > Camera > Formats and select “Most Compatible” instead of “High Efficiency”
- For existing HEIC photos, use an online converter or app to convert them to JPEG before transferring
- Google Photos automatically converts HEIC to JPEG when downloading to Android
Transfer Speed Issues
Large photo libraries can take a long time to transfer, especially over wireless connections.
Solutions:
- Transfer in smaller batches rather than all at once
- Use a wired connection when possible
- Close other apps while transferring to allocate more resources
- Make sure both devices have sufficient battery or are plugged in
Photos Not Showing Up in Android Gallery
Sometimes transferred photos don't appear in your Android gallery app immediately.
Solutions:
- Restart your Android device
- Open the gallery app and pull down to refresh
- Check if the photos were saved to a different folder
- Use a file manager app to navigate to the DCIM or Pictures folder and verify the photos are there
- If using Google Photos, make sure the photos are downloaded to the device and not just available in the cloud
Storage Space Issues
You might run out of storage space during transfer, especially if you have a large photo library.
Solutions:
- Check available storage on your Android device before starting
- Clear unnecessary files and apps to free up space
- Consider using an SD card (if your Android supports it) for additional storage
- Transfer photos in smaller batches
Maintaining Photo Organization After Transfer
After transferring your photos, you might want to keep them organized on your new Android device.
Using Album Features
Most Android gallery apps and Google Photos allow you to create albums to organize your photos.
Steps to Create Albums:
- Open your gallery or Google Photos app
- Look for the "Albums" or "Collections" tab
- Create a new album by tapping the plus icon or “Create album” option
- Name your album (eg, "iPhone Photos 2023")
- Select the photos you want to include
- Save or confirm your selection
Using Folders
If you prefer organizing by folders in the file system:
- Use a file manager app on your Android device
- Navigate to where your photos are stored (usually DCIM or Pictures)
- Create new folders with descriptive names
- Move photos into these folders
Keeping Your Photos Safe
After transferring your precious memories, make sure they stay safe:
Backup Options for Android
- Google Photos Backup: Enable automatic backup in Google Photos settings
- Samsung Cloud: If you have a Samsung device, use Samsung Cloud for backup
- Third-party backup apps: Consider apps like Dropbox, OneDrive, or Amazon Photos
- Manual backup: Periodically connect to a computer and copy photos to an external hard drive
Setting Up Automatic Backup
To ensure your photos are continuously backed up:
- Open Google Photos on your Android device
- Tap your profile picture > Photos settings
- Select "Backup & sync"
- Toggle it ON
- Choose your preferred upload quality
- Set it to back up only when connected to Wi-Fi to save data
Transferring Other Media Types
The methods discussed for photos generally work for other media types as well:
Videos
All the methods mentioned above will work for videos too, but keep in mind:
- Videos take up more space, so you might need more storage
- Transfer times will be longer
- Some cloud services might compress videos, affecting quality
Screenshots and Screen Recordings
These are typically stored in the same photo library on your iPhone and can be transferred using the same methods as photos.
Quick Tip to ensure your videos never go missing

Frequently Asked Questions
1. Will I lose photo quality when transferring from iPhone to Android?
Not. necessarily. If you use methods like computer transfer or "Original quality" in Google Photos, you'll maintain the original photo quality. However, some cloud services might compress photos if you choose storage-saving options.
2. How long does it take to transfer 1,000 photos from iPhone to Android?
The time varies depending on the method and your internet speed. Using Google Photos over a good Wi-Fi connection might take 1-2 hours for 1,000 photos. Direct computer transfer could be faster, typically 15-30 minutes for the same number of photos.
3. Can I transfer my iPhone Live Photos to Android and keep the motion effect?
When transferred to Android, Live Photos typically become still images. Google Photos can preserve the motion in its app, but the motion effect won't work in most Android gallery apps. You can export Live Photos as short videos before transferring to preserve the motion.
4. Do I need to pay for cloud storage to transfer my photos?
Not. necessarily. Google offers 15GB of free storage, which is enough for approximately 5,000 high-quality photos. If your library is larger, you might need to pay for additional storage or use a non-cloud method like computer transfer.
5. After transferring photos to my Android phone, can I delete them from my iPhone?
It's best to verify that all photos have successfully transferred before deleting them from your iPhone. Check that they appear correctly on your Android device and consider keeping a backup on your computer or cloud storage before removing them from your iPhone.
Conclusion
Transferring photos from iPhone to Android doesn't have to be complicated. Whether you prefer cloud-based methods like Google Photos for convenience, direct transfers using a computer for larger libraries, or wireless options like Send Anywhere for quick transfers, there's a solution that fits your needs.
Remember to check that your photos have successfully transferred by opening your gallery app on your Android device. If you have a large photo collection, consider breaking the transfer into smaller batches to make the process more manageable.
By following this guide, you can ensure all your precious memories make the journey with you when you switch from iPhone to Android. Your photos represent moments in time that can't be recreated, so taking the time to transfer them properly is well worth the effort.


