Start Free $129 Lifetime
Why is it the #1 bulk uploader?
- Insanely fast!
- Maintains folder structure.
- 100% automated upload.
- Supports RAW files.
- Privacy default.
How can you get started?
Download PicBackMan and start free, then upgrade to annual or lifetime plan as per your needs. Join 100,000+ users who trust PicBackMan for keeping their precious memories safe in multiple online accounts.
“Your pictures are scattered. PicBackMan helps you bring order to your digital memories.”
How to Transfer from Google Photos to Box
Last Updated :Google photo storage launched in 2015 and promised its users that it would be offering unlimited free image hosting on its platform. But since then, things have changed and this year, Google made an announcement stating that it will discontinue its unlimited free image hosting services.
The taking away of unlimited free photo storage and Google photos backup is a huge blow to many users, especially creative artists and photographers. However, it doesn't have to be that way as PicBackMan is here to save the day.
Transfer Your Photos From Google Photos To Box
Ever wanted to download all Google Photos and bulk upload them to your Box account? You can do that with PicBackMan today. It's free and here's how you do it. Just follow these steps:
- Go to PicBackMan.com and hit the Download PicBackMan button. You will be redirected to a user registration page.
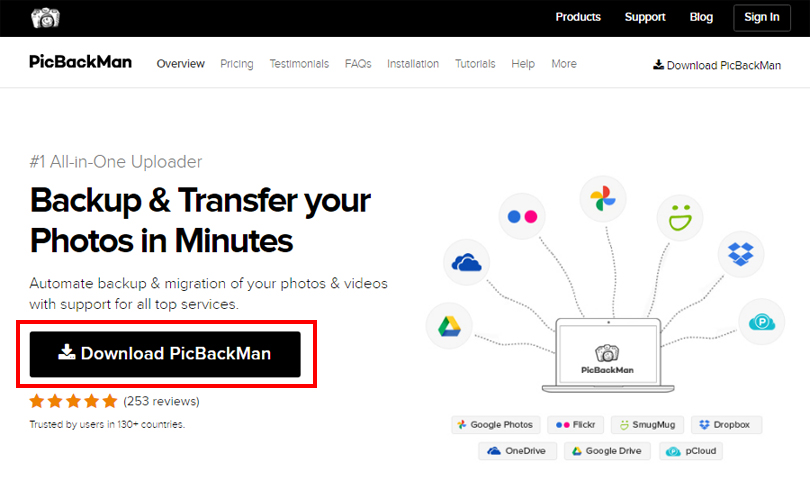
- Enter your email, password, and confirm it. Hit sign up & download to receive your free PicBackMan download.
- Locate the PicBackMan installation file in your download folder on your PC. Right-click and select 'Run as Administrator.' Let the installation wizard load up.
- Specify the file path for installing the program, click Next, and follow the instructions shown on screen. Click finish after the wizard is done installing.
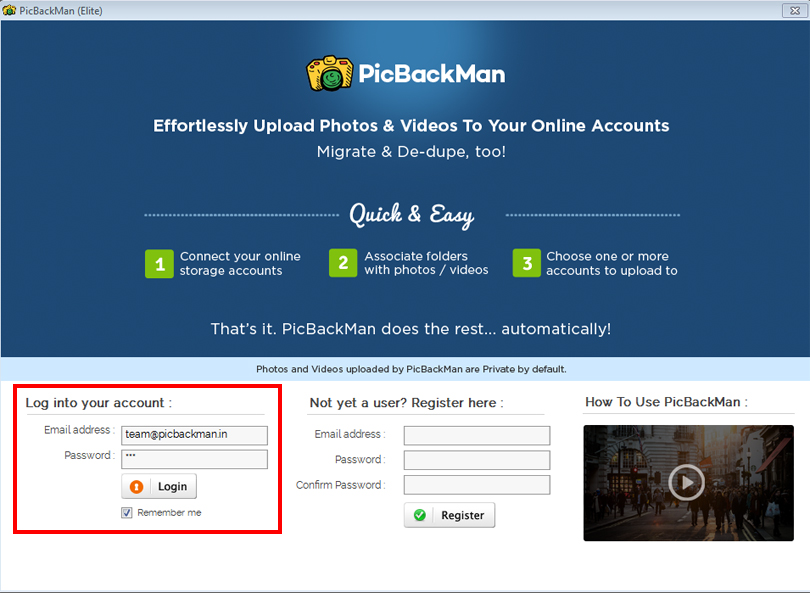
- Look for PicBackMan on your desktop home screen and double-click to run it. Enter your login credentials on the startup screen and click on the Login button.
- Go to the Accounts tab and connect your Google Photos and Box accounts. You should get green ticks besides their icons when they're successfully linked.

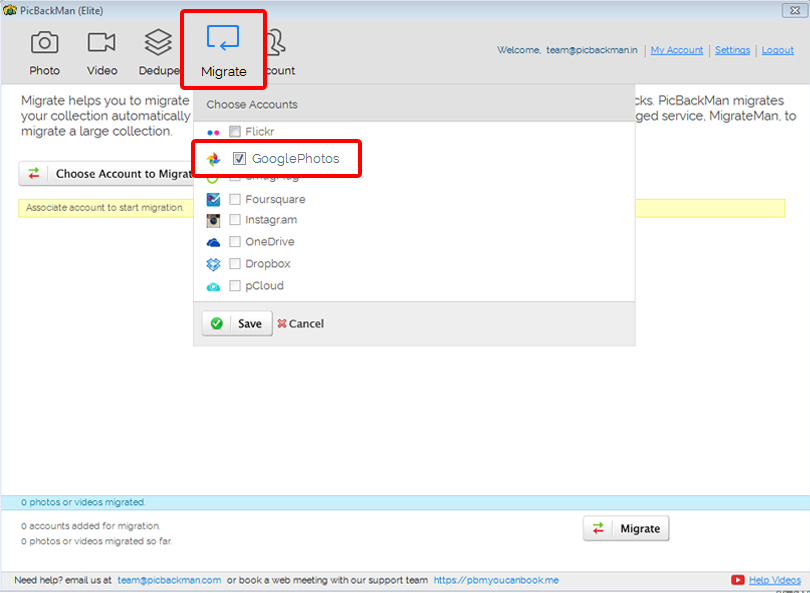
- Click on the Migrate tab and select Google Photos from the dropdown list. Hit save.
- Now look for the Box icon from the list of options shown on the next screen. Check the field, hover over to the lower portion of the screen, and hit the Migrate button.
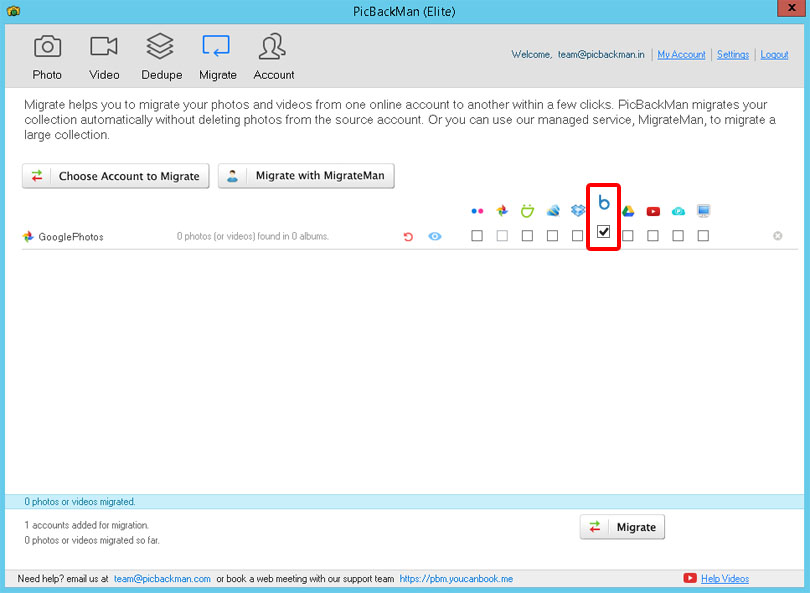
- Let PicBackMan take care of the rest, sit back and relax. It should take a few minutes to move photos from Google Photos to Box.
That's it! You can also transfer Google Photos to another account by simply repeating the steps from the Accounts tab.
Conclusion
The best part about using PicBackMan is that it's free and it automatically organizes your photos for you. You don't have to create a folder structure since the software takes care of that on its own while migrating your files. PicBackMan is also trusted by users across 130+ countries and is supported by both macOS and Windows!


