Why is it the #1 bulk uploader?
- Insanely fast!
- Maintains folder structure.
- 100% automated upload.
- Supports RAW files.
- Privacy default.
How can you get started?
Download PicBackMan and start free, then upgrade to annual or lifetime plan as per your needs. Join 100,000+ users who trust PicBackMan for keeping their precious memories safe in multiple online accounts.
“Your pictures are scattered. PicBackMan helps you bring order to your digital memories.”
How to Transfer All Photos from iPhoto to Windows?


Are you a Windows user who has recently switched from a Mac? Or perhaps you're a photography enthusiast looking to move your iPhoto library to a Windows computer?
Whatever the case, transferring your entire photo collection from iPhoto to Windows may seem like a daunting task. But fear not!
In this article, we'll guide you through the process, addressing common challenges and providing solutions to ensure a smooth transition. So, let's dive in and learn how to transfer all your photos from iPhoto to Windows!
How to Transfer All Photos from iPhoto to Windows?
Transferring all your cherished photos from iPhoto to Windows may initially appear challenging, but with the right approach, it becomes a breeze. Follow these steps to ensure a seamless transfer:
- Firstly, make sure you have a backup of your iPhoto library to prevent any accidental loss of photos. It's better to be safe than sorry!
- Next, check if you have sufficient storage space on your Windows PC to accommodate the iPhoto library. You wouldn't want to run out of space mid-transfer!
- Before initiating the transfer, ensure that both your Mac and Windows systems are running the latest software updates. Additionally, update any necessary drivers for optimal compatibility.
- Now, let's explore three different methods to transfer your photos from iPhoto to Windows.
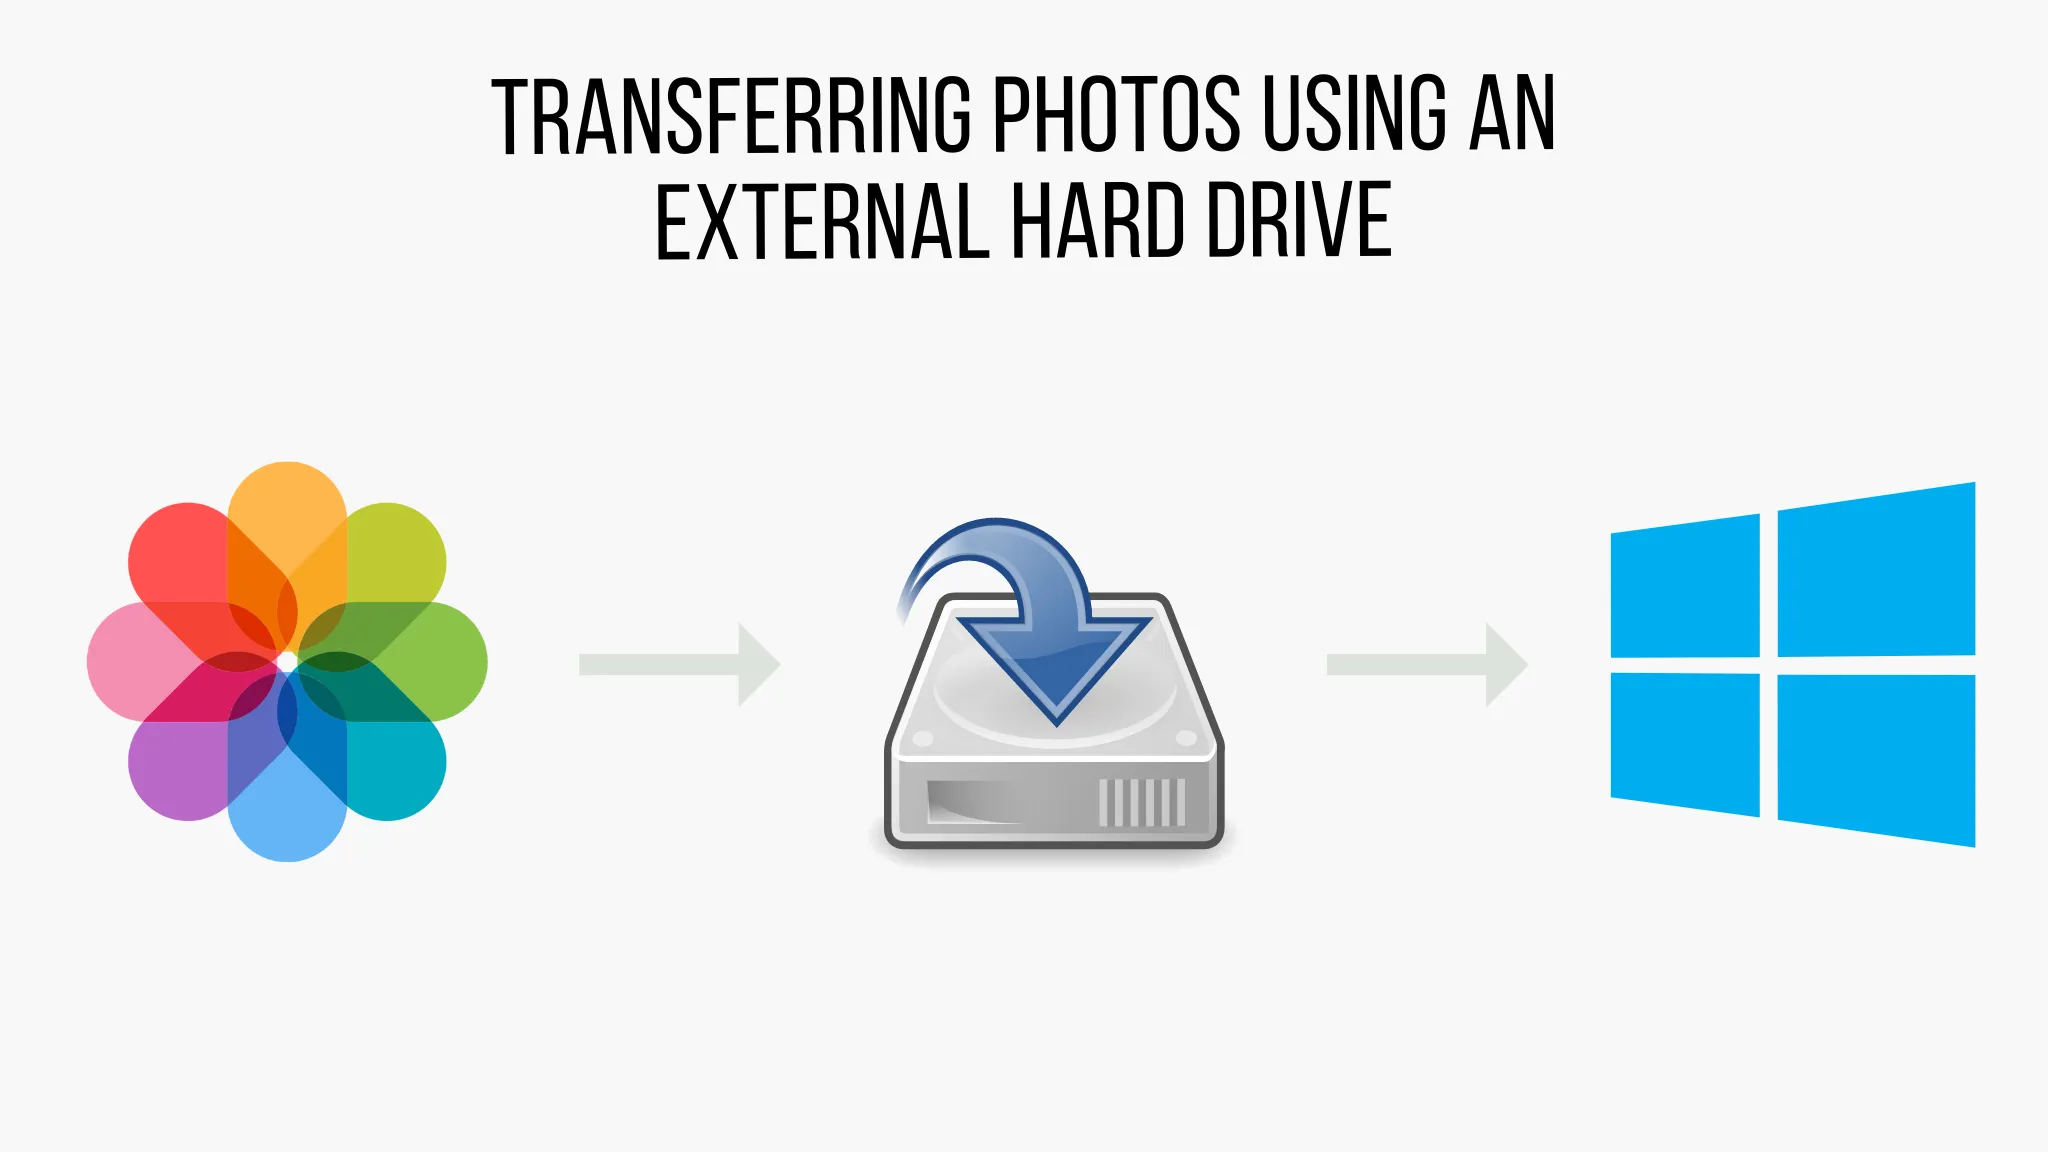
Method 1: Transferring Photos using an External Hard Drive
If you prefer a direct and reliable method to transfer your iPhoto library, using an external hard drive is a great choice. Follow these steps:

Step 1: Connect the external hard drive to your Mac
Connect your external hard drive to your Mac using a compatible cable or port. Ensure that it's recognized by your Mac and appears on your desktop or in the Finder.
Step 2: Locate and copy the iPhoto library
- Open a new Finder window and navigate to your Pictures folder.
- Locate the iPhoto Library file, which is typically located in the Pictures folder. It has a distinctive icon and ends with the extension ".photolibrary."
- Right-click (or Control-click) on the iPhoto Library file and select "Copy" from the context menu.
Step 3: Safely eject the external hard drive
Before disconnecting the external hard drive from your Mac, it's crucial to eject it properly to prevent data corruption. Follow these steps:
- Right-click (or Control-click) on the external hard drive's icon on the desktop or in the Finder.
- From the context menu, select "Eject" to safely disconnect the drive.
Step 4: Connect the external hard drive to your Windows PC
Now that you've safely disconnected the external hard drive from your Mac, it's time to connect it to your Windows PC. Use a compatible cable or port and ensure that the drive is recognized by your PC.
Step 5: Copy the iPhoto library to your Windows PC
- Open a File Explorer window on your Windows PC.
- Locate the external hard drive in the navigation pane on the left side of the window and click on it to reveal its contents.
- Find the iPhoto Library file you copied earlier and right-click on it. Select "Copy" from the context menu.
- Navigate to the desired location on your Windows PC where you want to store the iPhoto library.
- Right-click in the destination folder and select "Paste" to copy the iPhoto Library file to your PC.
Step 6: Import photos into the Windows Photos app
To access and manage your transferred photos on Windows, you can use the Windows Photos app. Here's how to import the photos:
- Launch the Windows Photos app.
- Click on the three dots (...) in the top-right corner of the app window to open the menu.
- Select "Settings" from the menu.
- In the Settings menu, choose "Sources" and click on the "+ Add a folder" option.
- Browse to the location where you copied the iPhoto library and select it.
- Click on the "Add this folder to Pictures" button to import the photos into the Windows Photos app.
That's it! You've successfully transferred your iPhoto library to Windows using an external hard drive.
Method 2: Transferring Photos via iCloud
If you prefer a wireless and cloud-based approach, utilizing iCloud is an excellent option. Follow these steps:
Step 1: Enable iCloud Photo Library on your Mac
- On your Mac, click on the Apple menu in the top-left corner of the screen and select "System Preferences" from the dropdown menu.
- In the System Preferences window, click on the "iCloud" icon.
- Sign in with your Apple ID if prompted.
- Check the box next to "Photos" to enable iCloud Photo Library.
Step 2: Ensure photos are synced to iCloud
- Open the Photos app on your Mac.
- Wait for the app to finish syncing your photos with iCloud. This may take some time, depending on the size of your photo library and your internet connection speed.
- Verify that all your photos and albums appear correctly in the Photos app.
Step 3: Access iCloud Photos on your Windows PC
- On your Windows PC, open a web browser and navigate to the iCloud website (https://www.icloud.com).
- Sign in with your Apple ID and password.
- Click on the "Photos" icon to access your iCloud Photos.
Step 4: Download photos from iCloud to your Windows PC
- In the iCloud Photos interface, select the photos or albums you want to download.
- Click on the download icon (a cloud with a downward arrow) to initiate the download.
- Choose a location on your Windows PC to save the downloaded photos.
Step 5: Organize and manage transferred photos
Once the photos are downloaded to your Windows PC, you can use the Windows File Explorer to organize and manage them according to your preferences.
Method 3: Using Third-Party Software
If you're looking for alternative methods or more advanced features for transferring your iPhoto library, third-party software can be a valuable option. Here are some benefits of using third-party software and recommended options:
Benefits of using third-party software
- Ability to transfer photos, albums, and metadata seamlessly
- Enhanced organization and management options
- Advanced filtering and sorting capabilities
- Additional features like photo editing and sharing options
Recommended software options for transferring photos
Quick Tip: Preserve Your Precious Memories
Photos are precious memories and all of us never want to ever lose them to hard disk crashes or missing drives. PicBackMan is the easiest and simplest way to keep your photos safely backed up in one or more online accounts.
Simply download PicBackMan (it's free!), register your account, connect to your online store and tell PicBackMan where your photos are - PicBackMan does the rest, automatically. It bulk uploads all photos and keeps looking for new ones and uploads those too. You don't have to ever touch it.
Step-by-step guide for using selected software
- Download and install the chosen third-party software on your Mac and Windows PC.
- Launch the software on both devices and follow the on-screen instructions to set it up.
- Connect your Mac and Windows PC using a USB cable or ensure they are on the same network.
- Using the software's interface, select the iPhoto library on your Mac as the source and choose the destination on your Windows PC.
- Start the transfer process and wait for it to complete.
- Once the transfer is finished, you can access and manage your photos using the software's features on your Windows PC.
Conclusion: Preserve Your Precious Memories
Transferring your entire iPhoto library to Windows may seem like a complex task, but with the methods outlined in this article, it becomes a straightforward process. Whether you choose to use an external hard drive, iCloud, or third-party software, make sure to follow the steps carefully to ensure a successful transfer.
By preserving your precious memories and seamlessly transitioning from iPhoto to Windows, you can continue enjoying and sharing your favorite photos on your new platform. So, go ahead and transfer those memories-it's time to embark on a new photo journey on Windows!
Frequently Asked Questions (FAQs)
How do I bulk transfer photos from iPhone to Windows?
To bulk transfer photos from your iPhone to Windows, you can connect your iPhone to your computer using a USB cable. Once connected, open the File Explorer on your Windows PC, locate your iPhone under "This PC," and navigate to the DCIM folder. From there, you can select multiple photos and copy them to a desired folder on your computer.
How do I get all my photos out of iPhoto?
To get all your photos out of iPhoto, you can use one of the methods mentioned in this article. You can transfer your iPhoto library to Windows using an external hard drive, iCloud, or third-party software. Follow the step-by-step instructions provided for each method to successfully retrieve all your photos from iPhoto.
Can I transfer all my photos from iPhone to computer?
Yes, you can transfer all your photos from your iPhone to your computer. Connect your iPhone to your computer using a USB cable, open the File Explorer (Windows) or Finder (Mac), locate your iPhone, and access the DCIM folder. From there, you can select and copy all your photos to a desired location on your computer.
How do I transfer photos from Mac to Windows?
There are multiple methods to transfer photos from a Mac to Windows. You can use an external hard drive to copy the photos from your Mac and then connect the hard drive to your Windows PC to transfer them. Alternatively, you can use iCloud to sync your photos across devices and access them on your Windows PC. Lastly, you can use third-party software designed for photo transfers between different platforms.
Why can't I transfer photos from Mac to external hard drive?
If you're facing difficulties transferring photos from your Mac to an external hard drive, it could be due to various reasons. Ensure that the external hard drive is properly formatted and compatible with your Mac. Check the file system of the hard drive (such as FAT32 or exFAT) as some file systems have limitations on file size and compatibility with Mac. Additionally, ensure that you have the necessary permissions to access and write files on the external hard drive.
How do I sync my Mac photos to my computer?
To sync your Mac photos to your computer, you can use iCloud Photo Library. Enable iCloud Photo Library on your Mac and sign in with your Apple ID. Once enabled, your photos will be synced across all your Apple devices, including your Mac and Windows PC. On your Windows PC, sign in to iCloud.com and access your synced photos to download and save them to your computer.


