Menu
Start Free $129 Lifetime
Why is it the #1 bulk uploader?
- Insanely fast!
- Maintains folder structure.
- 100% automated upload.
- Supports RAW files.
- Privacy default.
How can you get started?
Download PicBackMan and start free, then upgrade to annual or lifetime plan as per your needs. Join 100,000+ users who trust PicBackMan for keeping their precious memories safe in multiple online accounts.
Trusted by users in 125+ countries.
“Your pictures are scattered. PicBackMan helps you bring order to your digital memories.”
How to reorganize photos in an album at Google Photos after uploading?

In this digital era, organizing our ever-growing photo collections is a challenge. Thankfully, Google Photos offers a convenient platform to store and manage our precious memories.
However, after uploading photos to an album, you might find yourself needing to reorganize them.
In this article, we'll explore how to reorganize photos in an album at Google Photos after uploading, providing you with step-by-step instructions, useful tips, and FAQs to help you make the most of this powerful tool.
Why Reorganizing Photos Matters
Reorganizing your photos within an album allows you to create a cohesive and personalized narrative. It enables you to arrange your photos in a way that tells a story or highlights specific events, making it easier to navigate and review memories.
Understanding Google Photos Albums
Google Photos albums are virtual collections that help you organize and group your photos. Albums provide a structured way to manage your photos, ensuring they are easily accessible and shareable. With Google Photos, you can create albums for various occasions, trips, events, or any theme that resonates with you.
Reorganizing Photos Within an Album
Moving Photos Within an Album
To move photos within an album at Google Photos, follow these steps:
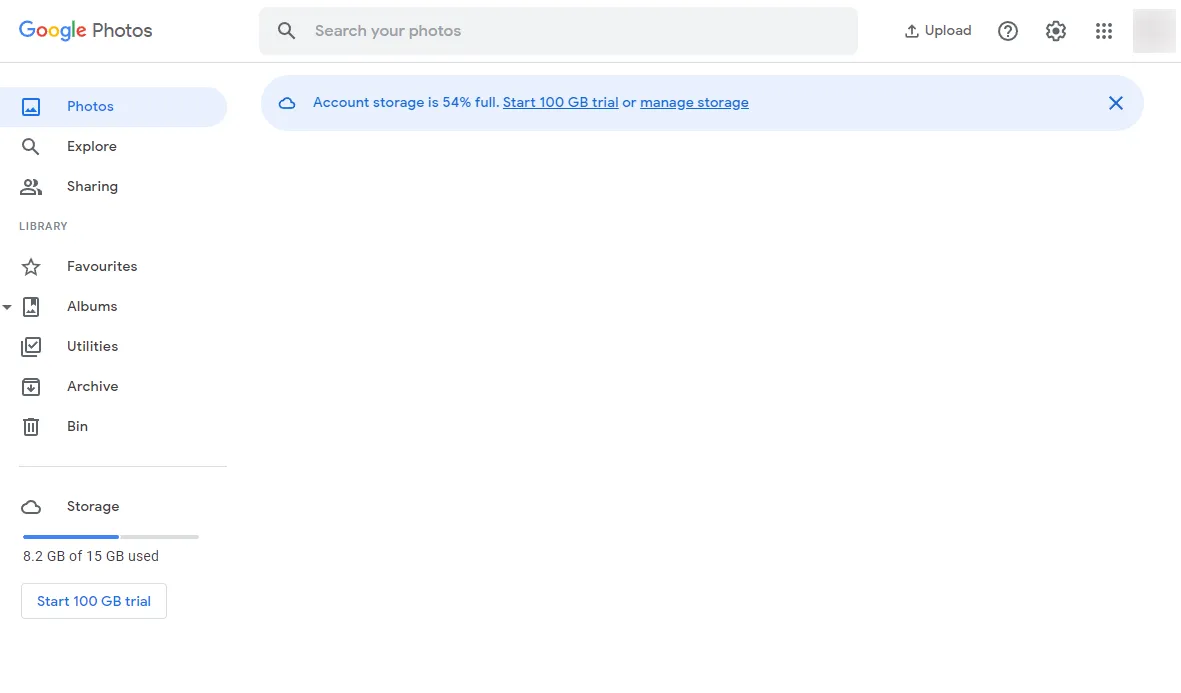
- Open the Google Photos website ( photos.google.com ) and sign in to your account.
- Navigate to the album you wish to reorganize.
- Click on the first photo you want to move and hold down the mouse button.
- While holding the mouse button, drag the photo to the desired position within the album.
- Release the mouse button to drop the photo into its new location.
Adding photos to an album
To add photos to an album at Google Photos, use the following instructions:
- Open the Google Photos website and go to the album where you want to add photos.
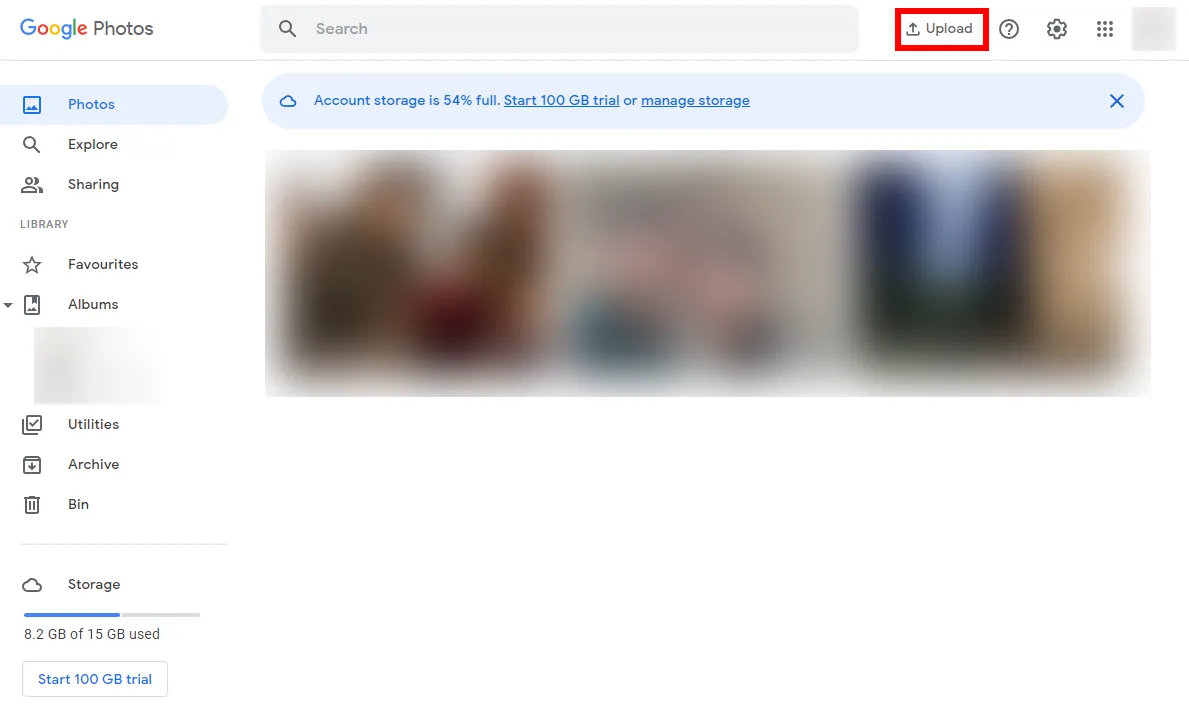
- Click on the "Upload" button located at the top-right corner of the screen.
- Select the photos you wish to add from your Google Photos library.
- Click on the "Add" button to include the selected photos in the album.
Removing Photos from an Album
If you want to remove a photo from an album, follow these steps:
- Open the Google Photos website and access the album containing the photo you want to remove.
- Hover over the photo you wish to delete and click on the three-dot menu icon in the top-right corner of the photo.
- From the dropdown menu, select "Remove from album."
- Confirm your action by clicking "Remove" in the confirmation dialog.
Using the Drag-and-Drop Feature
Google Photos offers a convenient drag-and-drop feature that simplifies the process of reorganizing photos within an album. With this feature, you can easily change the order of photos or move them between albums.
- Go to Google Photos "Albums": https://photos.google.com/albums
and open the album you want to organize.
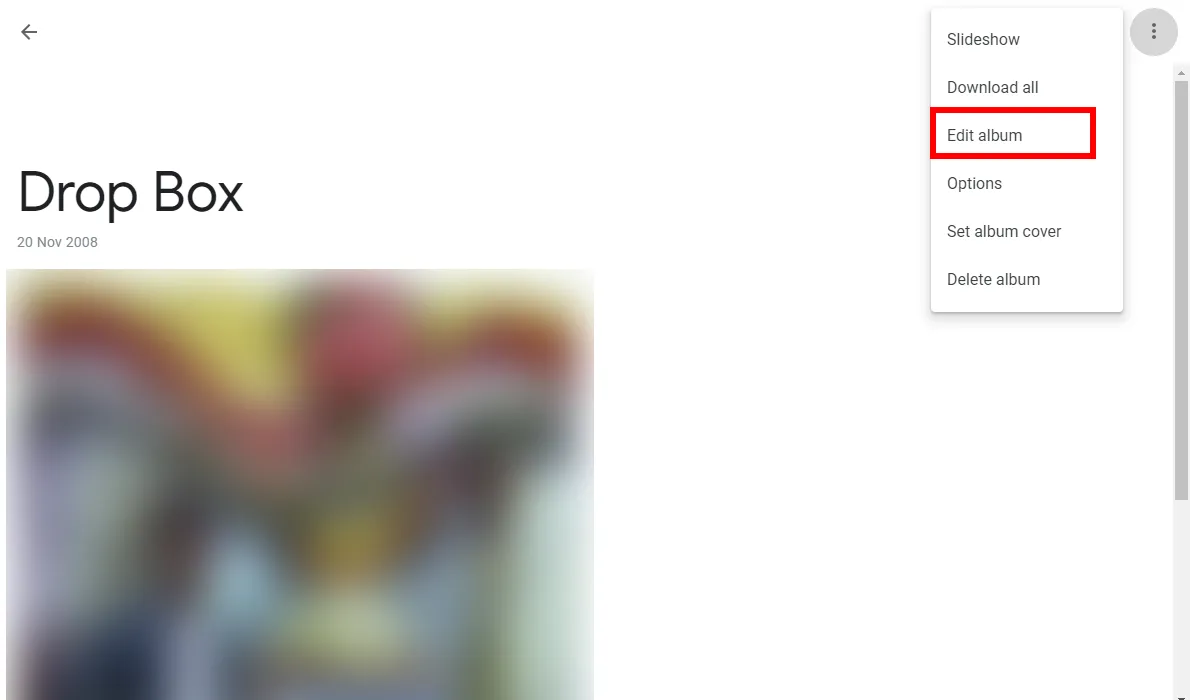
- At the top right, click the 3-dot menu and click "Edit album".
- You can drag-and-drop one picture at a time to another position.
- Or you can click the "Sort Photos" icon (up and down arrows). Unfortunately "Sort by filename" is not possible.
- When finished, click the check mark ("Done") in the upper left corner.
Using the drag-and-drop feature, you can experiment with different arrangements until you find the perfect arrangement for your photos.
Organizing photos by date
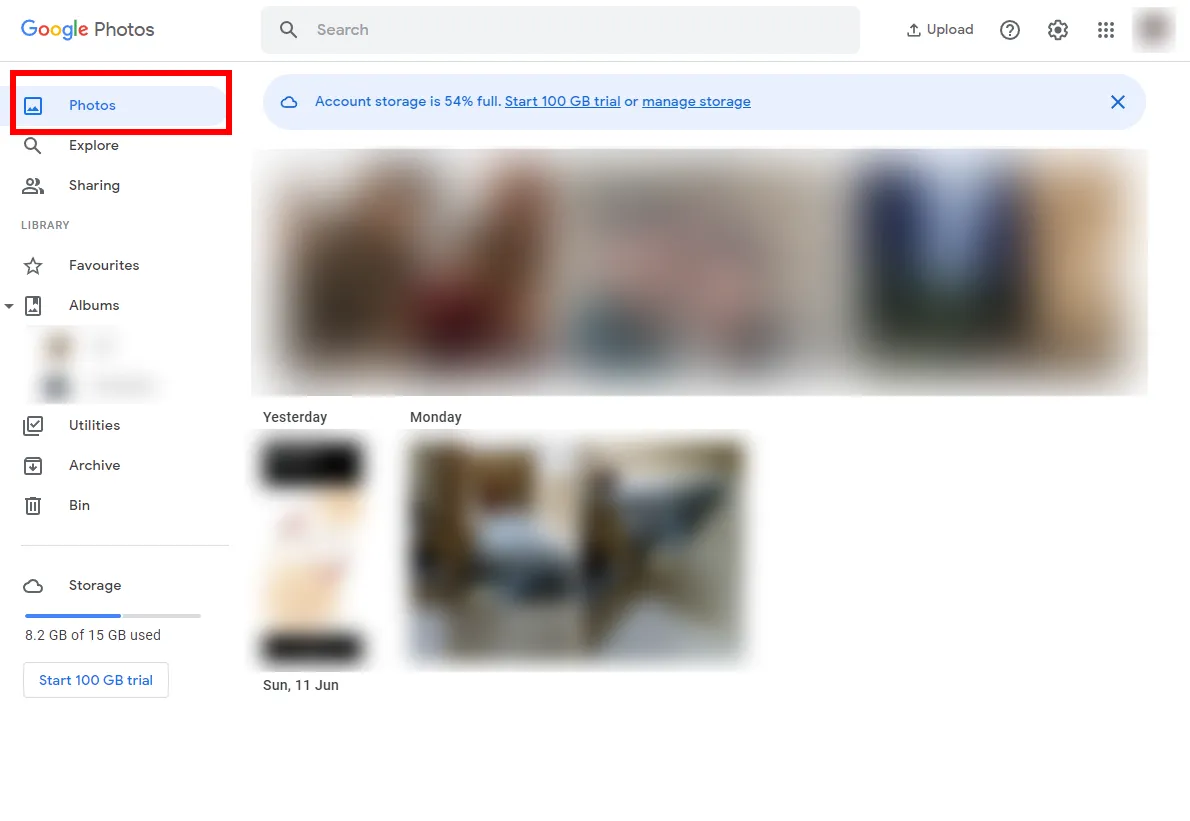
Google Photos automatically organizes your photos by date, making it easier to locate specific moments. When you upload photos, they are automatically sorted into "Recently Added" albums, making it convenient to find the latest additions.
To organize photos by date:
- Photos in albums can be sorted by date. Changing dates also changes the order of the photos
- Select one or more photos in the album
- At the top right, click the 3-dot menu and click "Edit date & time".
- This only changes times in the Photos database. The photo time is not affected.
By organizing photos by date, you can easily browse through your collection and relive cherished memories in chronological order.
Sorting Photos by Custom Order
Google Photos also allows you to sort photos in a custom order, giving you full control over how your photos are displayed within an album.
To sort photos by custom order:
- Open Google Photos and access the album you want to sort.
- Click on the three-dot menu icon in the top-right corner of the album.
- Select "Sort by" and choose "Custom order."
- A number icon will appear on each photo within the album.
- Click and drag the photos to arrange them according to your desired order.
- Once you are satisfied with the new order, click on the Done button.
Sorting photos by custom order provides flexibility in organizing your album according to your preferred narrative or aesthetic.
Renaming and adding descriptions
Adding descriptive titles and captions to your photos can enhance the storytelling aspect and make them more meaningful. Google Photos allows you to rename photos and add descriptions to provide context and information about each photo.
To rename a photo:
- Open Google Photos and access the album containing the photo you want to rename.
- Hover over the photo and click on the three-dot menu icon in the top-right corner of the photo.
- Select "Edit title" from the dropdown menu.
- Enter the new name for the photo and click "Save."
To add descriptions to a photo:
- Open Google Photos and navigate to the album with the desired photo.
- Hover over the photo and click on the three-dot menu icon.
- Select "Edit description" from the menu.
- Enter the desired description for the photo and click "Save."
By renaming photos and adding descriptions, you can provide more context and details, making it easier to review and share your memories.
Adding Captions and Metadata
Captions and metadata play a vital role in organizing and categorizing your photos. They provide additional information about the photo, such as the location, people involved, or any other relevant details.
To add captions and metadata to a photo:
- Open Google Photos and go to the album containing the photo.
- Hover over the photo and click on the "i" (info) icon in the top-right corner.
- In the information panel that appears, click on the "Add a description" field.
- Enter the desired caption or metadata for the photo and click "Save."
Adding captions and metadata helps you categorize your photos better and enables more efficient searching and filtering in the future.
Collaborating on Albums
Google Photos allows you to collaborate on albums, making it easy to share and contribute to a collection of photos with friends, family, or colleagues.
To collaborate on an album:
- Open Google Photos and access the album you want to collaborate on.
- Click on the "Share" button located at the top-right corner of the screen.
- Enter the email addresses or Google Contacts of the people you want to collaborate with.
- Choose the level of access you want to grant to the collaborators (eg, can view, can add photos, can edit).
- Click on the "Send" button to invite the collaborators.
Collaborating on albums allows multiple individuals to contribute their photos, ensuring a comprehensive collection that captures different perspectives and experiences.
Sharing and privacy settings
Google Photos provides various sharing options to control who can view and interact with your albums. You can choose to share albums privately with specific individuals, create a link to share with a broader audience, or even make them publicly visible on the web.
To adjust sharing and privacy settings:
- Open Google Photos and go to the album you want to modify.
- Click on the "Share" button located at the top-right corner.
- In the sharing settings, choose the desired option, such as "Specific people" or "Anyone with the link."
- Customize permissions and access levels for each person or group.
- Click on the "Done" button to save your changes.
By managing sharing and privacy settings, you can ensure that your albums are only accessible to the intended audience, maintaining control over your precious memories.
Using keywords and tags
Keywords and tags are powerful tools for organizing and searching your photos efficiently. By assigning relevant keywords and tags to your photos, you can quickly locate specific images based on their content, theme, or any other identifying feature.
To add keywords and tags to a photo:
- Open Google Photos and navigate to the album containing the photo you want to tag.
- Hover over the photo and click on the three-dot menu icon in the top-right corner of the photo.
- Select "Add a tag" from the dropdown menu.
- Enter the relevant keywords or tags for the photo, separating them with commas.
- Press "Enter" or click outside the text box to save the tags.
Using descriptive keywords and tags enhances the searchability and organization of your photos, allowing you to quickly find specific images based on your criteria.
Creating Sub-Albums
Sub-albums provide a hierarchical structure within your main albums, enabling further categorization and organization of your photos. They allow you to group related photos together and create a more detailed narrative.
To create sub-albums within an album:
- Open Google Photos and access the album where you want to create sub-albums.
- Click on the three-dot menu icon in the top-right corner of the album.
- Select "Add sub-album" from the dropdown menu.
- Enter the name of the sub-album and click "Create."
You can continue creating sub-albums within sub-albums to further organize your photos. This nesting structure helps maintain a systematic and well-structured photo library.
Adding Geolocation Data
Geolocation data allows you to tag your photos with specific locations, making it easier to search and browse based on places or landmarks.
To add geolocation data to a photo:
- Open Google Photos and navigate to the album containing the photo.
- Hover over the photo and click on the "i" (info) icon in the top-right corner.
- In the information panel, click on the location field.
- Enter the desired location or choose from the suggestions that appear.
- Click "Save" to add the geolocation data to the photo.
By adding geolocation data to your photos, you can easily explore and relive your memories based on the places you've visited.
Searching for Specific Photos
Google Photos offers robust search capabilities that allow you to find specific photos based on various criteria, including dates, keywords, people, and objects.
To search for specific photos:
- Open Google Photos and click on the search bar at the top of the screen.
- Enter the search query based on what you're looking for, such as dates, keywords, or people.
- Google Photos will display the relevant results based on your search criteria.
Utilizing the search feature helps you quickly locate specific photos, saving time and making it easier to navigate through your vast collection.
Syncing with other devices
Google Photos provides seamless synchronization across multiple devices, allowing you to access and manage your photos from various platforms.
To sync Google Photos with other devices:
- Install the Google Photos app on your mobile device or tablet.
- Sign in to your Google account within the app.
- Ensure that the "Backup & Sync" option is enabled in the app settings.
- Your photos will automatically sync across all devices connected to your Google account.
Syncing your photos ensures that any changes made on one device, such as reorganizing an album, will reflect across all your devices, providing a consistent experience.
Conclusion
Reorganizing photos in an album at Google Photos after uploading is a simple and effective way to create a personalized and engaging visual narrative.
By following the steps outlined in this guide, you can easily move, add, and remove photos within an album, customize their order, and enhance their organization with captions, tags, and metadata.
Additionally, utilizing features like sub-albums, geolocation data, and collaboration options further enhances your ability to organize and share your photos seamlessly. With Google Photos' intuitive interface and powerful search capabilities, you can effortlessly navigate your collection and relive your cherished memories with ease.
FAQ
Can I rearrange photos in an album in Google Photos?
Yes, you can rearrange photos within an album in Google Photos. Simply follow the steps mentioned earlier in this article to move photos around and customize their order within the album.
Can you organize Google Photos into folders?
Google Photos does not have a traditional folder structure like a file manager. Instead, it uses albums to organize and group photos. Albums act as containers for specific sets of photos, allowing you to categorize and manage them effectively.
How do I rearrange photos in an album?
To rearrange photos in an album, open the album in Google Photos and use the drag-and-drop functionality to move the photos into your desired order. You can also use the "Sort by" option to arrange the photos by date, name, or custom order.
Does Google Photos upload folders as albums?
No, Google Photos does not directly upload folders as albums. When you upload photos to Google Photos, they are organized based on their date and appear in the main library. However, you can manually create albums and add photos to them to achieve a similar organization.
Does deleting from Google Photos delete from albums?
Yes, deleting a photo from Google Photos will also remove it from any albums it is added to. However, deleting a photo from an album does not delete it from your main library or other albums it may be a part of.
What is the difference between a Google photo album and folder?
In Google Photos, albums and folders serve different purposes. Albums are collections of selected photos that you curate and organize, allowing you to group them based on specific themes, events, or criteria. Folders, on the other hand, are not available in Google Photos. The main library acts as a folder-like structure where all your uploaded photos are stored chronologically. You can create albums within the main library to organize and view specific sets of photos.


