Menu
Start Free $129 Lifetime
Why is it the #1 bulk uploader?
- Insanely fast!
- Maintains folder structure.
- 100% automated upload.
- Supports RAW files.
- Privacy default.
How can you get started?
Download PicBackMan and start free, then upgrade to annual or lifetime plan as per your needs. Join 100,000+ users who trust PicBackMan for keeping their precious memories safe in multiple online accounts.
Trusted by users in 125+ countries.
“Your pictures are scattered. PicBackMan helps you bring order to your digital memories.”
How to Move Photos into Folders in Google Drive on Android?

Organizing photos on your Android device can be a hassle, especially when you have hundreds or even thousands of images saved across different apps and folders. Thankfully, Google Drive makes it easy to move and sort your photos on Android.
In this comprehensive guide, we will walk you through the step-by-step process of moving photos into folders in Google Drive using your Android device.
What You Need Before You Start
Before you can start moving photos on your Android, make sure you have the following:
- Android device - The device should be running Android 5.0 or later. Older versions may not fully support all Google Drive features.
- Google Drive app - Download and install the latest version of the Google Drive app from the Play Store.
- Google account - You need an active Google account to access Google Drive and upload photos.
- Photos on your device - Locate the photos you want to move. They can be in your camera gallery, WhatsApp, downloads folder etc.
- Stable internet connection - To upload photos, you need a stable Wi-Fi or mobile data connection. Uploads will be faster over Wi-Fi.
Once you have all of that ready, you can proceed to the next steps.
How to Move Photos into a New Folder in Google Drive
Follow these steps to create a new folder in Google Drive and move photos into it:
1. Open the Google Drive App
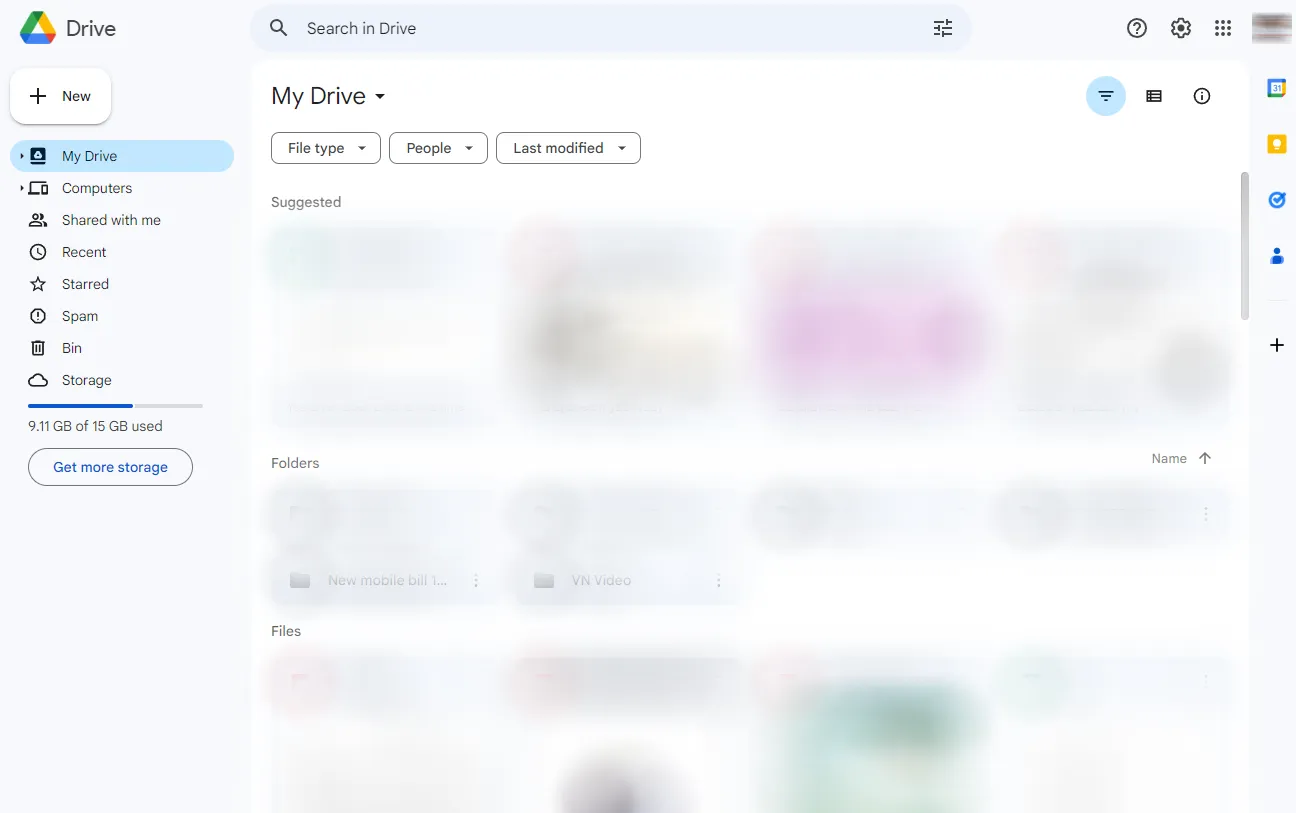
Launch the Google Drive app on your Android device. Sign in to your Google account if prompted.
2. Tap the Plus (+) Button
Tap on the "+" (plus) icon at the bottom right. This will open the menu to create a new item in Drive.
3. Select Folder
From the menu, choose the "Folder" option to create a new folder.
4. Name the Folder
In the pop-up, type a name for your new folder. For example, "Vacation Photos 2022". Then tap "Create".
5. Open the Folder
Tap on the new folder to open it. This is where you will move and add your photos.
6. Tap the Plus (+) Button
Inside the folder, tap on the "+" button again to upload photos.
7. Select Photos
Choose "Upload photos" from the menu.
This will open your Android gallery. Browse and select the photos you want to move to this folder.
8. Tap Upload
Once you have chosen your photos, tap "Upload" to move them into the new Google Drive folder.
The upload progress will be displayed. Wait for the photos to finish uploading.
9. Verify Uploaded Photos
Once done, you can go back into the folder to verify that the photos have been moved successfully.
The photos are now safely moved and stored in your new Google Drive folder!
And that's it! By following these simple steps, you can quickly create new folders and organize your Android photos in Google Drive.
How to Move Photos from the Camera Folder to Google Drive
Photos clicked using the Android camera app are saved in the Camera folder. Here is how to upload these photos to Google Drive:
1. Launch Gallery and Open Camera Folder
Open the Gallery app on your device and tap on the Camera folder. This contains all photos taken using the camera.
2. Select Photos
Browse and long press on the photos you want to move to Drive. A checkbox will appear on each selected photo.
3. Tap Share Button
After making your selections, tap the Share button at the top.
4. Choose Google Drive
In the share menu, select the "Google Drive" app to move the photos.
5. Pick Upload Folder
Pick the folder in Drive where you want to upload the camera photos.
6. Tap Upload
Review the photos being uploaded. Then tap "Upload" to move them.
The photos will start uploading to the chosen Drive folder.
And that's it! The camera photos are now safely stored in Google Drive.
How to Move Screenshots into Google Drive
Follow this simple method to upload your Android screenshots from the gallery to Google Drive:
1. Open Gallery and Tap Screenshots Folder
Launch the Gallery app and navigate to the Screenshots folder. This contains all screenshots you have taken on the device.
2. Select the Screenshots
Browse and long press the screenshots you want to upload. Checkboxes will appear on selected shots.
3. Tap the Share Button
After picking your screenshots, tap the Share button at the top.
4. Choose Google Drive
In the sharing menu, select Google Drive to upload the selected screenshots.
5. Pick Upload Folder
Choose the Drive folder where you want to upload the screenshots.
6. Confirm Upload
Verify the screenshots being uploaded. Tap "Upload" to move them to Drive.
All your device screenshots are now safely stored in Google Drive!
Quick Tip to ensure your videos never go missing
Videos are precious memories and all of us never want to ever lose them to hard disk crashes or missing drives. PicBackMan is the easiest and simplest way to keep your videos safely backed up in one or more online accounts.

Simply Download PicBackMan (it's free!), register your account, connect to your online store and tell PicBackMan where your videos are - PicBackMan does the rest, automatically. It bulk uploads all videos and keeps looking for new ones and uploads those too. You don't have to ever touch it.
How to Transfer WhatsApp Photos to Google Drive
WhatsApp images received from friends or in groups can also be uploaded to Drive with these steps:
1. Open WhatsApp and the Chat
Launch WhatsApp and open the chat which contains the photos you want to move.
2. Tap and Hold the Photo
Long press on a photo and select "Download" to save it to your device.
3. Open Gallery and Navigate to Downloads Folder
Launch Gallery and go to the Downloads folder. This is where the WhatsApp images are saved.
4. Select Photos
Long press to pick the WhatsApp photos you want to upload.
5. Tap the Share Button
After selecting, tap Share at the top.
6. Select Google Drive
Choose Google Drive from the share sheet to move the photos.
7. Pick Drive Folder to Upload
Select the folder where you want to upload the WhatsApp photos.
8. Tap Upload
Verify and tap "Upload" to transfer the WhatsApp photos to Drive.
The WhatsApp photos will start uploading to the chosen folder.
How to Move Photos from Downloads to Google Drive
Images saved in your device's Downloads folder can also be uploaded to Drive easily:
1. Open Gallery and Navigate to Downloads Folder
Launch the Gallery app and go to the Downloads folder. This contains all downloaded images.
2. Long Press to Select Photos
Browse and long press on the photos you want to move to Drive. Checkboxes will appear.
3. Tap the Share Button
After picking photos, tap Share at the top.
4. Choose Google Drive
In the share menu, pick Google Drive to move the downloads.
5. Select Drive Folder for Upload
Choose the folder where you want to upload the downloaded photos.
6. Verify and Upload
Review the photos being uploaded. Tap "Upload" to move them to Drive.
The images will start uploading from your Downloads folder.
Conclusion
- Moving photos into organized Google Drive folders on Android is easy with the Drive app.
- Create new folders and use the upload option to transfer photos from device folders.
- You can move photos from Camera, Screenshots, WhatsApp, Downloads etc.
- Share Drive folders with others to collaborate on managing photos.
- Use Drive to securely store all your important images and free up device space.
Organizing and managing a large image collection is simple with Google.
Frequently Asked Questions
Here are answers to some common questions about moving photos to Google Drive on Android:
How do I find my photos in Google Drive after uploading?
Open the Google Drive app and navigate to the specific folder you uploaded the photos to. All your images will be there.
Does Google Drive compress image quality?
No, Google Drive retains the original image quality if there is no size limit on the storage plan. Image quality will remain unaffected.
Can I create albums for my photos in Google Drive?
Yes, you can organize photos into albums in Google Drive by creating subfolders within folders. Treat each subfolder as an album.
What photo formats can I upload to Google Drive?
Google Drive supports common image formats like JPG, PNG, BMP, GIF, TIFF, PSD, SVG etc. RAW files may not sync properly.
How do I share Google Drive photos with others?
You can share Drive folders containing photos. Open the folder, tap the 3-dot menu > Share > enter email addresses. Users will get view and edit access.
Is my Google Drive storage space reduced when I upload photos?
Yes, the amount of storage space taken up by your Google Drive account will increase as you upload more photos. Upgrade storage if needed.


