Why is it the #1 bulk uploader?
- Insanely fast!
- Maintains folder structure.
- 100% automated upload.
- Supports RAW files.
- Privacy default.
How can you get started?
Download PicBackMan and start free, then upgrade to annual or lifetime plan as per your needs. Join 100,000+ users who trust PicBackMan for keeping their precious memories safe in multiple online accounts.
“Your pictures are scattered. PicBackMan helps you bring order to your digital memories.”
How to Move Photos and Videos from Google Drive to Amazon S3?


Moving photos and videos from Google Drive to Amazon S3 can be a great way to back up your media files and take advantage of Amazon's robust cloud storage offerings. In this comprehensive guide, we'll cover everything you need to know to easily migrate your media from Google Drive over to Amazon S3.
Prerequisites for Moving Media Files to Amazon S3
Before we jump into the step-by-step instructions, let's go over some of the requirements and prerequisites for this process:
- Amazon S3 account - You'll need an active Amazon Web Services (AWS) account with access to Amazon S3 cloud storage. If you don't already have an account, you can sign up for a free tier account on the AWS website.
- Google Drive storage - Your photos, videos, and other media content that you wish to migrate needs to be stored in Google Drive currently.
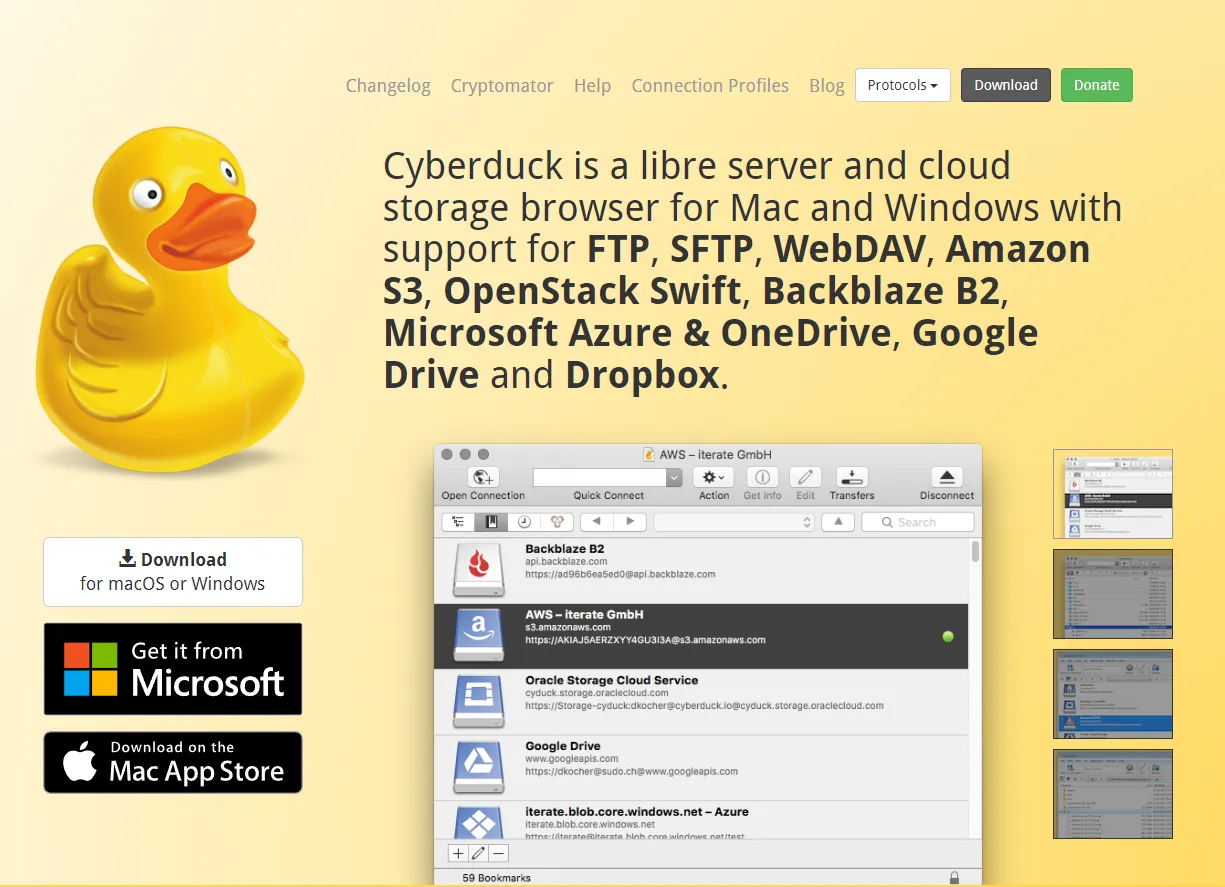
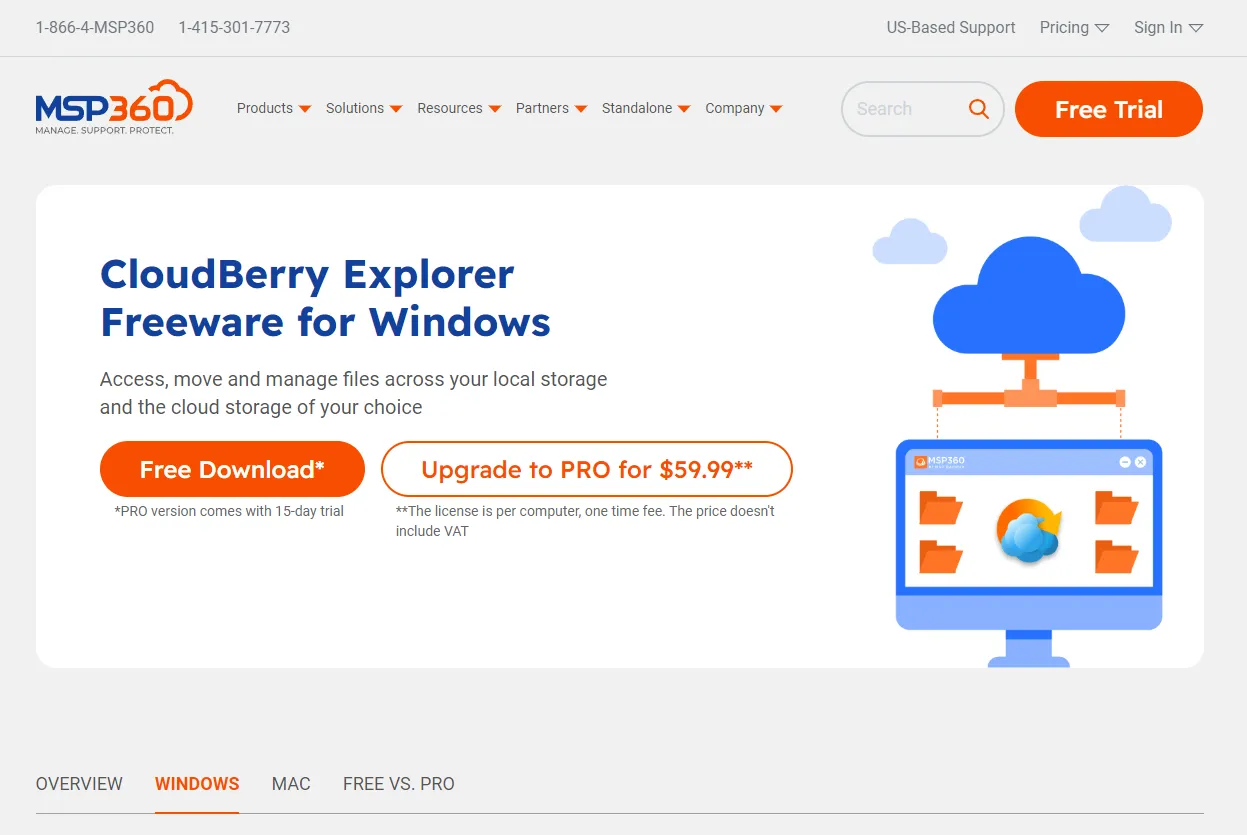
- S3 upload tool - To transfer the files from Google Drive to S3, we'll use a third party tool. Some good options include the AWS CLI, CloudBerry Lab Explorer, or Cyberduck.
- Understand S3 storage classes - Amazon S3 offers different storage classes like Standard, Infrequent Access, Glacier etc. You'll want to decide which storage class to use depending on how often you need to access the files and your budget.
Once you have these basics covered, you'll be ready to move files from Google Drive over to Amazon S3. Let's start with the step-by-step process.
Step 1 - Install and Set Up Your S3 Upload Tool
The first step is to install and configure the software tool you'll use to transfer the files from Google Drive to S3. As mentioned above, the AWS Command Line Interface (CLI), Cyberduck, or CloudBerry Lab Explorer are good options.
Here are quick overviews of how to install and set up some of these tools:
AWS CLI
- Install the AWS CLI on your desktop by following the instructions here.
- Run aws configure to enter your AWS access keys, region, and output format.
Cyberduck
-
Download and install Cyberduck on your desktop from their
official website.

- Open Cyberduck and click Open Connection. Configure a new connection by selecting S3 as the protocol and entering your AWS credentials.
CloudBerry Lab Explorer
-
Go to the
CloudBerry Lab
website and download and install their free S3 explorer.

- Launch the tool, click Add new account, and enter your AWS credentials to connect your S3 account.
Once you have your tool installed and connected to S3, you're ready to move on to finding the files in Google Drive.
Step 2 - Locate Your Google Drive Files to Migrate
Now it's time to browse and identify the specific files and folders in Google Drive that you wish to migrate over to Amazon S3.
Here are some tips for locating your files:
- Use Google Drive's search bar to search for specific keywords, file types, etc.
- Check the "Shared with me" section for any files others have shared with you.
- Review the "Recent" section for files you've accessed lately.
- Browse through the folder structure in "My Drive" to find your content.
- Use the Google Drive mobile app to find files too.
Once you've identified the photos, videos, and other media assets to migrate, the next step is to download them temporarily to your local desktop or device.
Step 3 - Download Your Google Drive Files to Your Local Computer
Before uploading your media files from Google Drive to Amazon S3, first download them to a temporary local folder on your desktop or laptop.
Here are instructions to download Google Drive files:
- On web: Check the boxes next to each file > Click the download icon (downward arrow) > Choose "Download" and pick a folder to save the files temporarily.
- On mobile: Tap the 3-dot menu next to a file > Choose "Make available offline" to download it.
- With Drive File Stream: Simply copy files from My Drive into a local folder on your computer.
Downloaded files will retain their Google Drive folder structure. Be sure to keep track of where you temporarily saved the files on your local machine.
Step 4 - Upload Your Local Files to Your Amazon S3 Bucket
Once your Google Drive files are downloaded locally, you're ready to upload them to your destination S3 bucket.
If you don't already have an S3 bucket created, navigate to the S3 dashboard in your AWS console and click +Create Bucket to make one.
Then, use your S3 management tool to upload your local files to the bucket:
Using AWS CLI:
aws s3 sync /path/to/local/files s3://your-bucket-name
Using Cyberduck:
- Open the connection to your S3 bucket
- Simply drag and drop files from your local folder to the S3 bucket
Using CloudBerry Explorer:
- Right click on the destination bucket
- Choose "Upload" and select the local folder with your files
The tool will transfer all the files from your local computer to the S3 bucket while retaining the original folder structure.
Step 5 - Verify Files Are Successfully Uploaded in Your S3 Bucket
Once the upload process finishes, verify that all your files were successfully transferred over to Amazon S3 from Google Drive.
Here are some ways to confirm the files are now in your S3 bucket:
- Open your S3 management tool and browse the bucket to view the files.
- Check that the file count matches your expectation.
- Spot check by opening random files to test they work properly.
- If using the AWS CLI, run aws s3 ls s3://bucket-name to list objects.
- Check the timestamps on files to see if they were recently updated.
If any files failed to transfer over, you may need to retry uploading them individually. Overall though, you should now have your original Google Drive media backed up in Amazon S3!
Step 6 - Delete the Local Downloads and Free Up Space
Now that your Google Drive media is safely migrated to Amazon S3, you can go ahead and delete the local copies you downloaded to your computer or device in step 3.
Here are some ways to delete those temporary local files:
- On Windows: Select all files > Right click > Delete
- On Mac: Drag and drop files to Trash
- On mobile: Find files in your device's file manager and delete
After deletion, it's recommended to empty your Trash / Recycle Bin to completely free up the disk space.
With the local file copies removed, you now have a clean copies of your media in Google Drive and Amazon S3.
Quick Tip to ensure your videos never go missing
Videos are precious memories and all of us never want to ever lose them to hard disk crashes or missing drives. PicBackMan is the easiest and simplest way to keep your videos safely backed up in one or more online accounts.
Simply Download PicBackMan (it's free!), register your account, connect to your online store and tell PicBackMan where your videos are - PicBackMan does the rest, automatically. It bulk uploads all videos and keeps looking for new ones and uploads those too. You don't have to ever touch it.
Alternative Migration Methods to Consider
While using an S3 management tool to transfer files works well, there are a couple other potential methods to consider for migrating your media from Google Drive to Amazon S3:
- Use a cloud sync tool like MultCloud: This tool lets you setup direct cloud-to-cloud sync between Google Drive and S3.
- Install a FUSE adapter like Goofys: This allows you to directly mount S3 buckets to your local computer as virtual file systems.
- Enable Google Drive API access: Programmatically transfer files from Google Drive to S3 using API calls.
- Manually download and re-upload: For small file transfers, you can opt to skip automated tools and just manually move files.
Evaluate whether these alternatives could be better suited for your specific use case. The direct S3 upload approach outlined in this guide works great for most straightforward file migrations.
Summary and Next Steps
Migrating your photos, videos, and other multimedia files from Google Drive over to Amazon S3 is a great way to expand your cloud storage capabilities.
The basic process involves:
- Getting setup with S3 and an upload tool
- Identifying the files in Drive to move
- Downloading the files temporarily
- Using your tool to upload to S3
- Verifying the files transferred successfully
- Deleting the temporary local files
Additionally, consider automating future transfers or using alternative migration methods.
We hope this detailed guide covered everything you need to feel confident moving your important media files from Google Drive to Amazon S3. Let us know if you have any other questions!
FAQ and Troubleshooting Moving Google Drive Files to Amazon S3
Let's review some frequently asked questions and troubleshooting tips when transferring files from Google Drive to Amazon S3:
How long will it take to move my files?
Transfer speed will depend on your local internet connection upload bandwidth along with the total size of files. For reference, a 100 GB transfer could take over 10 hours on a moderate broadband connection. Larger transfers measured in terabytes could take multiple days.
What if some files fail to transfer over?
First, check your S3 upload tool logs for any error messages. Then retry uploading any failed files individually. This is often caused by intermittent internet connectivity issues.
Can I automate syncing new Google Drive files over to S3?
Yes, using a cloud sync tool you can configure real-time continuous sync from Google Drive to S3 to automatically copy over new files in the future.
Will all Google Docs retain their formatting when moved to S3?
Most Google file formats like Sheets and Docs get converted to standard formats like XLSX and DOCX when downloaded, so they will lose original Google formatting.
Is there any limit to how much data I can move from Drive to S3?
No, you can transfer as much data as you have stored in Google Drive over to S3. Just be aware of your S3 storage limits based on the AWS account type you have.
What are the costs involved in migrating data to S3?
Apart from your standard S3 storage costs, migrating data over is free. Just be wary of choosing lower cost S3 storage tiers like Glacier which have higher fees for accessing data less frequently.


