Menu
Start Free $129 Lifetime
Why is it the #1 bulk uploader?
- Insanely fast!
- Maintains folder structure.
- 100% automated upload.
- Supports RAW files.
- Privacy default.
How can you get started?
Download PicBackMan and start free, then upgrade to annual or lifetime plan as per your needs. Join 100,000+ users who trust PicBackMan for keeping their precious memories safe in multiple online accounts.
Trusted by users in 125+ countries.
“Your pictures are scattered. PicBackMan helps you bring order to your digital memories.”
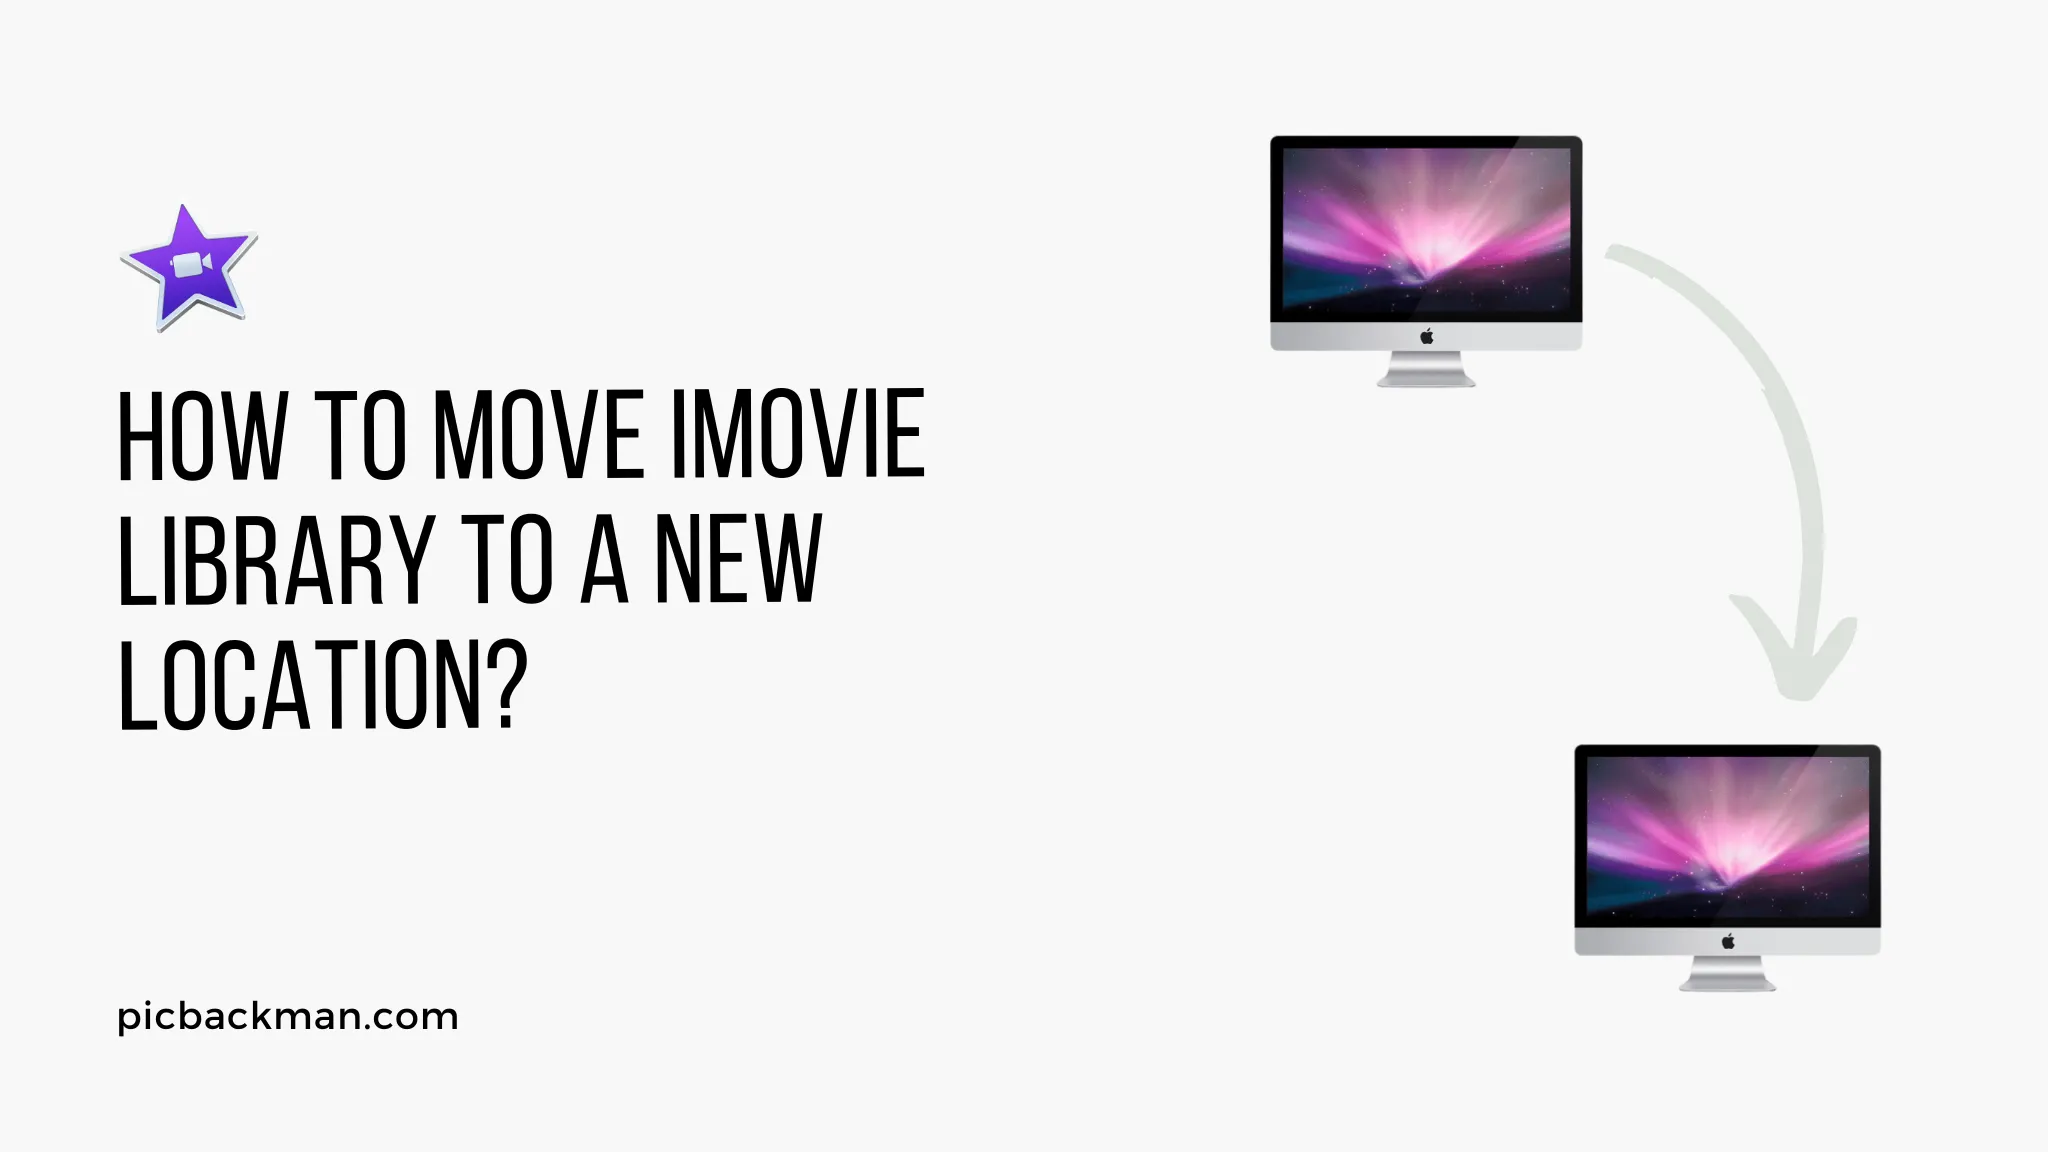
How to Move iMovie Library to a New Location?

Are you an iMovie user who wants to move your iMovie library to a new location? Perhaps you're running out of storage space on your current device or simply want to organize your files better.
Whatever the reason may be, relocating your iMovie library is a straightforward process that can be done with a few simple steps. In this article, we will guide you through the process of moving your iMovie library to a new location, ensuring that your valuable video projects remain intact.
1. Introduction
If you have been using iMovie for a while, you might have accumulated a significant number of video projects and media files. Moving your iMovie library to a new location can help free up space on your current device or allow you to store your projects on an external hard drive for better organization and accessibility. Follow the steps below to ensure a smooth and successful relocation process.
2. Back up Your iMovie Library
Before you start moving your iMovie library, it's crucial to create a backup to prevent any loss of data. Here's how you can back up your iMovie library:

- Launch iMovie on your Mac.
- From the menu bar, click on "File" and select "Open Library."
- Choose "New" to create a new library and save it in a location of your choice.
- With the new library selected, go to the menu bar and click on "File" again, but this time select "Import Media."
- Locate your original iMovie library and import all the media files into the new library.
- Once the import process is complete, you have successfully created a backup of your iMovie library.
3. Choosing a new location
Now that you have a backup of your iMovie library, it's time to choose a new location where you want to move it. You can opt for an external hard drive, a different folder on your current device, or even a cloud storage service like iCloud or Dropbox. Consider factors like storage capacity, accessibility, and convenience when deciding on the new location.
4. Moving the iMovie Library
Follow these steps to move your iMovie library to the new location:
- Quit iMovie if it's currently open.
- Locate your iMovie library on your current device.
- Click and drag the iMovie library folder to the new location you've chosen.
- Depending on the size of your library, the transfer process may take some time.
- Once the transfer is complete, your iMovie library is now in the new location.
Backup & Transfer your Photos in Minutes
Trusted by users in 125+ countries.
5. Update iMovie Preferences
To ensure iMovie recognizes the new location of your library, you need to update the preferences. Here's how you can do it:
- Open iMovie on your Mac.
- From the menu bar, click on "iMovie" and select "Preferences."
- In the Preferences window, go to the "General" tab.
- Click on the "Change" button next to the "Library Location" option.
- Navigate to the new location where you moved your iMovie library and select it.
- Click on "OK" to save the changes.
Quick Tip Before Moving iMovie Library to a New Location
Photos are precious memories and all of us never want to lose them to hard disk crashes or missing drives. PicBackMan is the easiest and simplest way to keep your photos safely backed up in one or more online accounts.
Simply Download PicBackMan (it's free!), register your account, connect to your online store and tell PicBackMan where your photos are - PicBackMan does the rest, automatically. It bulk uploads all photos and keeps looking for new ones and uploads those too. You don't have to ever touch it.
6. Verifying the relocation
To confirm that the relocation was successful, follow these steps:
- Open iMovie on your Mac.
- From the menu bar, click on "File" and select "Open Library."
- Navigate to the new location where you moved your iMovie library.
- Select the iMovie library folder and click on "Open."
- If your library opens without any issues, congratulations! You have successfully relocated your iMovie library.
7. Troubleshooting
If you encounter any problems during the relocation process or your iMovie library doesn't open after the move, try the following troubleshooting steps:
- Ensure that you have moved the entire iMovie library folder to the new location.
- Double-check that the new location is accessible and has the necessary read and write permissions.
- Restart your Mac and try opening iMovie again.
- If the problem persists, consider reaching out to Apple Support for further assistance.
8. Conclusion
Moving your iMovie library to a new location can help you better manage your video projects and free up storage space on your current device. By following the outlined in this article, you can safely and efficiently relocate your iMovie library without losing any of your valuable media files. Remember to create a backup of your library before proceeding and verify the relocation to ensure a successful transition.
FAQs
How to Move an iMovie Project to a New Library?
To move an iMovie project to a new library, follow these steps:
- Open iMovie on your Mac.
- Select the project you want to move.
- From the menu bar, click on "File" and choose "Move Event to Library."
- Select the destination library where you want to move the project.
- Click on "Move" to complete the process.
Can I Move My iMovie Library to the Cloud?
Yes, you can move your iMovie library to the cloud by choosing a cloud storage service like iCloud or Dropbox as the new location for your library. Simply follow the steps mentioned in this article to relocate your iMovie library to the cloud.
Where Is the iMovie Library Stored?
The iMovie library is stored on your Mac's internal hard drive by default. The exact location of the library is typically within the "Movies" folder in your user directory. However, you can choose to move the library to a different location if desired.
How to Create an iMovie Library on an External Drive?
To create an iMovie library on an external drive, follow these steps:
- Connect the external drive to your Mac.
- Open iMovie.
- From the menu bar, click on "File" and select "New Library."
- Choose the external drive as the location for the new library.
- Provide a name for the library and click on "Save."
Can You Move iMovie Library to OneDrive?
Yes, you can move your iMovie library to OneDrive, which is a cloud storage service provided by Microsoft. However, the process may vary slightly depending on your operating system and setup. It's recommended to consult the documentation or support resources specific to your version of OneDrive for detailed instructions on how to move the iMovie library to OneDrive.
What Happens If I Delete iMovie Library?
If you delete the iMovie library, all your video projects, media files, and associated data within that library will be permanently removed from your device. It's essential to create a backup of your iMovie library before deleting it to prevent any loss of valuable data. Once deleted, the library cannot be recovered unless you have a backup available.


