Menu
Start Free $129 Lifetime
Why is it the #1 bulk uploader?
- Insanely fast!
- Maintains folder structure.
- 100% automated upload.
- Supports RAW files.
- Privacy default.
How can you get started?
Download PicBackMan and start free, then upgrade to annual or lifetime plan as per your needs. Join 100,000+ users who trust PicBackMan for keeping their precious memories safe in multiple online accounts.
Trusted by users in 125+ countries.
“Your pictures are scattered. PicBackMan helps you bring order to your digital memories.”
How to Migrate Videos from Google Photos into iMovie on Mac?

If you're a Mac user and want to transfer your videos from Google Photos to iMovie, you've come to the right place. Migrating videos between platforms can sometimes be a bit tricky, but with the right steps, you can seamlessly move your precious memories to iMovie on your Mac. In this article, we will guide you through the process of migrating videos from Google Photos to iMovie, ensuring that you can continue editing and enjoying your videos on your Mac. Let's get started!
Introduction
Google Photos is a popular cloud-based platform for storing and managing your photos and videos. However, if you're an avid iMovie user and prefer to edit your videos using this Mac application, you might want to transfer your videos from Google Photos to iMovie. By doing so, you can leverage the powerful editing features of iMovie to enhance your videos further.
Exporting Videos from Google Photos
To begin the migration process, you need to export your videos from Google Photos. Follow these steps:
- Open Google Photos on your web browser.
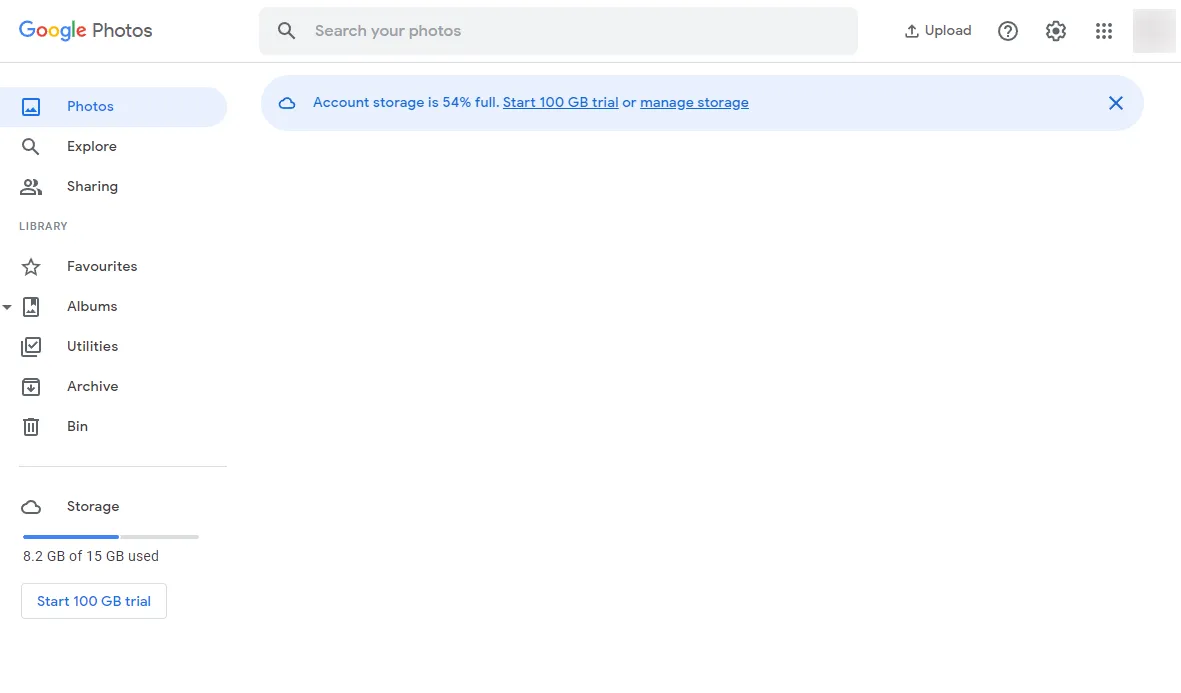
- Select the videos you want to export by clicking on the checkboxes beside them.
- Click on the three-dot menu icon and choose the "Download" option.
- Wait for Google Photos to prepare and compress the videos into a downloadable format.
- Once the videos are ready, click on the "Download" button to save them to your Mac.
Preparing the Videos for iMovie
Before importing the videos into iMovie, it's recommended to organize and prepare them to ensure a smooth editing experience. Here's what you can do:
- Create a new folder on your Mac to store the videos.
- Rename the videos to have descriptive and recognizable names.
- If necessary, trim or edit the videos using a video editing software compatible with your Mac.
- Ensure that the videos are in a supported format for iMovie, such as MP4 or MOV.
Importing Videos to iMovie
Now that your videos are ready, it's time to import them into iMovie. Follow these steps:
- Launch iMovie on your Mac.

- Create a new project by clicking on the "Create New" button.
- Give your project a name and choose the appropriate settings.
- In the iMovie interface, click on the "Import Media" button.
- Locate the folder where you stored the videos and select them.
- Click on the "Import Selected" button to import the videos into iMovie.
Organizing and Editing Videos in iMovie
Once your videos are imported, you can organize and edit them in iMovie. Here are some tips:
- Drag and drop the videos into the timeline to arrange their sequence.
- Trim or split videos to remove unwanted sections or create separate clips.
- Apply transitions, filters, and effects to enhance the visual appeal of your videos.
- Add text, titles, and captions to provide context or information.
- Include background music or audio tracks to enhance the overall experience.
Enhancing Videos with iMovie Tools
iMovie offers various tools and features to enhance your videos further. Here are some notable ones:
- Stabilization: Correct shaky footage for a smoother viewing experience.
- Color correction: Adjust brightness, contrast, and saturation levels for optimal visuals.
- Audio editing: Modify audio levels, reduce background noise, or add voiceovers.
- Green screen effects: Replace the background with different scenes or images.
- Speed adjustments: Create slow-motion or fast-forward effects for dramatic impact.
Exporting the Final Video
Once you're satisfied with the editing and enhancements, it's time to export the final video. Follow these steps:
- Click on the "Share" button in iMovie.
- Choose the appropriate export option based on your requirements (e.g., File, YouTube, iCloud, etc.).
- Configure the export settings, such as resolution, quality, and file format.
- Specify the destination folder and click on the "Next" or "Export" button to start the export process.
- Wait for iMovie to finish exporting the video, and then you can share or enjoy it on your Mac.
Quick Tip to ensure your videos never go missing
Videos are precious memories and all of us never want to ever lose them to hard disk crashes or missing drives. PicBackMan is the easiest and simplest way to keep your videos safely backed up in one or more online accounts.
Simply Download PicBackMan (it's free!), register your account, connect to your online store and tell PicBackMan where your videos are - PicBackMan does the rest, automatically. It bulk uploads all videos and keeps looking for new ones and uploads those too. You don't have to ever touch it.
Conclusion
In conclusion, migrating videos from Google Photos to iMovie on your Mac is a simple process that allows you to leverage iMovie's powerful editing tools. By exporting the videos from Google Photos, preparing them for iMovie, and importing them into iMovie, you can continue editing and enhancing your videos seamlessly. With iMovie's extensive features, you can bring your videos to life and create memorable visual experiences.
Frequently Asked Questions
Can I import videos from Google Photos to iMovie?
Yes, you can import videos from Google Photos to iMovie. First, you need to export the videos from Google Photos and then import them into iMovie on your Mac.
How do I import a video from Google Drive to iMovie on a Mac?
To import a video from Google Drive to iMovie on a Mac, you need to download the video from Google Drive to your Mac first. Once downloaded, you can import the video into iMovie by following the steps mentioned in the article.
How do I download a video from Google Photos to my Mac?
To download a video from Google Photos to your Mac, open Google Photos on your web browser, select the video, click on the three-dot menu icon, and choose the "Download" option. The video will be saved to your Mac's local storage.
Why is iMovie not letting me import media?
There could be several reasons why iMovie is not allowing you to import media. Some possible causes include incompatible file formats, insufficient storage space on your Mac, or issues with the file itself. Ensure that your media files are in a supported format and that you have enough storage space.
What file cannot be used by iMovie?
iMovie supports a wide range of video file formats, but there are some formats that may not be compatible. For example, iMovie cannot directly import files in formats like WMV, AVI, FLV, or MKV. It's recommended to convert such files to a compatible format, such as MP4 or MOV, before importing them into iMovie.
How do I convert video files to iMovie?
To convert video files to a format compatible with iMovie, you can use third-party video conversion software. There are various free and paid options available online. Install a reliable video converter on your Mac, select the desired output format (e.g., MP4 or MOV), and follow the instructions provided by the software to convert your video files.


