Why is it the #1 bulk uploader?
- Insanely fast!
- Maintains folder structure.
- 100% automated upload.
- Supports RAW files.
- Privacy default.
How can you get started?
Download PicBackMan and start free, then upgrade to annual or lifetime plan as per your needs. Join 100,000+ users who trust PicBackMan for keeping their precious memories safe in multiple online accounts.
“Your pictures are scattered. PicBackMan helps you bring order to your digital memories.”
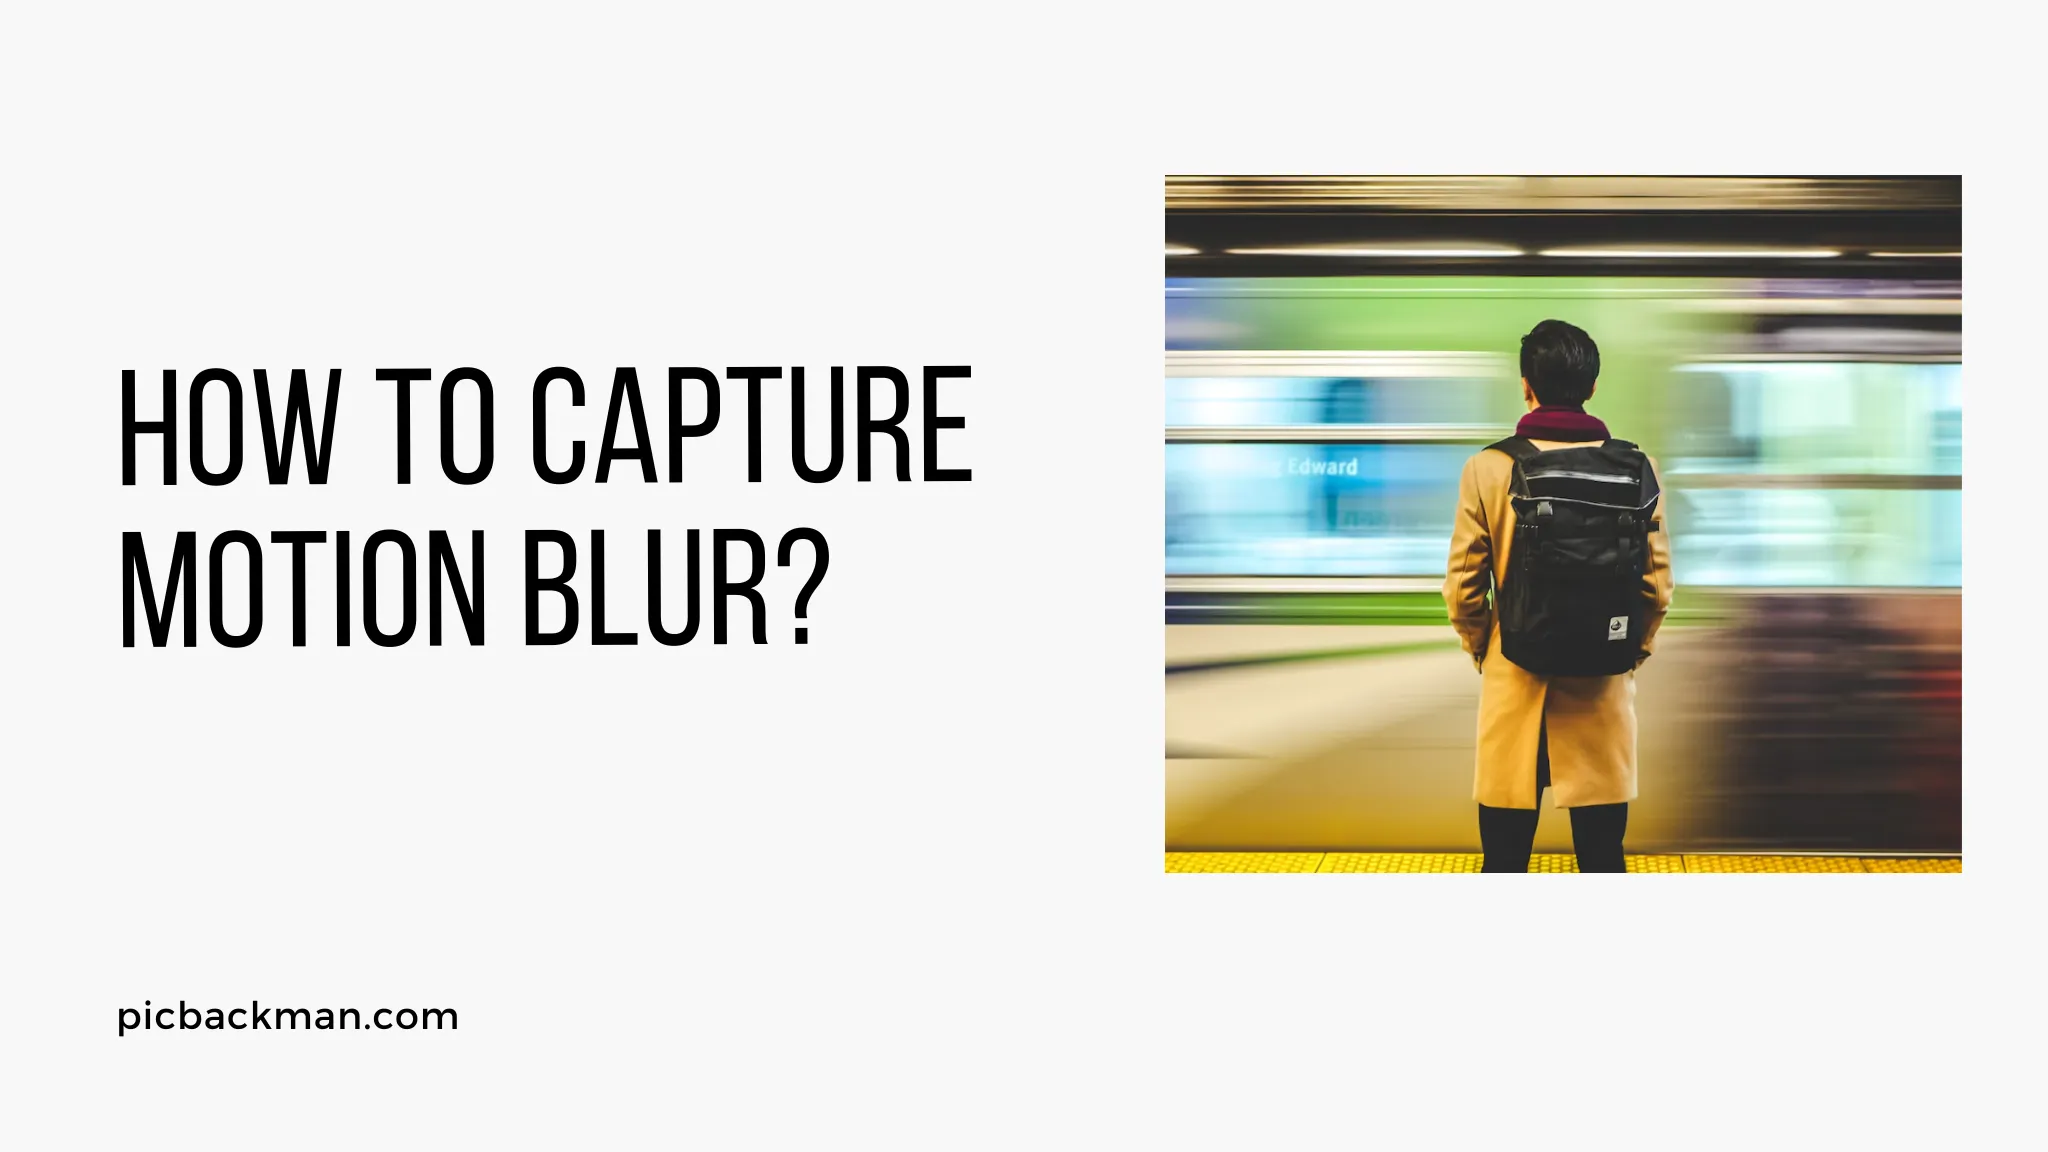
How to capture Motion Blur?


Motion blur is a captivating technique in photography that can add a sense of movement and dynamism to your images. Whether you want to capture a speeding car, a flowing waterfall, or a dancer mid-leap, motion blur can bring life and energy to your photographs.
In this comprehensive guide, we will delve into the intricacies of capturing motion blur and provide you with practical tips and techniques to master this artistic effect. So, grab your camera and let's get started!
1. Understanding Motion Blur
What is Motion Blur?
Motion blur refers to the apparent streaking or blurring of moving subjects in a photograph. It occurs when the camera's shutter remains open for a longer duration, capturing the continuous movement of the subject during that time. This effect can be used creatively to convey a sense of motion and speed.
Why Capture Motion Blur?
Capturing motion blur can transform a static image into a dynamic one, evoking a sense of action and energy. It allows you to freeze a moment in time while conveying the motion that was present when the photograph was taken.
Whether you want to capture the rush of a car race or the graceful movements of a ballet dancer, motion blur enables you to add a captivating element to your images.
Types of Motion Blur
There are two primary types of motion blur: object blur and camera blur. Object blur occurs when the subject is in motion while the camera remains stationary. Camera blur, on the other hand, happens when the camera moves during the exposure. Both types can be creatively employed to achieve different effects and convey various emotions in your photographs.
2. Essential Equipment for Capturing Motion Blur
To effectively capture motion blur, you will need a few essential pieces of equipment. Let's take a closer look at each one:
Fast Shutter Speed

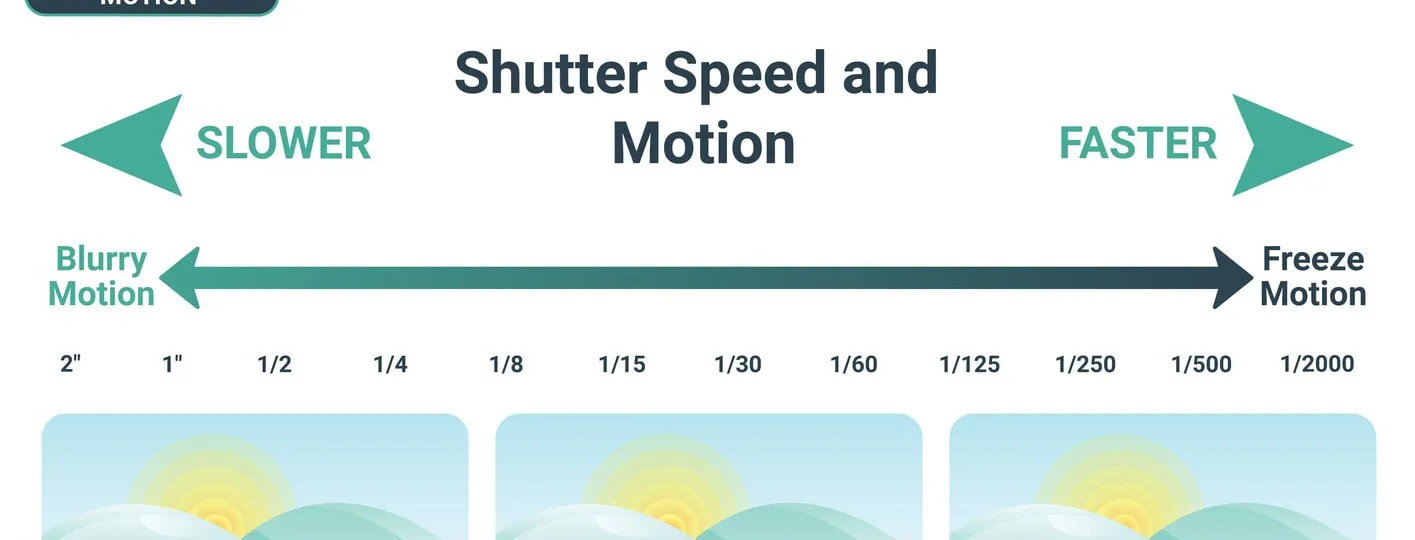
Source: https://capturetheatlas.com/what-is-shutter-speed-in-photography/
Using a fast shutter speed is crucial for freezing the action of a moving subject. A higher shutter speed reduces the time the camera sensor is exposed to light, resulting in sharper details and less motion blur. Experiment with different shutter speeds to find the ideal setting for the desired effect.
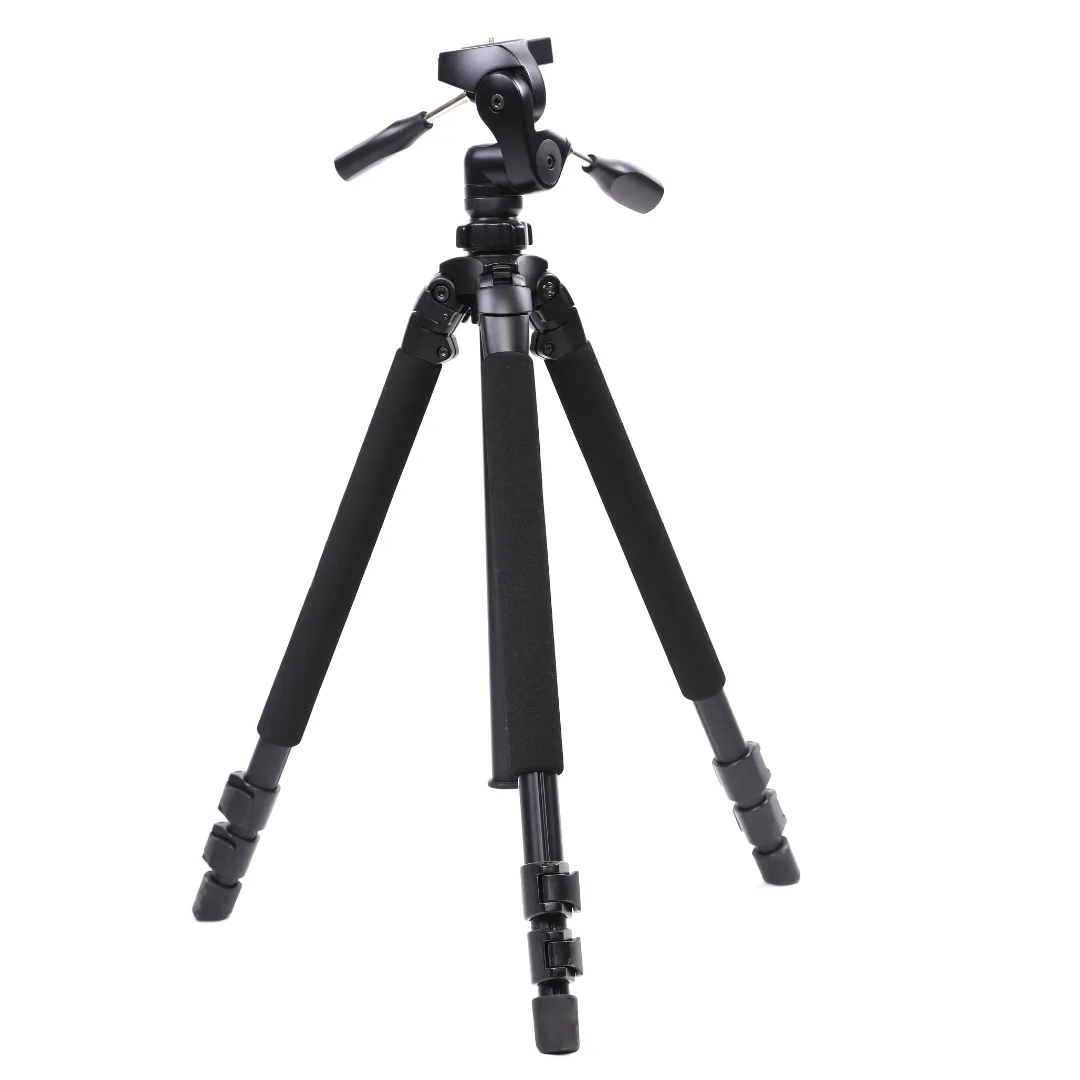
Tripod

A sturdy tripod is essential for capturing motion blur, especially when using slower shutter speeds. It ensures that the camera remains steady during the exposure, preventing unwanted camera blur. Invest in a quality tripod that suits your camera and shooting style.
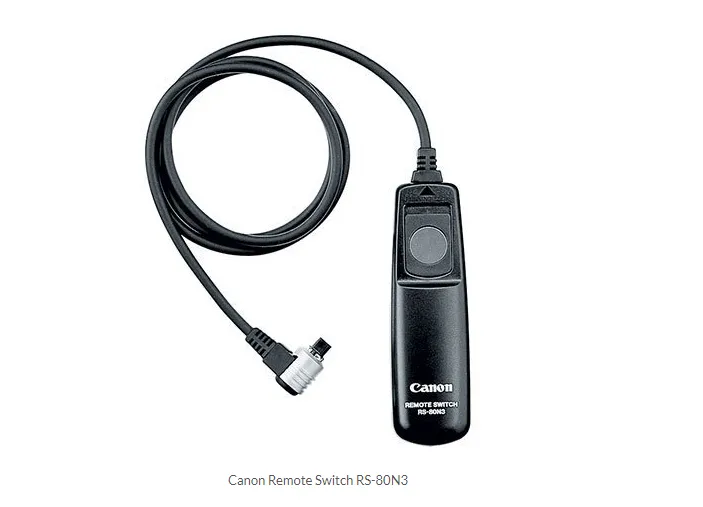
Remote Shutter Release

A remote shutter release allows you to trigger the camera's shutter without physically touching it. This minimizes the risk of camera shake caused by pressing the shutter button manually. It is particularly useful when using longer exposure times to capture motion blur.
3. Mastering Shutter Speed
The Relationship between Shutter Speed and Motion Blur
Shutter speed plays a vital role in capturing motion blur. It determines how long the camera's sensor is exposed to light and, consequently, how much motion is recorded during that time. A slower shutter speed will result in more pronounced motion blur, while a faster shutter speed will freeze the action.
Choosing the Right Shutter Speed
Selecting the appropriate shutter speed depends on several factors, including the speed of the subject, the desired amount of motion blur, and the available light. As a general guideline, start with a shutter speed of around 1/60th of a second for moderate motion blur and adjust accordingly. Experiment with different speeds to achieve the desired effect.
4. Selecting the Perfect Subject
Subjects that lend themselves to Motion Blur
While almost any subject can be used to create motion blur, certain types of subjects lend themselves particularly well to this technique. Moving vehicles, sports activities, waterfalls, and dancing are just a few examples of subjects that can produce stunning motion blur effects.
Considering the Background
When capturing motion blur, it is crucial to consider the background of your composition. A clean and uncluttered background will allow the viewer's attention to focus on the blurred subject. Look for contrasting colors or textures that complement the subject and enhance the overall visual impact.
5. Composing Your Shot
Rule of Thirds
The rule of thirds is a fundamental principle of composition that can enhance the impact of your photographs. Imagine dividing your frame into a 3x3 grid and placing the main elements of your image along these gridlines or at their intersections. This creates a balanced and visually appealing composition.
Leading Lines
Leading lines are lines within the frame that draw the viewer's eye towards the subject. Utilize natural or man-made lines, such as roads, fences, or architectural elements, to guide the viewer's gaze through the image and towards the motion-blurred subject.
Framing and Panning
Framing involves using elements in the foreground to frame the subject and draw attention to it. Panning, on the other hand, involves following the subject's motion with your camera while using a slower shutter speed. This technique can create a sharp subject against a blurred background, emphasizing the sense of movement.
6. Utilizing Manual Mode
Taking Control of Your Camera
Using manual mode allows you to have full control over your camera's settings, enabling you to achieve the desired motion blur effect. Manual mode gives you the flexibility to adjust the shutter speed, aperture, and ISO to precisely capture the motion and create the desired artistic outcome.
Adjusting Aperture and ISO
While shutter speed primarily affects motion blur, aperture and ISO also play a crucial role in capturing compelling images. A wider aperture (smaller f-number) can create a shallow depth of field, isolating the subject and enhancing the sense of motion.
Increasing the ISO may be necessary in low-light conditions to maintain a faster shutter speed and minimize noise.
7. Focus and Depth of Field
Focusing Techniques
Achieving sharp focus on your subject is essential, even when intentionally introducing motion blur. Depending on the situation, you can use autofocus or manual focus to ensure the subject remains sharp. Experiment with different focusing techniques and practice to refine your skills.
Achieving the Desired Depth of Field
Depth of field refers to the range of sharpness in an image, from the foreground to the background. Controlling depth of field is crucial when capturing motion blur, as it can impact the overall visual impact. A shallow depth of field can isolate the subject and emphasize the blur, while a deep depth of field can provide context and detail.
8. Experimenting with Different Techniques
Long Exposure
Long exposure photography involves using slower shutter speeds, typically several seconds or more, to capture the continuous movement of the subject. This technique can create mesmerizing motion blur effects, particularly when capturing light trails or the smooth flow of water.
Zoom Burst
Zoom burst is a creative technique that involves zooming the lens during the exposure. It produces a radial blur effect, with the subject appearing sharp in the center and the surrounding areas streaked or blurred. Zoom burst can add a sense of energy and dynamism to your images.
Multiple Exposures
Multiple exposures involve combining multiple images into a single photograph. This technique allows you to capture different stages of motion in a single frame, resulting in a unique and artistic representation of movement. Experiment with multiple exposures to create visually compelling motion blur images.
9. Capturing Motion Blur in Low Light
Dealing with Noise
In low-light conditions, it may be necessary to increase the ISO to maintain a faster shutter speed. However, higher ISO values can introduce digital noise into your images, resulting in a grainy appearance. Use noise reduction techniques in post-processing to minimize noise while retaining image quality.
Using Artificial Light Sources
In situations where the available light is insufficient, you can introduce artificial light sources to illuminate the subject and maintain a faster shutter speed. Flash photography or using continuous artificial lighting can help freeze the motion and produce stunning motion blur effects.
10. Post-Processing Motion Blur
Editing Software
Post-processing is an essential step in refining and enhancing your motion blur images. Use professional editing software such as Adobe Photoshop, Lightroom, or GIMP to adjust the exposure, contrast, color balance, and other parameters to achieve the desired effect. Experiment with different editing techniques to make your motion blur images truly stand out.
Enhancing Motion Blur Effect
In post-processing, you can further enhance the motion blur effect by applying selective blurring or motion blur filters. These techniques allow you to control and manipulate the amount and direction of motion blur in your images, adding a touch of creativity and artistry.
11. Troubleshooting Common Challenges
Blurry Images
If your images are consistently blurry, there are a few potential causes to consider. Firstly, ensure that your camera is stable and properly mounted on a tripod. Check your shutter speed to ensure it is appropriate for the motion you want to capture. Finally, double-check your focus and depth of field settings to ensure the subject is sharp.
Overexposure
Overexposure can occur when too much light enters the camera during the exposure, resulting in washed-out and overly bright images. To avoid overexposure, adjust your exposure settings, such as shutter speed, aperture, and ISO, to reduce the amount of light reaching the camera's sensor.
Underexposure
Underexposure happens when the image is too dark due to insufficient light entering the camera. To address underexposure, adjust your exposure settings to increase the amount of light reaching the sensor. Consider using a slower shutter speed or wider aperture to allow more light into the camera.
12. Frequently Asked Questions (FAQs)
How do I capture motion blur with a smartphone?
Capturing motion blur with a smartphone requires similar techniques as with a traditional camera. Use apps or camera modes that allow manual control over shutter speed or select a slow-motion mode to capture the desired effect. Experiment with different techniques and apps to find what works best for your smartphone.
Can motion blur be achieved in video?
Yes, motion blur can be achieved in video by using slower shutter speeds or adjusting the frame rate. Lowering the shutter speed creates a longer exposure time for each frame, allowing motion blur to occur. Alternatively, reducing the frame rate can also produce a motion blur effect in video.
What is the ideal time of day for capturing motion blur outdoors?
The ideal time of day for capturing motion blur outdoors depends on the lighting conditions and the effect you want to achieve. During golden hour (shortly after sunrise or before sunset), the soft, warm light can add a magical touch to your motion blur images. However, with the right techniques and adjustments, you can capture motion blur at any time of the day.
Is it possible to capture motion blur without a tripod?
While a tripod provides stability and helps minimize camera shake, it is possible to capture motion blur without one. You can use handheld techniques such as panning or bracing yourself against a stable surface to steady the camera. Experiment with different handheld techniques and practice to improve your ability to capture motion blur without a tripod.
Can I capture motion blur with a point-and-shoot camera?
Yes, you can capture motion blur with a point-and-shoot camera. While point-and-shoot cameras may have limitations compared to DSLRs or mirrorless cameras, they still offer various settings and modes to control exposure and shutter speed. Experiment with your camera's manual settings or select a scene mode suitable for capturing motion blur.
How can I add motion blur to existing images in post-processing?
To add motion blur to existing images in post-processing, you can use software like Adobe Photoshop or GIMP. These tools offer filters or blur effects that can simulate motion blur. Apply the effect selectively to the areas you want to blur, adjusting the intensity and direction of the blur to create a natural-looking motion blur effect.
13. Conclusion
Capturing motion blur can elevate your photography to new heights, allowing you to convey the excitement and energy of a moment frozen in time. With the right techniques, equipment, and creative vision, you can master the art of motion blur and create stunning images that captivate viewers.
Remember to experiment, practice, and refine your skills to achieve the desired effects. So, grab your camera, embrace the motion, and let your creativity soar!


