Menu
Start Free $129 Lifetime
Why is it the #1 bulk uploader?
- Insanely fast!
- Maintains folder structure.
- 100% automated upload.
- Supports RAW files.
- Privacy default.
How can you get started?
Download PicBackMan and start free, then upgrade to annual or lifetime plan as per your needs. Join 100,000+ users who trust PicBackMan for keeping their precious memories safe in multiple online accounts.
Trusted by users in 125+ countries.
“Your pictures are scattered. PicBackMan helps you bring order to your digital memories.”
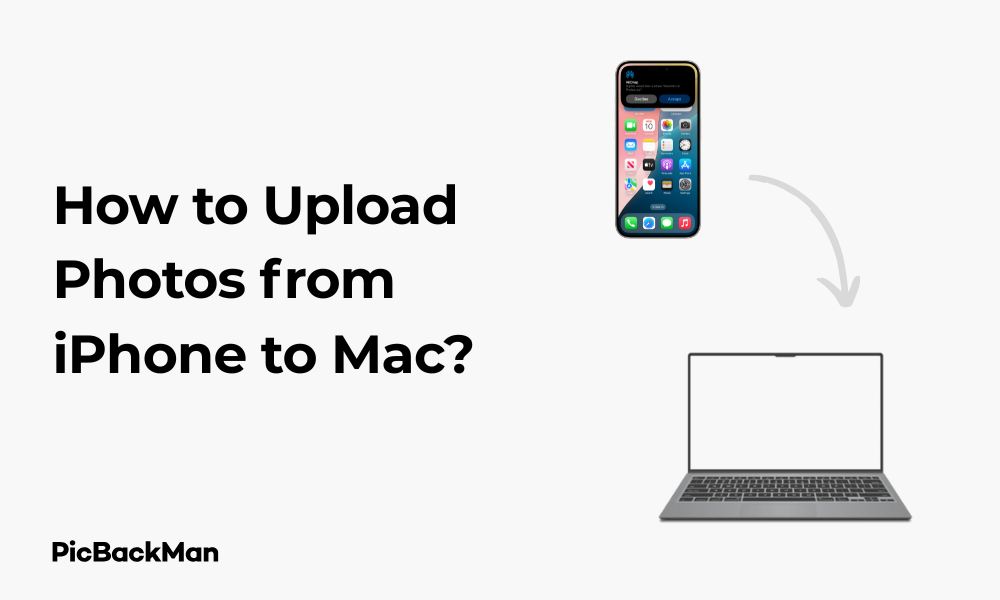
How to Upload Photos from iPhone to Mac?

Transferring photos from your iPhone to Mac doesn't have to be complicated. Whether you've captured precious memories or important work images, moving them to your Mac gives you more storage space and better organization options. In this guide, I'll walk you through multiple ways to upload photos from your iPhone to Mac, helping you choose the method that works best for your needs.
Using AirDrop to Transfer Photos from iPhone to Mac
AirDrop is one of the quickest ways to wirelessly send photos between Apple devices. Here's how to use it:
Step-by-Step AirDrop Instructions
- Make sure both your iPhone and Mac have Wi-Fi and Bluetooth turned on
- Open the Photos app on your iPhone
- Select the photos you want to transfer by tapping “Select” and choosing images
- Tap the share button (square with an arrow pointing up)
- Look for the AirDrop option in the sharing menu
- Your Mac should appear as an AirDrop recipient - tap on it
- On your Mac, click “Accept” when prompted
- The photos will transfer and automatically open in your Photos app on Mac
Pro Tip: If you don't see your Mac in the AirDrop menu, make sure AirDrop is set to receive from "Everyone" or "Contacts Only" on your Mac. You can check this by opening Finder and clicking on "AirDrop" in the sidebar.
Using iCloud Photos to Sync iPhone Photos to Mac
iCloud Photos automatically syncs your entire photo library across all your Apple devices. This method is perfect if you want continuous access to all your photos without manual transfers.
Setting Up iCloud Photos on iPhone and Mac
On Your iPhone:
- Open Settings and tap on your name at the top
- Tap "iCloud"
- Tap "Photos"
- Toggle on "iCloud Photos"
On Your Mac:
- Open the Photos app
- Click "Photos" in the menu bar
- Select "Preferences" (or "Settings" in newer macOS versions)
- Click the "iCloud" tab
- Check the box next to "iCloud Photos"
After setting up iCloud Photos on both devices, your photos will automatically sync whenever both devices are connected to the internet. No manual transfers needed!
| iCloud Photos Feature | Benefit |
|---|---|
| Automatic Syncing | Photos upload and download automatically |
| Optimize Storage | Saves space by storing full-resolution photos in iCloud while keeping smaller versions on your devices |
| Edits Sync | Any edits made on one device appear on all devices |
| Albums Sync | Photo organization is maintained across all devices |
Connecting iPhone to Mac with USB Cable
The traditional method of connecting your iPhone directly to your Mac with a USB cable is reliable and doesn't require Wi-Fi.
Using Photos App with USB Connection
- Connect your iPhone to your Mac using a Lightning to USB cable
- Unlock your iPhone and tap “Trust” if prompted
- On your Mac, the Photos app should automatically open (if not, open it manually)
- Your iPhone will appear in the sidebar under “Devices”
- Click on your iPhone in the sidebar
- You'll see all photos stored on your iPhone
- Select the photos you want to import (or click "Import All New Photos")
- Click "Import Selected" to transfer the photos to your Mac
Important: If your Mac doesn't recognize your iPhone when connected, make sure you're using a working cable. Try restarting both devices if problems persist. Also, newer Macs with USB-C ports require a USB-C to Lightning cable or an adapter.
Using Image Capture App
The Image Capture app on Mac offers a more streamlined way to transfer photos:
- Connect your iPhone to your Mac with a USB cable
- Open the Image Capture app (find it in Applications or using Spotlight search)
- Select your iPhone from the devices list on the left
- Choose where to save the imported photos using the “Import To” dropdown menu
- Select the photos you want to import
- Click "Import" or "Import All" to transfer the photos
Using the Files App and iCloud Drive
If you only need to transfer a few photos, using the Files app with iCloud Drive is a convenient option:
- On your iPhone, open the Photos app
- Select the photos you want to transfer
- Tap the share button
- Select "Save to Files"
- Choose "iCloud Drive" and select a folder (or create a new one)
- Tap "Save"
- On your Mac, open Finder and click “iCloud Drive” in the sidebar
- Navigate to the folder where you saved the photos
- Drag the photos to your desired location on the Mac
Using Third-Party Cloud Services
If you prefer alternatives to Apple's ecosystem, several third-party cloud services work well for transferring photos:
Google Photos
- Download and install the Google Photos app on your iPhone
- Sign in with your Google account
- In the app settings, enable "Back up & sync"
- Your photos will upload to Google Photos
- On your Mac, visit photos.google.com in a web browser
- Sign in with the same Google account
- Select and download the photos you want to save to your Mac
Dropbox
- Install the Dropbox app on your iPhone
- Sign in to your account
- Tap the "+" icon and select "Upload photos"
- Choose the photos you want to upload
- On your Mac, open Dropbox (app or website)
- Navigate to the uploaded photos
- Download them to your Mac
Comparing All Methods: Which Works Best?
| Method | Speed | Requires Internet | Best For | Limitations |
|---|---|---|---|---|
| AirDrop | Fast | No (uses Bluetooth/Wi-Fi Direct) | Quick transfers of selected photos | Devices must be near each other |
| iCloud Photos | Varies with internet speed | Yes | Automatic syncing of entire library | Requires iCloud storage space |
| USB Cable | Very fast | No | Large transfers, low battery situations | Requires physical cable |
| iCloud Drive | Moderate | Yes | Transferring specific photos | Requires iCloud storage space |
| Third-Party Services | Varies with internet speed | Yes | Cross-platform sharing | May require subscription for large libraries |
Quick Tip to ensure your videos never go missing

Transferring Photos Automatically with Continuity Camera
If you're running macOS Ventura or later, you can use Continuity Camera to directly insert iPhone photos into Mac documents:
- Open a document or app on your Mac that accepts images (like Pages, Keynote, or Messages)
- Right-click where you want to insert a photo
- Select "Insert from iPhone or iPad" > "Take Photo" or "Scan Documents"
- Your iPhone camera will automatically activate
- Take a photo or scan a document
- Tap "Use Photo" on your iPhone
- The image will appear directly in your Mac document
Using Email or Messages for Small Transfers
For just a few photos, sometimes the simplest methods work well:
Email Method
- On your iPhone, select the photos you want to transfer
- Tap the share button
- Select "Mail"
- Email the photos to yourself
- Open the email on your Mac
- Download the attached photos
Messages Method
- On your iPhone, select the photos you want to transfer
- Tap the share button
- Select "Messages"
- Send the photos to yourself (using your Apple ID email)
- Open Messages on your Mac
- Right-click on the photos and select "Save"
Managing Storage After Transferring Photos
After successfully transferring photos to your Mac, you might want to free up space on your iPhone:
Deleting photos from iPhone after transfer
- Make sure your photos have successfully transferred to your Mac
- Back up important photos in at least two locations before deleting
- On your iPhone, open the Photos app
- Select the photos you've transferred
- Tap the trash icon
- Go to "Albums" > "Recently Deleted"
- Tap "Select" > "Delete All" to permanently remove the photos
Organizing Photos on Your Mac
Once your photos are on your Mac, organizing them will help you find them later:
Using the Photos App for Organization
- Open the Photos app on your Mac
- Create albums by clicking "File" > "New Album"
- Name your album
- Select photos and drag them into the album
- Use the search function to find photos by date, location, or content
- Add keywords and descriptions to make photos easier to find
Using Folders in Finder
If you prefer organizing photos outside the Photos app:
- Create a dedicated folder structure in Finder
- Sort photos by date, event, or subject
- Use descriptive file names
- Consider using color labels for important folders
Troubleshooting Common Issues
iPhone Not Showing Up on Mac
If your Mac doesn't recognize your iPhone when connected:
- Try a different USB cable
- Try a different USB port on your Mac
- Restart both your iPhone and Mac
- Make sure your iPhone is unlocked and trusted
- Check for iOS and macOS updates
Photos Not Syncing with iCloud
If your photos aren't syncing through iCloud:
- Verify both devices are signed in to the same Apple ID
- Check your internet connection
- Make sure you have enough iCloud storage
- Check that iCloud Photos is enabled on both devices
- Force close and reopen the Photos app
AirDrop Not Working
If AirDrop isn't functioning properly:
- Make sure both Bluetooth and Wi-Fi are turned on
- Check AirDrop receiving settings on your Mac
- Ensure devices are within range (about 30 feet)
- Restart Bluetooth on both devices
- Check for system updates
Backing Up Your Photo Library
Once your photos are on your Mac, it's crucial to back them up:
Using Time Machine
- Connect an external drive to your Mac
- Go to System Preferences > Time Machine
- Click "Select Backup Disk"
- Choose your external drive
- Turn on Time Machine
Using External Hard Drives
- Connect an external drive to your Mac
- Open the Photos app
- Go to File > Export > Export Unmodified Original
- Select all photos
- Choose your external drive as the destination
- Click Export
Advanced Tips for Photo Transfers
Automating Transfers with Shortcuts
You can create shortcuts to automate photo transfers:
- Open the Shortcuts app on your iPhone
- Tap "+" to create a new shortcut
- Add the "Find Photos" action
- Add the "Save to File" action
- Configure the shortcut to save to iCloud Drive
- Name and save your shortcut
Using Image Capture for Selective Imports
Image Capture offers more control over imports:
- Connect your iPhone via USB
- Open Image Capture
- Select specific file formats
- Choose custom naming conventions
- Set up automatic actions after import
Frequently Asked Questions
Why won't my iPhone photos transfer to my Mac?
This could happen due to several reasons: a faulty cable, outdated software, or permission issues. Try updating both devices, using a different cable, or restarting both devices. Make sure you've tapped "Trust" on your iPhone when connecting it to your Mac for the first time.
How can I transfer photos from iPhone to Mac without losing quality?
To maintain full quality, use a direct USB connection with the Photos app or Image Capture and select the option to transfer original photos. When using iCloud Photos, make sure the “Download Originals to this Mac” option is selected rather than “Optimize Mac Storage.”
Is there a way to automatically import iPhone photos to Mac?
Yes, iCloud Photos provides automatic syncing of your entire photo library across devices. Once set up, new photos taken on your iPhone will automatically appear in the Photos app on your Mac when both devices are connected to the internet.
How do I transfer photos from iPhone to Mac without iCloud?
You can use a direct USB connection with the Photos app or Image Capture, AirDrop for wireless transfers, or third-party cloud services like Google Photos or Dropbox. Email and Messages also work for transferring small numbers of photos.
How much iCloud storage do I need for photo transfers?
The amount of iCloud storage you need depends on the size of your photo library. Apple provides 5GB of free storage, but if you have many photos or videos, you'll likely need more. You can check your current usage in iPhone Settings > [Your Name] > iCloud > Manage Storage. Most users with substantial photo libraries opt for the 50GB or 200GB plans.
Conclusion
Transferring photos from your iPhone to your Mac doesn't have to be complicated. Whether you prefer wireless methods like AirDrop and iCloud Photos, or wired connections with USB cables, you now have multiple options to choose from based on your specific needs. Regular transfers help keep your iPhone storage free while creating a more organized photo collection on your Mac. Remember to back up your photos regularly to prevent loss of precious memories. With these methods, you'll never have to worry about running out of space or losing your photos again.


