Menu
Start Free $129 Lifetime
Why is it the #1 bulk uploader?
- Insanely fast!
- Maintains folder structure.
- 100% automated upload.
- Supports RAW files.
- Privacy default.
How can you get started?
Download PicBackMan and start free, then upgrade to annual or lifetime plan as per your needs. Join 100,000+ users who trust PicBackMan for keeping their precious memories safe in multiple online accounts.
Trusted by users in 125+ countries.
“Your pictures are scattered. PicBackMan helps you bring order to your digital memories.”
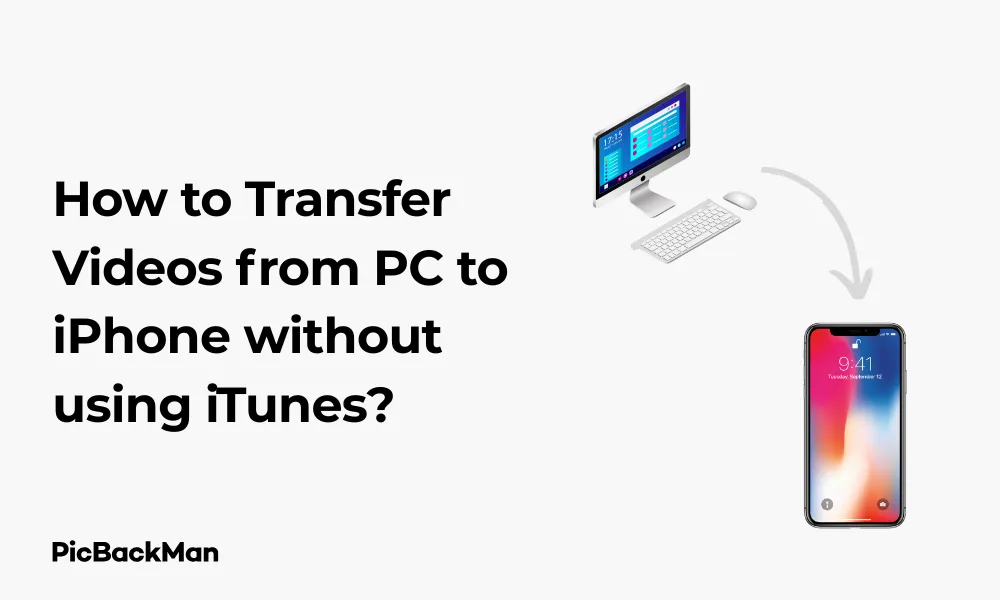
How to Transfer Videos from PC to iPhone without using iTunes?

Transferring videos from your PC to your iPhone doesn't have to be complicated. While iTunes has been the traditional method for years, many users find it frustrating and limiting. The good news is that several alternatives make the process much simpler. In this guide, I'll show you multiple ways to transfer videos from your PC to your iPhone without needing iTunes at all.
Why Look for iTunes Alternatives?
Before diving into the solutions, let's quickly address why you might want to avoid iTunes:
- iTunes can be slow and resource-heavy
- The interface is not user-friendly
- It often replaces existing content instead of just adding new files
- Syncing limitations can be frustrating
- File format compatibility issues are common
Now, let's explore the various methods to transfer videos without these headaches.
Method 1: Using iCloud Drive
Apple's own iCloud Drive provides a wireless way to transfer videos without physically connecting your devices.
Step-by-Step Guide for iCloud Drive Transfer
- Make sure you have iCloud Drive enabled on your iPhone (Settings → [your name] → iCloud → iCloud Drive)
- On your PC, go to iCloud.com and sign in with your Apple ID
- Click on "iCloud Drive"
- Upload your videos by dragging and dropping them or using the upload button
- On your iPhone, open the Files app
- Navigate to iCloud Drive
- Find your uploaded videos
- Tap the video to download it to your iPhone
Pros and Cons of iCloud Drive
| Pros | Cons |
|---|---|
| Wireless transfer | Limited free storage (5GB) |
| Native Apple solution | Requires internet connection |
| Easy to use | Can be slow for large videos |
| Access files across devices | May require subscription for more space |
Method 2: Using Cloud Storage Services
Cloud storage services offer another convenient way to transfer videos wirelessly.
Using Google Drive
- Install Google Drive on your PC (if not already installed)
- Upload your videos to Google Drive
- Install the Google Drive app on your iPhone from the App Store
- Sign in with the same Google account
- Find your videos in the app
- Tap the three dots next to the video
- Select “Make available offline” to save it to your iPhone
- To save to your Camera Roll, select the video, tap the share icon, and choose “Save Video”
Using Dropbox
- Install Dropbox on your PC
- Upload your videos to Dropbox
- Install the Dropbox app on your iPhone
- Sign in with your account
- Locate your videos
- Tap the three dots next to the video
- Select "Export"
- Choose "Save Video" to add it to your Photos app
Using OneDrive
- Upload videos to OneDrive on your PC
- Install the OneDrive app on your iPhone
- Sign in with your Microsoft account
- Find your video
- Tap the three dots
- Select "Save" to download it to your device
- To save to Photos, open the video, tap the share icon, and select “Save Video”
Comparison of Cloud Storage Services
| Service | Free Storage | Ease of Use | Speed | Video Playback |
|---|---|---|---|---|
| Google Drive | 15GB | Very Easy | Fast | Good |
| Dropbox | 2GB | Easy | Very Fast | Excellent |
| OneDrive | 5GB | Moderate | Fast | Good |
| iCloud Drive | 5GB | Easy | Moderate | Good |
Method 3: Using Email or Messaging Apps
For smaller videos (under 25MB), email can be a quick solution.
Email Transfer Steps
- Compose a new email on your PC
- Attach the video file (ensure it's under the size limit)
- Send the email to yourself
- Open the email on your iPhone
- Tap and hold on the video attachment
- Select "Save Video"
Using Messaging Apps
Apps like WhatsApp, Telegram, or Facebook Messenger can also work for medium-sized videos:
- Use the web version of the messaging app on your PC
- Send the video to yourself
- Open the app on your iPhone
- Download the video
- Save it to your Photos app
Method 4: Using Documents 5 App
Documents by Readdle is a powerful file manager for iOS that makes transferring files easy.
Steps to Transfer with Documents 5
- Download and install Documents by Readdle from the App Store
- On your PC, go to docstransfer.com in your browser
- Open Documents app on your iPhone
- Tap on the computer icon in the bottom menu
- Follow the on-screen instructions to connect your devices
- Drag and drop videos from your PC to the browser window
- Videos will transfer to your iPhone
- In the Documents app, find your video
- Tap the Share button and select "Save to Photos"
Method 5: Using VLC Media Player
VLC is not just a media player but also offers file transfer capabilities.
Steps to Transfer Videos Using VLC
- Download and install VLC on your iPhone from the App Store
- Open VLC on your iPhone
- Tap the three lines in the top left corner
- Select "Sharing via WiFi"
- VLC will display a URL (something like http://192.168.xx:8080)
- On your PC, open a web browser and enter that URL
- You'll see the VLC web interface
- Click the "+" button to upload videos
- Select your videos and upload them
- Once complete, the videos will be available in the VLC app on your iPhone
Benefits of Using VLC
- Supports almost all video formats
- No file size limitations
- No need for internet connection (works on local WiFi)
- Fast transfer speeds
- Can play videos directly without conversion
Method 6: Using USB Cable with Third-Party Software
If you prefer a wired connection but want to avoid iTunes, several third-party applications can help.
Using AnyTrans
- Download and install AnyTrans on your PC
- Connect your iPhone to your PC using a USB cable
- Launch AnyTrans
- Click on "Device Manager"
- Select "Videos" or "File Manager"
- Click the "+" button to add videos from your PC
- Select the videos you want to transfer
- Click "Open" to start the transfer
Using WinX MediaTrans
- Download and install WinX MediaTrans on your PC
- Connect your iPhone via USB
- Launch WinX MediaTrans
- Click on "Video" in the main interface
- Click "Add Video" to select videos from your PC
- Select the videos you want to transfer
- Click "Open" to begin the transfer
Using CopyTrans
- Download and install CopyTrans on your PC
- Connect your iPhone with a USB cable
- Open CopyTrans
- Click on "CopyTrans Photo" or "CopyTrans Manager"
- Drag and drop your videos or use the "Add" button
- Click "Apply" to transfer the videos
Comparison of Third-Party Transfer Software
| Software | Free Version | Speed | Ease of Use | Extra Features |
|---|---|---|---|---|
| AnyTrans | Limited trial | Very Fast | Very Easy | Complete iOS manager, backup options |
| WinX MediaTrans | Limited trial | Fast | Easy | Video format conversion, iPhone manager |
| CopyTrans | Limited features | Fast | Moderate | Backup, contacts management |
| Documents 5 | Fully free | Moderate | Easy | File management, PDF reader |
Method 7: Using AirDrop (Mac Users Only)
If you have a Mac instead of a Windows PC, AirDrop is the fastest and easiest method.
Steps to Transfer Videos Using AirDrop
- Make sure both your Mac and iPhone have WiFi and Bluetooth turned on
- On your Mac, locate the video you want to transfer
- Right-click the video and select "Share" > "AirDrop"
- Your iPhone should appear in the AirDrop window
- Click on your iPhone to send the video
- On your iPhone, tap "Accept"
- The video will automatically save to your Photos app
Method 8: Using Syncios
Syncios is a free tool that works as an all-in-one solution for managing your iPhone content.
Steps to Transfer Videos with Syncios
- Download and install Syncios on your PC
- Connect your iPhone to your PC using a USB cable
- Launch Syncios
- Click on "Media" in the left sidebar
- Select "Video"
- Click "Import" and choose "Import File"
- Select the videos you want to transfer
- Click "Open" to start the transfer
Quick Tip to ensure your videos never go missing

Method 9: Using Plex Media Server
If you have many videos and want to stream them rather than transfer them, Plex is an excellent option.
Setting Up Plex for Video Access
- Download and install Plex Media Server on your PC
- Create a Plex account and set up your media library
- Add your videos to the library
- Download the Plex app on your iPhone
- Sign in with the same account
- You can now stream videos from your PC to your iPhone
- For offline viewing, tap the download button on a video (requires Plex Pass)
Method 10: Using Simple Transfer App
Simple Transfer is a dedicated app for transferring files between PC and iPhone.
Steps to Use Simple Transfer
- Download Simple Transfer app on your iPhone
- Open the app and tap "Receive Files"
- The app will display a QR code and a web address
- On your PC, open a web browser and enter the displayed web address
- You'll see a file upload interface
- Click "Add Files" and select your videos
- Click "Upload" to transfer the videos
- On your iPhone, the videos will be saved in the app
- Tap on a video and select “Save to Camera Roll”
Tips for Successful Video Transfer
Video Format Compatibility
iPhones support specific video formats. For best results, use:
- MP4 format with H.264 or H.265 (HEVC) encoding
- MOV format
- M4V format
If your videos are in other formats like AVI, MKV, or WMV, you might need to convert them first or use an app like VLC that can play these formats directly.
Managing Large Video Files
When dealing with large video files:
- Consider compressing videos before transferring
- Split very large videos into smaller parts
- Use wired transfer methods for faster speeds
- Check your iPhone's available storage before transferring
Troubleshooting Common Issues
Video Not Playing After Transfer
- Check if the format is compatible with iOS
- Try opening the video in a third-party player like VLC
- Make sure the transfer completed successfully
Transfer Taking Too Long
- Use a wired connection instead of wireless
- Close other apps that might be using network bandwidth
- Compress the video to a smaller size
- Check your WiFi connection speed
Not Enough Storage Space
- Delete unnecessary files from your iPhone
- Check which apps are using the most storage (Settings > General > iPhone Storage)
- Consider streaming videos instead of storing them locally
Which Method Should You Choose?
With so many options, which one is best for you? Here's a quick guide:
- For occasional transfers of a few videos: Cloud services or email
- For regular transfers of many videos: Third-party software like AnyTrans or WinX MediaTrans
- For wireless convenience: Documents 5, VLC, or Simple Transfer
- For Mac users: AirDrop is unbeatable
- For video collections you want to access but not store on your phone: Plex
Frequently Asked Questions
1. Can I transfer videos from PC to iPhone without any software?
Yes, you can use web-based methods like cloud storage services (Google Drive, Dropbox), email (for smaller videos), or web-based transfers like Documents 5's web interface without installing dedicated software on your PC.
2. Why won't my transferred videos play on my iPhone?
This is usually due to format compatibility issues. iPhones natively support MP4, MOV, and M4V formats. If your video is in another format like AVI or MKV, you'll need to either convert it to a compatible format or use a third-party player app like VLC.
3. What's the fastest way to transfer large video files to an iPhone?
For large files, a direct USB connection using third-party software like AnyTrans or WinX MediaTrans will typically be fastest. For Mac users, AirDrop is very quick. Wireless methods are convenient but generally slower for very large files.
4. Do videos transferred to iPhone without iTunes taking up iCloud storage?
Videos saved to your Photos app will count toward your iCloud storage if you have iCloud Photos enabled. Videos kept in third-party apps like VLC or Documents 5 don't use iCloud storage unless you specifically back up those apps to iCloud.
5. Can I transfer multiple videos at once from PC to iPhone?
Yes, all the methods mentioned in this article support batch transfers. Cloud services, third-party software solutions, and apps like VLC or Documents 5 all allow you to select and transfer multiple videos simultaneously.
Conclusion
Transferring videos from your PC to your iPhone without iTunes is not only possible but often easier and more flexible. Whether you prefer wireless methods like cloud services, direct WiFi transfers with apps like VLC and Documents 5, or wired connections with third-party software, there are plenty of options to choose from.
The best method depends on your specific needs, such as the size and number of videos you're transferring, whether you need wireless convenience, and if you're using Windows or Mac. By following the step-by-step guides in this article, you can easily move your videos to your iPhone and enjoy them on the go.
Remember to check your iPhone's available storage before transferring large video files, and consider video format compatibility for smooth playback. With these alternative methods, you'll never have to deal with iTunes' limitations again!


