Why is it the #1 bulk uploader?
- Insanely fast!
- Maintains folder structure.
- 100% automated upload.
- Supports RAW files.
- Privacy default.
How can you get started?
Download PicBackMan and start free, then upgrade to annual or lifetime plan as per your needs. Join 100,000+ users who trust PicBackMan for keeping their precious memories safe in multiple online accounts.
“Your pictures are scattered. PicBackMan helps you bring order to your digital memories.”
How to Transfer Videos from Dropbox to iMovie on iPhone?


In this digital age, capturing and editing videos has become an integral part of our lives. Two popular platforms that cater to these needs are Dropbox and iMovie. Dropbox, a cloud storage service, allows users to save and access their files from anywhere. On the other hand, iMovie is a powerful video editing application available exclusively for Apple users. In this article, we will walk you through the process of transferring videos from Dropbox to iMovie on your iPhone, enabling you to edit and enhance your videos effortlessly.
Why Transfer Videos from Dropbox to iMovie on iPhone?
You might wonder why you need to transfer videos from Dropbox to iMovie when both platforms serve different purposes. While Dropbox is excellent for storing and sharing files, iMovie provides advanced video editing capabilities that allow you to create captivating content. By transferring videos from Dropbox to iMovie on your iPhone, you gain access to a range of editing tools, enabling you to personalize your videos and add creative touches.
Step 1: Install Dropbox and iMovie Apps
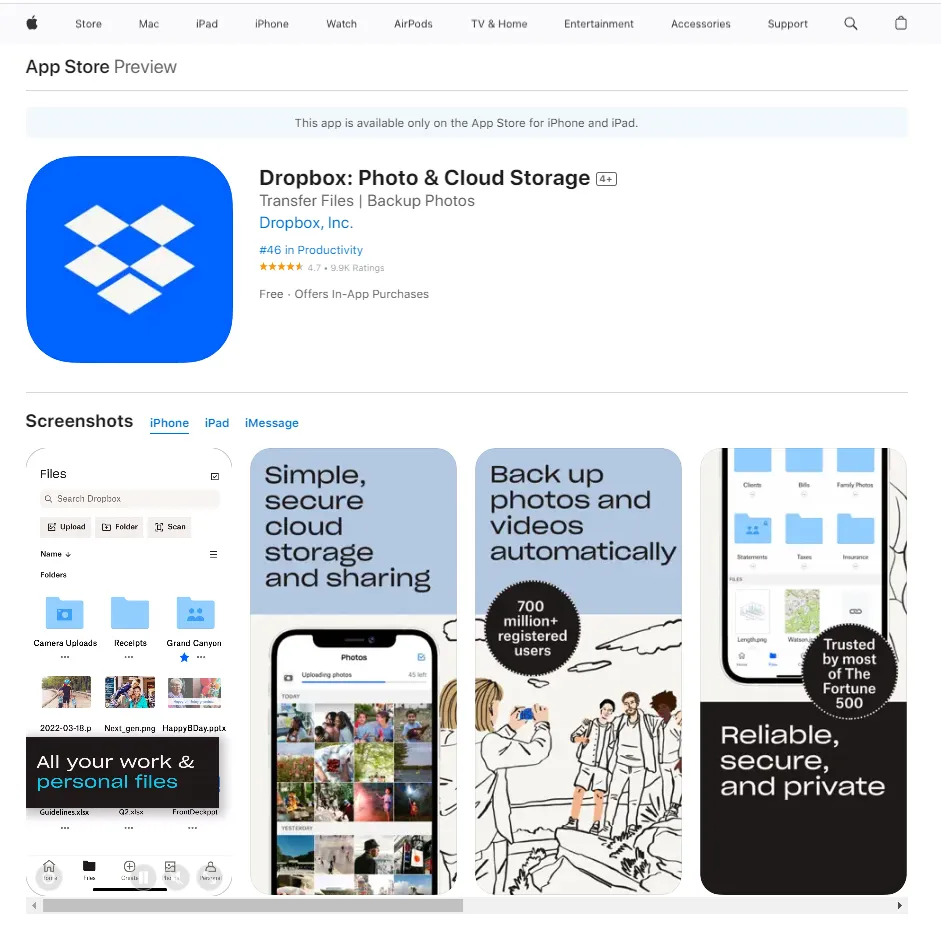
To get started, ensure you have both the Dropbox and iMovie apps installed on your iPhone. You can download them from the App Store if you haven't already.

Step 2: Sign in to Dropbox and iMovie
Once you have the apps installed, sign in to your Dropbox and iMovie accounts using your credentials. If you don't have a Dropbox account, create one to begin using its cloud storage services.
Step 3: Locate the Video in Dropbox
After signing in to Dropbox, locate the video you want to transfer to iMovie. Tap on the video file to open it.
Step 4: Download the Video to Your iPhone
With the video open, click on the download option in Dropbox to save the video to your iPhone's local storage. Ensure you have enough free space on your device to accommodate the video file.
Step 5: Import the Video to iMovie
Once the video is downloaded to your iPhone, open the iMovie app. Click on the "+" icon to create a new project, then select "Movie." Choose the video you just downloaded from Dropbox to import it into iMovie.
Step 6: Edit and Enhance Your Video
With the video imported into iMovie, you can now edit and enhance it according to your preferences. Trim, cut, add transitions, text, and effects to make your video more engaging.
Step 7: Save and Share Your Edited Video
Once you are satisfied with your video edits, save the project. You can save it to your iPhone or directly share it on various platforms like social media or email.
Troubleshooting Tips
- If you encounter any issues while downloading the video from Dropbox, check your internet connection or restart the app.
- Ensure that both Dropbox and iMovie are updated to their latest versions to avoid compatibility issues.
- If the video format is not supported by iMovie, consider converting it to a compatible format before importing.
Quick Tip to ensure your videos never go missing
Videos are precious memories and all of us never want to ever lose them to hard disk crashes or missing drives. PicBackMan is the easiest and simplest way to keep your videos safely backed up in one or more online accounts.
Simply download PicBackMan (it's free!), register your account, connect to your online store and tell PicBackMan where your videos are - PicBackMan does the rest, automatically. It bulk uploads all videos and keeps looking for new ones and uploads those too. You don't have to ever touch it.
Additional Features of iMovie
Apart from basic video editing tools, iMovie offers several advanced features like green screen effects, picture-in-picture, and audio adjustments. Explore these features to take your video editing skills to the next level.
Benefits of Using Dropbox and iMovie Together
The combination of Dropbox and iMovie opens up a world of possibilities for content creators. By utilizing Dropbox's secure cloud storage and iMovie's powerful editing tools, you can efficiently manage your video projects and collaborate with others, even while on the go.
Conclusion
Transferring videos from Dropbox to iMovie on your iPhone is a simple process that allows you to unleash your creativity and turn ordinary videos into captivating masterpieces. With iMovie's user-friendly interface and editing capabilities, you can create compelling content that leaves a lasting impact on your audience.
FAQs
How do I move video from Dropbox to iMovie?
To move a video from Dropbox to iMovie on your iPhone, follow these steps:
- Install the Dropbox and iMovie apps from the App Store if you haven't already.
- Sign in to your Dropbox and iMovie accounts using your credentials.
- Locate the video you want to transfer in Dropbox and tap on it to open it.
- Click on the download option to save the video to your iPhone's local storage.
- Open the iMovie app and create a new project by tapping on the "+" icon and selecting "Movie."
- Import the video you downloaded from Dropbox into iMovie.
- Now, you can edit and enhance the video using iMovie's tools and features.
How do I transfer videos from Dropbox to my iPhone?
To transfer videos from Dropbox to your iPhone, follow these steps:
- Ensure you have the Dropbox app installed on your iPhone.
- Open the Dropbox app and sign in to your account.
- Locate the video you want to transfer and tap on it to open it.
- Click on the download option to save the video to your iPhone's local storage.
Why can't I save a video from Dropbox to my iPhone?
If you're unable to save a video from Dropbox to your iPhone, consider the following troubleshooting steps:
- Check your internet connection and ensure it's stable.
- Make sure you have enough free space on your iPhone to accommodate the video file.
- Ensure that both the Dropbox and iMovie apps are updated to their latest versions to avoid compatibility issues.
How do I import music from Dropbox to iMovie?
To import music from Dropbox to iMovie on your iPhone, follow these steps:
- Install the Dropbox and iMovie apps from the App Store if you haven't already.
- Sign in to your Dropbox and iMovie accounts using your credentials.
- Locate the music file you want to import in Dropbox and tap on it to open it.
- Click on the download option to save the music file to your iPhone's local storage.
- Open the iMovie app and create a new project by tapping on the "+" icon and selecting "Movie."
- Import the music you downloaded from Dropbox into iMovie.
- Now, you can add the music to your video project in iMovie.
How do I transfer music from Dropbox to iPhone?
To transfer music from Dropbox to your iPhone, follow these steps:
- Ensure you have the Dropbox app installed on your iPhone.
- Open the Dropbox app and sign in to your account.
- Locate the music file you want to transfer and tap on it to open it.
- Click on the download option to save the music file to your iPhone's local storage.
How do I transfer music to my iPhone without iTunes?
To transfer music to your iPhone without iTunes, you can use third-party apps or cloud storage services like Dropbox. Follow these steps:
- Install the Dropbox app from the App Store on your iPhone.
- Sign in to your Dropbox account and upload the music files to your Dropbox storage.
- Open the Dropbox app on your iPhone, locate the music files, and tap on them to download them to your iPhone's local storage.
- Once the music files are downloaded, you can access them and play them directly on your iPhone without using iTunes.


