Menu
Start Free $129 Lifetime
Why is it the #1 bulk uploader?
- Insanely fast!
- Maintains folder structure.
- 100% automated upload.
- Supports RAW files.
- Privacy default.
How can you get started?
Download PicBackMan and start free, then upgrade to annual or lifetime plan as per your needs. Join 100,000+ users who trust PicBackMan for keeping their precious memories safe in multiple online accounts.
Trusted by users in 125+ countries.
“Your pictures are scattered. PicBackMan helps you bring order to your digital memories.”
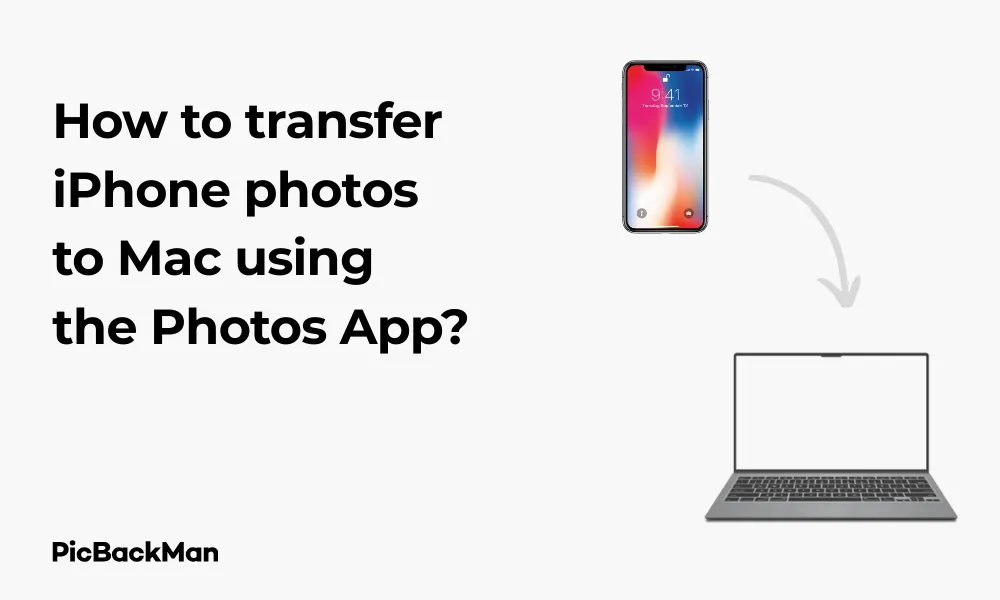
How to transfer iPhone photos to Mac using the Photos App?

Taking photos on your iPhone is easy and convenient, but eventually, you'll want to move those precious memories to your Mac for safekeeping or editing. The Photos app provides a straightforward way to transfer iPhone photos to your Mac without needing third-party software. In this guide, I'll walk you through the entire step-by-step process, helping you safely back up all your favorite shots.
Why Transfer Photos from iPhone to Mac?
Before diving into the how-to steps, let's quickly cover why transferring your iPhone photos to your Mac makes sense:
- Free up valuable storage space on your iPhone
- Create backups of your important memories
- Edit photos using more powerful software on your Mac
- Organize your photo collection in one central location
- Prepare photos for printing or sharing in higher quality
Requirements for Transferring Photos
To successfully transfer photos from your iPhone to Mac, you'll need:
- An iPhone with photos you want to transfer
- A Mac computer with the Photos app installed
- A Lightning to USB cable (or USB-C for newer models)
- Both devices powered on and unlocked
- Latest iOS on your iPhone and macOS on your Mac (recommended)
Step-by-Step Guide to Transfer iPhone Photos to Mac
Method 1: Using a USB Cable Connection
The most reliable way to transfer your iPhone photos to Mac is using a direct cable connection. Here's how to do it:
Step 1: Connect Your iPhone to Mac
Take your Lightning or USB-C cable and connect your iPhone to your Mac. Make sure both devices are powered on and your iPhone is unlocked.
Step 2: Unlock Your iPhone and Trust the Computer
When you connect your iPhone to your Mac for the first time, you'll see a prompt on your iPhone asking if you trust this computer. Tap “Trust” and enter your passcode if prompted. This establishes a secure connection between your devices.
Step 3: Open the Photos App on Your Mac
Once connected, the Photos app on your Mac should open automatically. If it doesn't, you can open it manually from your Applications folder or by searching for "Photos" using Spotlight (press Command + Space and type "Photos").
Step 4: Select Your iPhone in the Photos App
In the Photos app sidebar, look for your iPhone under the “Devices” section. Click on it to view all the photos stored on your iPhone.
Step 5: Choose Which Photos to Import
Now you'll see all the photos from your iPhone that haven't yet been imported to your Mac. You have two options:
- Import All New Photos: Click the “Import All New Photos” button in the upper right corner
- Import Selected Photos: Select specific photos by clicking on them (hold Command to select multiple non-consecutive photos or Shift for a range), then click "Import Selected"
Step 6: Wait for the import to complete
The import process will begin, and a progress bar will show you the status. The time required depends on how many photos you're importing and their file sizes. Large libraries may take several minutes to transfer completely.
Step 7: Choose What to Do After Import
After the import finishes, you'll be asked if you want to keep or delete the photos from your iPhone. You have two options:
- Keep photos on your iPhone: Your photos will remain on both devices
- Delete photos from your iPhone: This will remove the imported photos from your iPhone, freeing up space
Step 8: View Your Imported Photos
Your imported photos will now be available in the Photos app on your Mac. You can find them in the “Recently Added” album or browse by date in the “Photos” tab.
Method 2: Using iCloud Photos
If you prefer a wireless solution, iCloud Photos lets you sync photos across all your Apple devices automatically.
Step 1: Enable iCloud Photos on Your iPhone
On your iPhone, go to Settings > [Your Name] > iCloud > Photos and toggle on “iCloud Photos.”
Step 2: Enable iCloud Photos on Your Mac
On your Mac, open the Photos app and go to Photos > Preferences > iCloud. Check the box next to "iCloud Photos."
Step 3: Wait for Photos to Sync
Your photos will begin syncing between devices. This process happens automatically in the background, but it may take some time depending on your internet connection speed and the number of photos.
Step 4: Access Your Photos on Mac
Once synced, all your iPhone photos will be available in the Photos app on your Mac. No manual transfers needed!
Method 3: Using AirDrop
For transferring a small batch of photos quickly, AirDrop is an excellent wireless option:
Step 1: Enable AirDrop on Your Mac
Open Finder on your Mac, click on “AirDrop” in the sidebar, and make sure your Mac is set to receive from “Everyone” or “Contacts Only.”
Step 2: Select Photos on Your iPhone
Open the Photos app on your iPhone, select the photos you want to transfer (tap “Select” and choose your photos).
Step 3: Share via AirDrop
Tap the Share icon (the square with an arrow pointing up), then select AirDrop. Your Mac should appear as an available device.
Step 4: Accept the transfer on your Mac
When prompted on your Mac, click “Accept” to receive the photos. By default, they'll be saved to your Downloads folder, but you can import them into Photos afterward.
Managing Your Photos After Transfer
Organizing Photos in Albums
After importing your photos to your Mac, you might want to organize them for easier access:
- Open the Photos app on your Mac
- Click the "+" button near the "Albums" section in the sidebar
- Select “New Album” and give it a name
- Find photos you want to add, select them, and drag them to your new album
Editing Photos on Your Mac
The Photos app on Mac offers more powerful editing tools than on iPhone:
- Double-click on a photo to open it
- Click "Edit" in the upper right corner
- Use the editing tools to adjust lighting, color, crop, or apply filters
- Click "Done" when finished to save your changes
Creating Backups of Your Photo Library
To ensure your photos are safe, consider creating additional backups:
- Use Time Machine to back up your entire Mac, including photos
- Export important photos to an external hard drive
- Use cloud storage services like Google Photos or Dropbox as secondary backups
Troubleshooting Common Issues
iPhone Not Showing Up in Photos App
If your iPhone doesn't appear in the Photos app when connected:
- Make sure your iPhone is unlocked
- Try a different USB port on your Mac
- Restart both your iPhone and Mac
- Check if your cable is working properly (try another cable if available)
- Update both iOS and macOS to the latest versions
Import Process Takes Too Long
If your photo import seems to be taking forever:
- Import smaller batches of photos instead of all at once
- Close other applications on your Mac to free up resources
- Check if your Mac has sufficient storage space
- Try connecting to a different USB port (USB 3.0 ports transfer data faster)
Photos Not Importing Correctly
If some photos fail to import or appear corrupted:
- Check if the problematic photos open correctly on your iPhone
- Try importing just those specific photos again
- Restart both devices and try the import process again
- Consider using AirDrop as an alternative method for those specific photos
Comparison of Photo Transfer Methods
| Method | Speed | Ease of Use | Internet Required | Best For |
|---|---|---|---|---|
| USB Cable | Fast | Easy | No | Large photo libraries |
| iCloud Photos | Slow (depends on internet) | Very Easy | Yes | Automatic syncing |
| AirDrop | Medium | Easy | No (uses Wi-Fi/Bluetooth) | Small batches of photos |
Tips for Managing iPhone Storage After Transfers
After transferring photos to your Mac, you might want to free up space on your iPhone:
Using Optimize iPhone Storage
If you use iCloud Photos, you can save space while keeping access to all your photos:
- Go to Settings > [Your Name] > iCloud > Photos
- Select "Optimize iPhone Storage" instead of "Download and Keep Originals"
- This keeps smaller versions on your device while full-resolution photos remain in iCloud
Manually Removing Transferred Photos
To delete photos you've already transferred:
- Open the Photos app on your iPhone
- Go to Albums > Recents (or any album with photos you've transferred)
- Tap "Select" and choose the photos you want to remove
- Tap the trash icon, then confirm deletion
- Go to Albums > Recently Deleted and tap "Select" > "Delete All" to permanently remove them
Checking Storage Usage
To see how much space your photos are taking up:
- Go to Settings > General > iPhone Storage
- Look for "Photos" in the app list to see how much space it's using
- Tap on it for more detailed information and management options
Keeping Your Photos Organized Across Devices
Maintaining an organized photo collection makes finding and enjoying your photos easier:
Using Smart Albums on Mac
Smart Albums automatically organize photos based on criteria you set:
- In Photos on Mac, go to File > New Smart Album
- Set rules like date, location, or people tagged
- Name your Smart Album and click OK
- Photos matching your criteria will automatically appear in this album
Creating a Consistent Folder Structure
Develop a system for organizing your photos:
- Create albums by year, then by event or month
- Use descriptive names for albums (eg, "2023 Summer Vacation - Italy")
- Create separate albums for different types of photos (family, travel, pets)
Regular Maintenance
Keep your photo library tidy with these habits:
- Delete duplicate or poor-quality photos promptly
- Transfer photos to your Mac regularly (weekly or monthly)
- Tag people in photos to make them searchable
- Add keywords or descriptions to important photos
Quick Tip to ensure your videos never go missing
Videos are precious memories and all of us never want to lose them to hard disk crashes or missing drives. PicBackMan is the easiest and simplest way to keep your videos safely backed up in one or more online accounts.

Simply download PicBackMan (it's free!) , register your account, connect to your online store and tell PicBackMan where your videos are - PicBackMan does the rest, automatically. It bulk uploads all videos and keeps looking for new ones and uploads those too. You don't have to ever touch it.
Frequently Asked Questions
1. Will transferring photos to my Mac delete them from my iPhone?
No, transferring photos doesn't automatically delete them from your iPhone. After import, you'll be given the option to either keep or delete the photos from your iPhone. The choice is yours based on whether you need to free up space.
2. Can I transfer just selected photos instead of my entire library?
Yes! When importing via cable, you can select specific photos instead of clicking "Import All." Simply click on the photos you want (hold Command to select multiple), then click “Import Selected.” With AirDrop, you also choose exactly which photos to send.
3. Why are my photos taking up so much space on my Mac after transfer?
Photos, especially those taken with newer iPhones, can be quite large due to their high resolution and features like Live Photos and HDR. If space is a concern, you can adjust the Photos app settings to optimize storage, which keeps smaller versions of photos on your device while storing the originals in iCloud.
4. How often should I transfer photos from my iPhone to my Mac?
This depends on how many photos you take and your available iPhone storage. A good practice is to transfer photos monthly, or whenever your iPhone storage starts getting full. If you use iCloud Photos, transfers happen automatically, so you don't need to worry about manual transfers.
5. What's the fastest way to transfer a large photo library from iPhone to Mac?
For large libraries (thousands of photos), a direct USB cable connection is typically fastest. Make sure you're using the cable that came with your iPhone or a certified replacement, and connect directly to your Mac (not through a hub) for the best transfer speeds. If possible, use a USB 3.0 port for even faster transfers.
Conclusion
Transferring photos from your iPhone to your Mac using the Photos app doesn't have to be complicated. Whether you prefer the direct approach with a USB cable, the convenience of iCloud Photos, or the quick wireless transfer via AirDrop, you now have all the knowledge needed to keep your precious memories safe on your Mac. Regular transfers not only free up space on your iPhone but also create an important backup of your visual memories.
Remember that organizing your photos after transfer is just as important as the transfer itself. Take some time to create albums, tag people, and establish a system that works for you. With your photos safely transferred and well-organized, you'll be able to enjoy, edit, and share your memories for years to come.


