Menu
Start Free $129 Lifetime
Why is it the #1 bulk uploader?
- Insanely fast!
- Maintains folder structure.
- 100% automated upload.
- Supports RAW files.
- Privacy default.
How can you get started?
Download PicBackMan and start free, then upgrade to annual or lifetime plan as per your needs. Join 100,000+ users who trust PicBackMan for keeping their precious memories safe in multiple online accounts.
Trusted by users in 125+ countries.
“Your pictures are scattered. PicBackMan helps you bring order to your digital memories.”
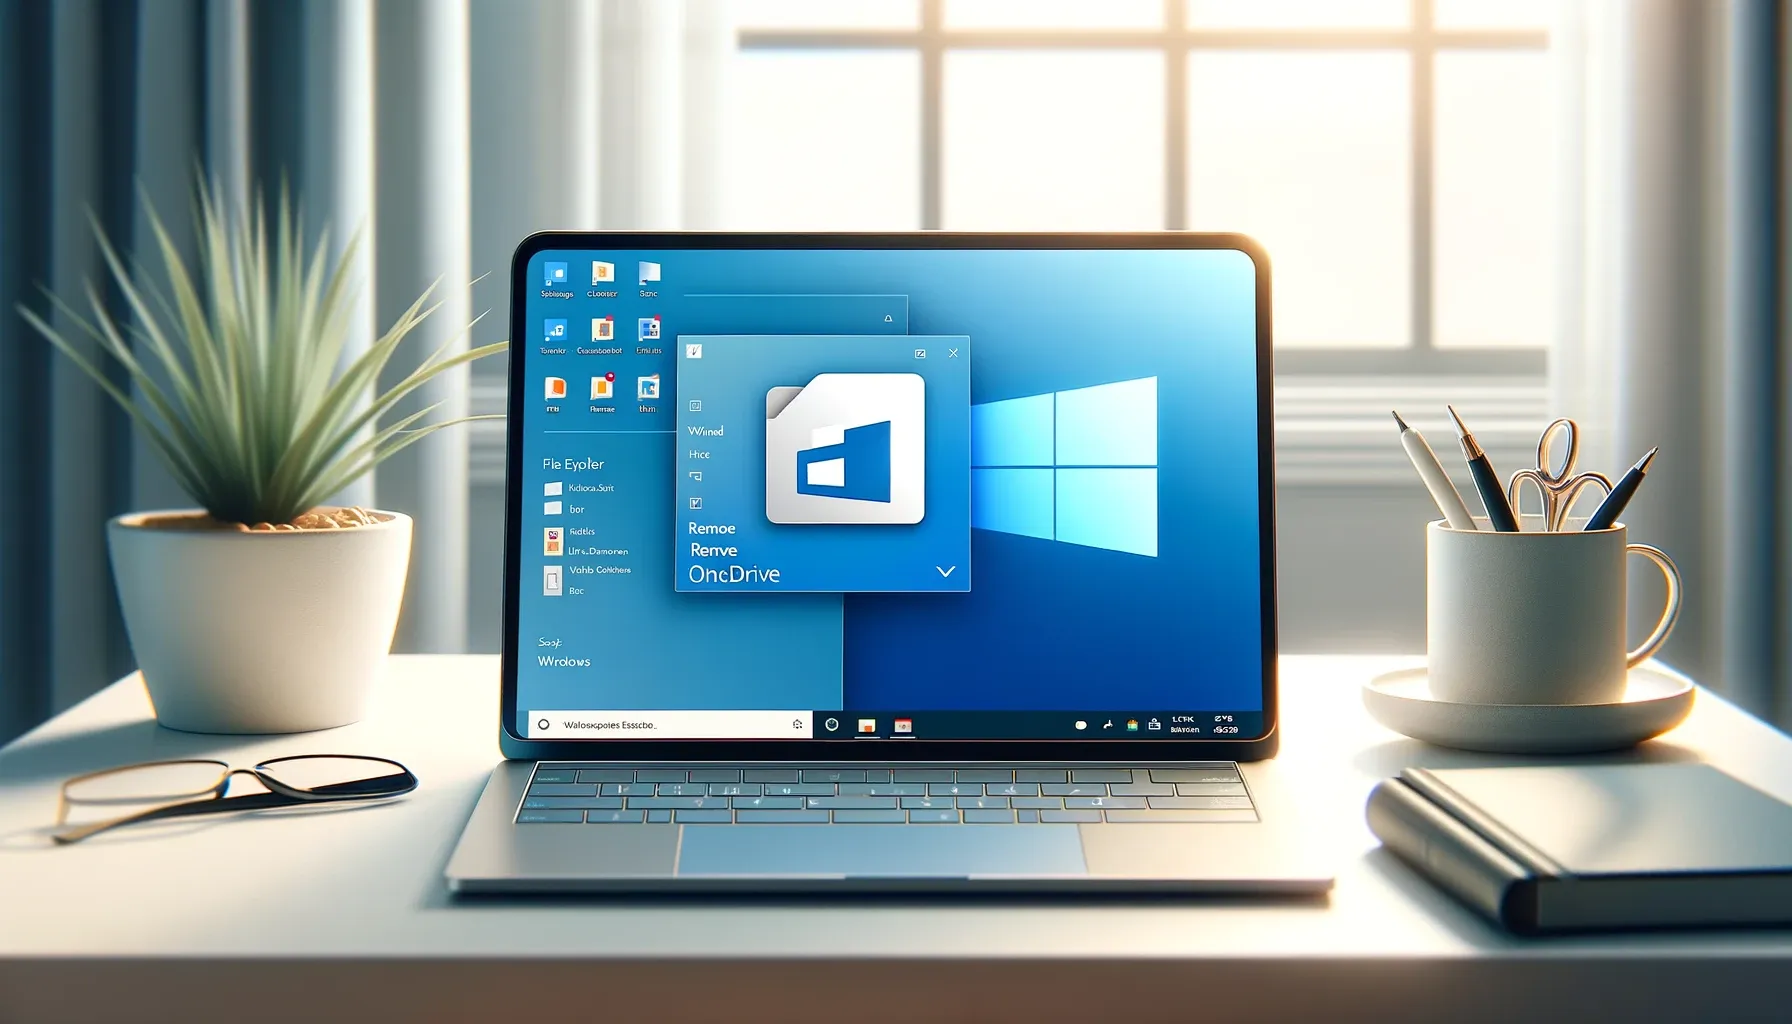
How to Remove OneDrive from File Explorer in Windows 11

If you're using Windows 11, you might have noticed that OneDrive is deeply integrated into the operating system. While OneDrive can be a useful cloud storage solution for some users, not everyone wants it to be front and center in their File Explorer. If you're looking to declutter your File Explorer and remove OneDrive from it, you've come to the right place. In this comprehensive guide, we will walk you through the step-by-step process of removing OneDrive from File Explorer in Windows 11.
Understanding OneDrive Integration in Windows 11
Before we dive into the removal process, it's essential to understand how OneDrive is integrated into Windows 11. OneDrive is Microsoft's cloud storage service that allows you to store files and data in the cloud, making them accessible from any device with an internet connection. In Windows 11, Microsoft has made it more seamless than ever to use OneDrive by integrating it into the File Explorer interface.
Why Remove OneDrive from File Explorer?
While OneDrive integration can be beneficial for some users, others may prefer not to use it or want to streamline their File Explorer interface. Here are a few reasons why you might want to remove OneDrive from File Explorer:
-
Personal Preference: You may have your preferred cloud storage service or simply don't want to use cloud storage at all.
-
Simplified Interface: Removing OneDrive can declutter your File Explorer and provide a more straightforward user experience.
-
Privacy Concerns: If you have privacy concerns or want to keep your files entirely local, removing OneDrive can help achieve that.
Now, let's get into the details of how to remove OneDrive from File Explorer in Windows 11.
Backup & Transfer your Photos in Minutes
Trusted by users in 125+ countries.
Step-by-Step Guide: How to Remove OneDrive from File Explorer
Follow these detailed steps to remove OneDrive from File Explorer in Windows 11:
-
Open File Explorer:
To begin, open File Explorer. You can do this by pressing
Windows + Eon your keyboard or by clicking on the File Explorer icon in the taskbar. -
Access "View" in the Menu Bar:
In the File Explorer window, click on the "View" tab located in the menu bar at the top of the window.
-
Click on "Show:"
Within the "View" tab, you'll see a section labeled "Show." Click on it to expand the options.
-
Uncheck "Show OneDrive":
Among the options under "Show," you'll find "Show OneDrive." It's usually represented as a checkbox. To remove OneDrive from File Explorer, uncheck this box.
-
Restart File Explorer:
After unchecking the "Show OneDrive" option, you'll need to restart File Explorer for the changes to take effect. To do this, simply close and reopen File Explorer.
Once you've completed these steps, OneDrive should no longer be visible in your File Explorer sidebar.
Additional Tips: Customizing OneDrive Integration
If you want to keep OneDrive but customize its integration in Windows 11, here are some additional tips:
Sync Settings
You can adjust how files are synced between your computer and OneDrive. To do this, right-click on the OneDrive icon in the system tray (usually located in the lower-right corner of your screen) and select "Settings." From there, you can manage which files are synced and how they are synced.
Unlink OneDrive
If you want to temporarily unlink your OneDrive account without completely removing it, you can right-click on the OneDrive icon in the system tray and select "Settings." In the Account tab, click on "Unlink this PC." This will disconnect your PC from OneDrive until you choose to link it again.
Removing OneDrive Completely
If you ever change your mind and want to reinstall OneDrive, you can do so by downloading the OneDrive app from the Microsoft website and signing in with your Microsoft account.
Conclusion
Removing OneDrive from File Explorer in Windows 11 is a straightforward process that can help you tailor your operating system to your preferences. Whether you're looking to simplify your File Explorer interface or have specific privacy concerns, following the steps outlined in this guide will allow you to customize your Windows 11 experience.
Remember that while removing OneDrive from File Explorer removes its visibility, your OneDrive files will still be accessible through the OneDrive app or web interface if you choose to keep using the service.
If you have any more questions or need further assistance, feel free to explore the FAQs below.
Quick Tip to ensure your videos never go missing

Videos are precious memories and all of us never want to ever lose them to hard disk crashes or missing drives. PicBackMan is the easiest and simplest way to keep your videos safely backed up in one or more online accounts. Simply Download PicBackMan (it's free!), register your account, connect to your online store and tell PicBackMan where your videos are - PicBackMan does the rest, automatically. It bulk uploads all videos and keeps looking for new ones and uploads those too. You don't have to ever touch it.
FAQs
Can I reinstall OneDrive after removing it from File Explorer?
Yes, you can reinstall OneDrive at any time. Simply download the OneDrive app from the Microsoft website and sign in with your Microsoft account to start using it again.
Will removing OneDrive from File Explorer delete my OneDrive files?
No, removing OneDrive from File Explorer only removes its visibility in the File Explorer sidebar. Your OneDrive files will remain intact and accessible through the OneDrive app or web interface.
Can I customize how OneDrive syncs files with my computer?
Yes, you can customize OneDrive sync settings by right-clicking on the OneDrive icon in the system tray and selecting "Settings." From there, you can manage which files are synced and how they are synced.
What if I want to temporarily disconnect my PC from OneDrive?
You can temporarily unlink your PC from OneDrive by right-clicking on the OneDrive icon in the system tray, selecting "Settings," and then clicking on "Unlink this PC" in the Account tab. This will disconnect your PC from OneDrive until you choose to link it again.
Are there any privacy concerns with using OneDrive?
While OneDrive is generally considered secure, it's essential to be aware of the privacy settings and sharing options when using cloud storage. Always review and adjust your privacy settings to suit your preferences and needs.
Can I use other cloud storage services instead of OneDrive in Windows 11?
Yes, Windows 11 is compatible with various cloud storage services. You can install and use alternatives like Google Drive, Dropbox, or iCloud alongside or instead of OneDrive based on your preference.


