Menu
Start Free $129 Lifetime
Why is it the #1 bulk uploader?
- Insanely fast!
- Maintains folder structure.
- 100% automated upload.
- Supports RAW files.
- Privacy default.
How can you get started?
Download PicBackMan and start free, then upgrade to annual or lifetime plan as per your needs. Join 100,000+ users who trust PicBackMan for keeping their precious memories safe in multiple online accounts.
Trusted by users in 125+ countries.
“Your pictures are scattered. PicBackMan helps you bring order to your digital memories.”
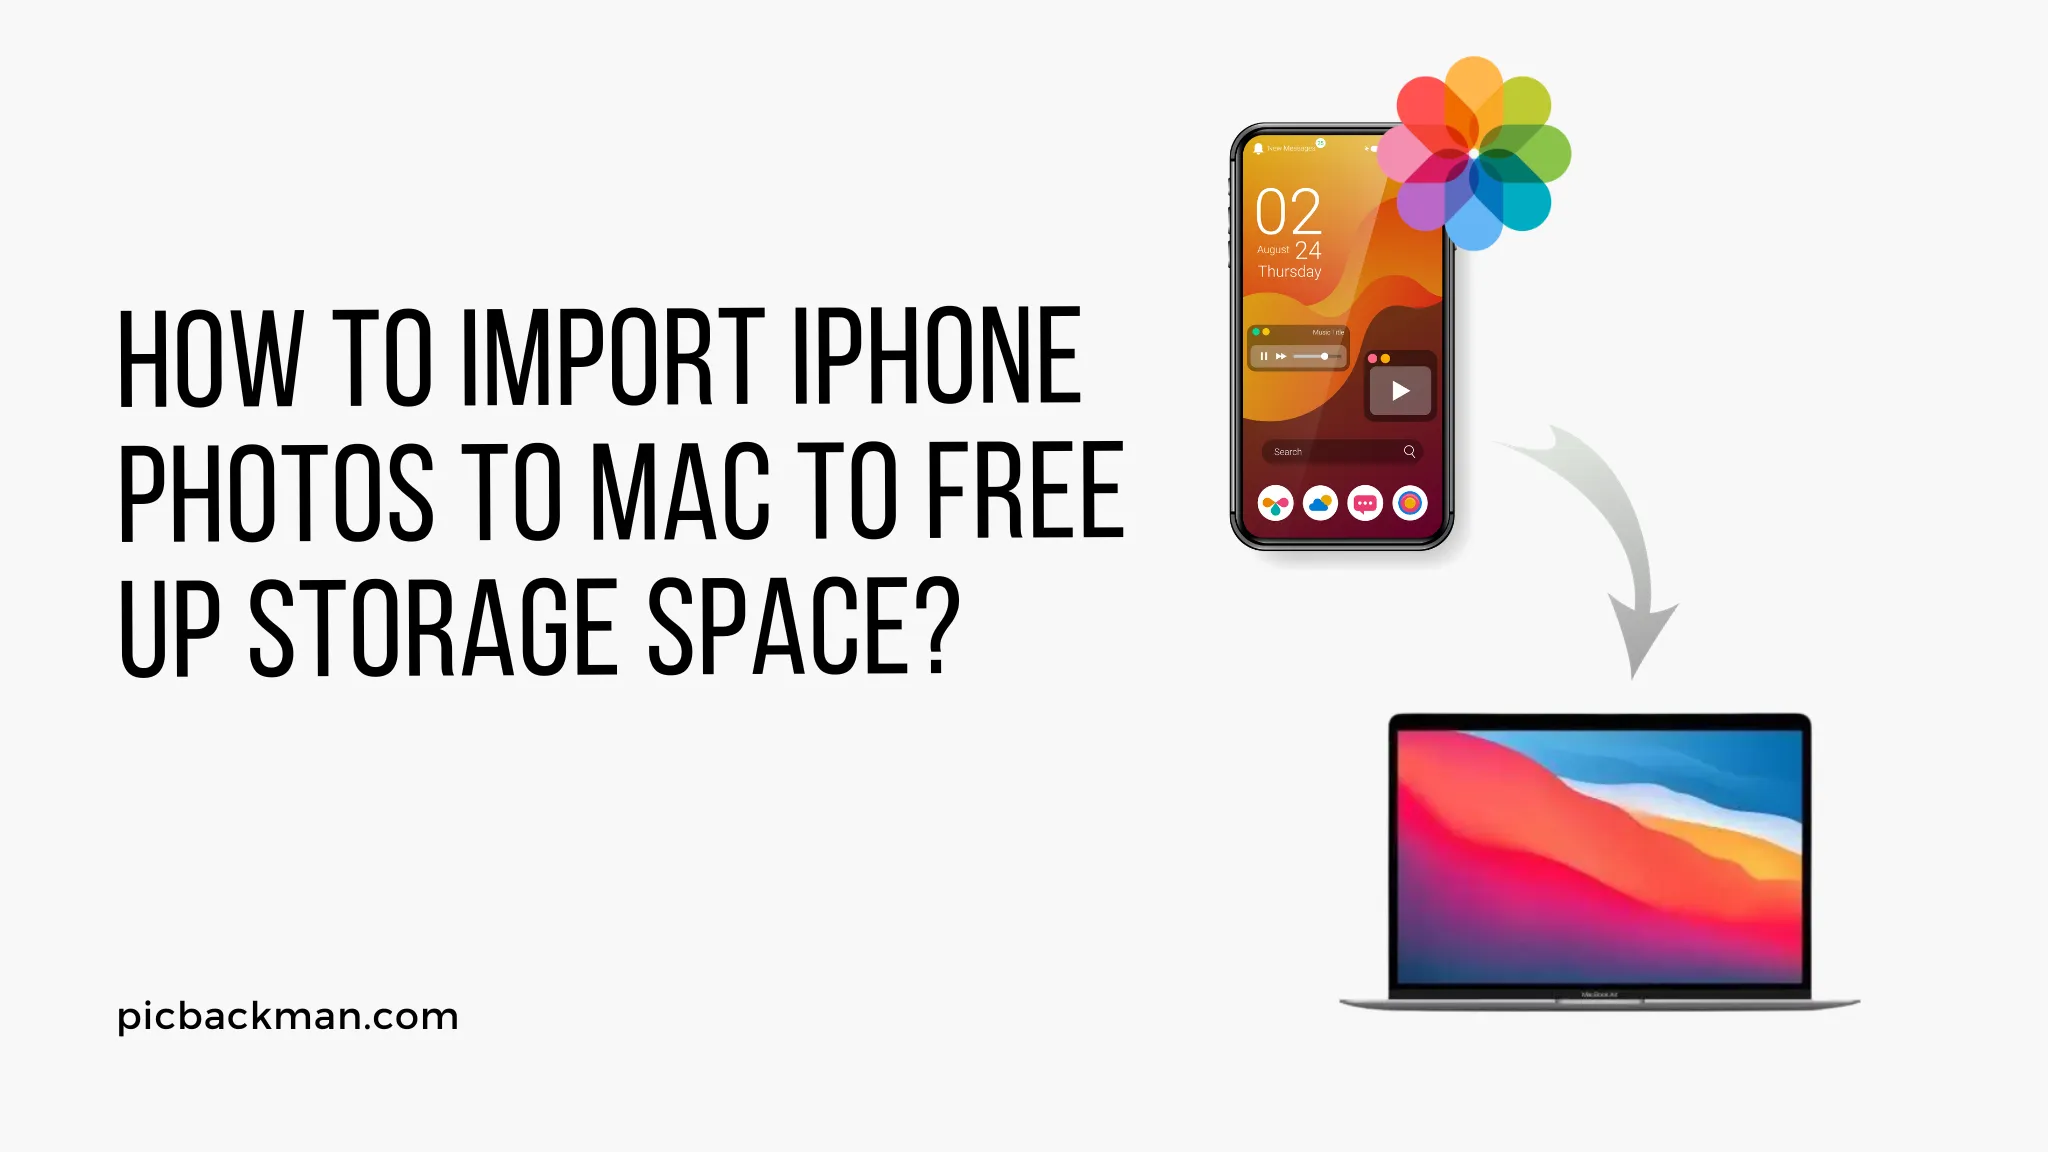
How to import iPhone photos to Mac to free up storage space?

Photos and videos can quickly eat up storage space on your iPhone. Importing your photos to your Mac is an excellent way to free up room on your iPhone while also creating a backup of your memories. In this comprehensive guide, we will walk through the entire process of importing iPhone photos to your Mac step-by-step.
Why You Should Import Photos from Your iPhone to Your Mac
Here are some of the key benefits of importing iPhone photos to your Mac:
- Frees up storage space on your iPhone - As mentioned, photos and videos consume storage rapidly on your iPhone. Importing to your Mac provides more room for apps, music, etc.
- Backs up your photos - Once on your Mac, your photos are safely stored and backed up in case something happens to your phone.
- Lets you access photos on a bigger screen - Viewing photos and videos on your Mac's large monitor is a better experience than on a tiny iPhone screen.
- Makes editing easier - Editing photos is much easier with the tools available on a Mac compared to an iPhone.
- Enables sharing - Uploading and sharing photos from your Mac is straightforward.
- Keeps your photos organized - You can organize your photos nicely in folders on your Mac.
Clearly, getting your iPhone photos onto your Mac is advantageous for many reasons. So let's look at how it's done.
How to Import Photos from iPhone to Mac
There are a couple of different ways to transfer photos from your iPhone to your Mac. We will cover each method in detail below.
Using Image Capture (for Macs)
Image Capture is an app developed by Apple that comes pre-installed on Macs. It provides a quick and easy way to import photos from your iPhone to your Mac. Here is how to use it:
- Connect your iPhone to your Mac using the USB-to-Lightning cable that came with your phone.
- Open the Image Capture app on your Mac. It is located in the Applications folder.
- In the sidebar of the Image Capture app, select your connected iPhone.
- Choose where you want to import the photos to. You can select an existing folder or create a new one.
- Click "Import To" and select the destination folder.
- Select the photos you wish to import. You can use Command-A to select all photos.
- Click "Import" to transfer the photos from your iPhone to the folder on your Mac.
The import process may take a few minutes depending on how many photos you are transferring. When it's done, you will see the photos in the folder you selected. You can then delete the photos from your iPhone to free up space.
Using Photos App (for Macs)
The Photos app on your Mac provides another option for importing pictures from your iPhone. Follow these steps:
- Connect your iPhone to the Mac using your USB-to-Lightning cable.
- Open the Photos app on your Mac.
- In the sidebar, select "Import."
- Click the icon showing your connected iPhone.
- Select the photos you wish to import. You can choose "All New Photos" to import any photos not already on your Mac.
- Click "Import Selected" at the bottom right corner to start the transfer process.
The Photos app allows you to review and select only certain photos to import if you do not want all of them. The app will indicate which photos are new so you can determine what to import or not.
Using Image Capture (for PCs)
If you are a Windows PC user, the tool you need for importing iPhone photos is called Image Capture. This is different than the Mac version of Image Capture. Here are the steps to use it:
- Connect your iPhone to your PC using a USB cable.
- Open the Image Capture app. On Windows 10, you can find it by searching in the Start menu.
- In Image Capture, select your iPhone from the list of devices.
- Choose where to save the photos that will be imported. Select a folder on your PC.
- Check the boxes next to the photos you want to import. Or use "Select All" if transferring all photos.
- Click "Import" to copy the photos from your iPhone to the PC.
The Image Capture app for Windows provides flexibility in selecting only certain photos to import if you do not need all of them.
Using iCloud Photo Library
If you use iCloud Photo Library on your iPhone, you can easily access your photos on your Mac too. Here is how to set it up:
- Make sure you are signed into the same Apple ID on both devices.
- On your iPhone, open Settings > Photos and enable iCloud Photo Library.
- On your Mac, open Photos app and go to Preferences > iCloud.
- Check the box next to "iCloud Photo Library" and select "Download Originals."
- Your iCloud photos will now download to your Mac so you have access on both devices.
With iCloud Photo Library active, any photos you take on your iPhone will automatically upload to iCloud and sync down to your Mac. No cables required!
Using AirDrop
AirDrop is an Apple feature that lets you wirelessly transfer files between Apple devices. To use AirDrop to import photos:
- On your iPhone, open the Photos app and select the images you want to send to your Mac.
- Tap the Share button (the box with an arrow pointing up).
- Select AirDrop from the sharing options.
- Choose your Mac from the list of nearby devices.
- Accept the AirDrop transfer request on your Mac.
The photos will be sent over Wi-Fi directly to your Mac. AirDrop works great for quickly transferring a few photos without any cables.
Emailing Photos to Yourself
Another cable-free option is to email photos from your iPhone to yourself. Then save the attachments on your Mac. To do this:
- Open the Photos app on your iPhone and select the photos to send.
- Tap the Share icon and choose "Mail" from the sharing options.
- Compose a new email to yourself and attach the photos.
- Send the email.
- Open the email on your Mac, download the attachments, and save them where you want.
While not the quickest for transferring a lot of photos, this method is handy for sending just a few keepers from your iPhone to your Mac.
Where to Import Photos on Your Mac
Once photos are imported from your iPhone to your Mac, you will want to organize them properly in the filing system. Here are some of the best places to store your imported images:
- The Photos app - The Photos app on your Mac is designed to be the home for your photo library. Once imported, pictures will appear here and can be organized into albums.
- Folder in Finder - You can create a dedicated folder in Finder like "Imported iPhone Photos" to keep transfers separate from other folders.
- iCloud Photo Library - If you use iCloud Photo Library, all your photos will be stored in iCloud and accessible on your devices.
- External hard drive - For safe long-term storage, importing to an external hard drive is a smart idea.
Think about how you normally organize photos on your Mac and come up with a consistent save location for your imports from iPhone.
How to Free up Storage Space on Your iPhone
Once you've successfully transferred photos from your iPhone to your Mac, it's time to delete them from your phone to regain storage capacity. Here is how to delete photos on your iPhone:
- Open the Photos app on your iPhone.
- Tap "Select" at the top right corner.
- Select the photos you want to delete by tapping them.
- Tap the Delete icon at the bottom of the screen.
- Confirm deletion when prompted.
Deleting photos you've already transferred to your Mac is the key to freeing up space. Just remember to manually back up your Mac photos regularly for redundancy.
An even quicker way is to enable Optimize Storage in your iPhone photos settings. This automatically removes full resolution photos stored locally after backing them up at a smaller size. Follow these steps:
- Go to Settings > Photos.
- Toggle on "Optimize iPhone Storage."
- Choose "Optimize" when prompted.
This setting can instantly clear up chunks of storage as it offloads full images to iCloud.
Quick Tip to ensure your videos never go missing
Videos are precious memories and all of us never want to ever lose them to hard disk crashes or missing drives. PicBackMan is the easiest and simplest way to keep your videos safely backed up in one or more online accounts.

Simply Download PicBackMan (it's free!), register your account, connect to your online store and tell PicBackMan where your videos are - PicBackMan does the rest, automatically. It bulk uploads all videos and keeps looking for new ones and uploads those too. You don't have to ever touch it.
Tips for Transferring Photos from iPhone to Mac
Follow these tips for the smoothest experience getting photos from your iPhone onto your Mac:
- Use AirDrop for quick transfers - It's the fastest wireless option to send photos directly to your Mac.
- Try the native apps first - The native Apple apps like Image Capture work seamlessly for imports.
- Transfer in bulk - For the initial import, it's best to transfer all photos at once rather than bits at a time.
- Clear iPhone space after - Be sure to delete imported photos from your iPhone or enable Optimize Storage.
- Organize the imports - Have a consistent save spot for your iPhone imports to keep them organized.
- Back up your Mac library - Don't forget to back up your Mac's photo library regularly for redundancy.
Conclusion
Importing photos from your iPhone to your Mac is a great way to free up storage space on your phone while also backing up your memories. Whether you use a wired connection, AirDrop, iCloud Photo Library, or another wireless option, transferring photos is simple on macOS and Windows. Just be sure to manually remove imported photos from your Camera Roll and enable Optimize Storage to maximize free space on your iPhone. Follow the tips in this guide, and you'll have an easy path to importing images anytime without eating up your storage.
Common Questions about Importing Photos from iPhone to Mac
Here are answers to some frequently asked questions about transferring photos from an iPhone to a Mac:
Does importing photos delete them from my iPhone?
No, importing photos does not delete them from your iPhone automatically. You need to manually delete photos from the iPhone Camera Roll after the transfer is complete.
Will importing wirelessly reduce photo quality?
No, transferring photos wirelessly via AirDrop or iCloud Photo Library will not degrade quality. The images remain full resolution.
Can I import photos while my iPhone is charging?
Yes, you can import photos from your iPhone to Mac while it is plugged into power and charging via the Lightning cable. Charging will not interrupt the transfer.
What is the quickest way to import 1000+ photos?
The quickest way to import a lot of photos is by connecting your iPhone to your Mac via cable and using the Image Capture app. AirDrop is faster for small batches only.
Does importing free up space on my iCloud account too?
No, importing photos to your Mac does not delete them from iCloud. You'll need to manage iCloud storage separately.


