Why is it the #1 bulk uploader?
- Insanely fast!
- Maintains folder structure.
- 100% automated upload.
- Supports RAW files.
- Privacy default.
How can you get started?
Download PicBackMan and start free, then upgrade to annual or lifetime plan as per your needs. Join 100,000+ users who trust PicBackMan for keeping their precious memories safe in multiple online accounts.
“Your pictures are scattered. PicBackMan helps you bring order to your digital memories.”
How to Create an iCloud Shared Album on Windows?


Apple's iCloud offers a seamless way to share photos and videos with others using Shared Albums. This feature allows you to create custom albums and invite people via email to view and contribute photos and videos.
While iCloud Shared Albums work great on Apple devices like iPhone, iPad and Mac, you can also access them on a Windows PC. Here's a step-by-step guide on how to create a shared album and manage it on Windows.
Prerequisites for Using iCloud Shared Albums on Windows
To use Shared Albums on your Windows computer, you need:
- An iCloud account - This is required to access iCloud services including Shared Albums. You can sign up for a free account on Apple's website.
- iCloud for Windows app - Download and install the latest version of iCloud for Windows from Apple's website. This allows you to access iCloud on Windows.
- Windows 10 version 19H1 or later - iCloud Shared Albums requires the Windows 10 May 2019 update or later versions. Check for updates in Settings if required.
- Internet access - You need to be connected to the internet to create, access and share content on iCloud.
How to Create a New Shared iCloud Album on Windows
Creating a new shared album to collaborate with others is easy and straightforward. Follow these steps:
Launch iCloud Photos App
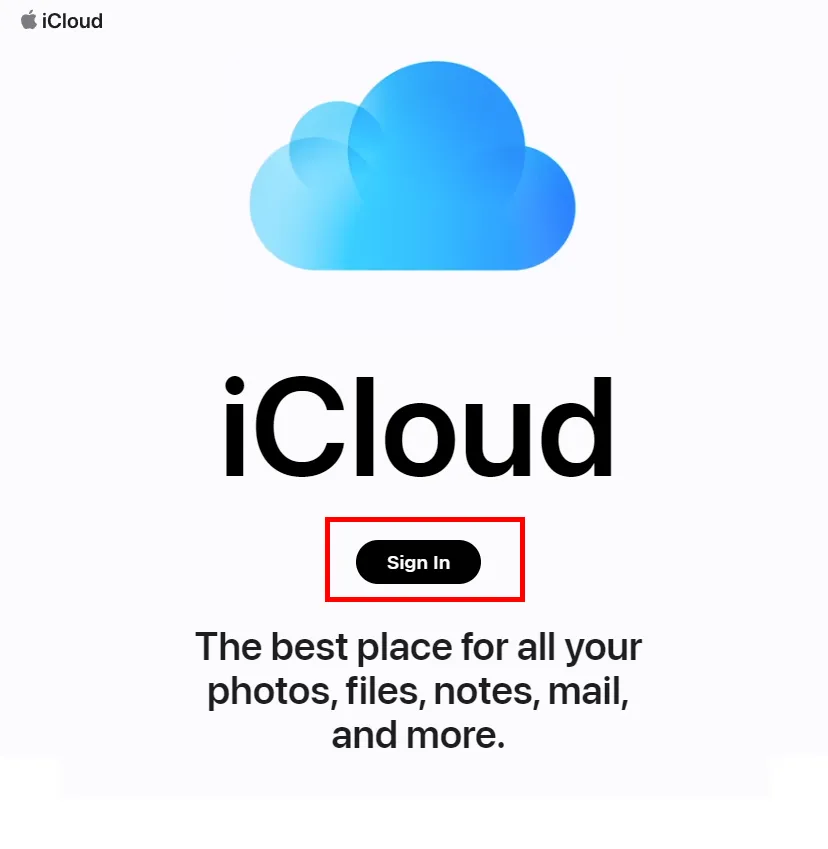
- Open the iCloud for Windows app on your computer. The app lets you access your iCloud content.
- Click on Photos to launch the iCloud Photos app. This gives you access to all your iCloud photos and albums synced from Apple devices.
Click on Shared Albums
- On the top right of the iCloud Photos app, click on the Shared Albums button.
- This opens up the Shared Albums section that lists existing shared albums in your iCloud account, if any.
Create New Shared Album
- To create a new album, click on the + New Shared Album button at the top.
- A popup will appear prompting you to give a name for the shared album. Enter desired name and click on Create.
- The new shared album will now appear in the list of albums. You can start adding photos and videos to it.
Add Photos and Videos
- To add content, click on the new shared album to open it.
- Click Add Photos and Videos and select images and videos you want to share from your Windows PC.
- You can also drag and drop photos directly into the album window to add them.
- Added content will sync and show up in the shared album on all devices.
Share Album with Others
- Click on Invite People at the top and enter email addresses of people with whom you want to share the album.
- You can enter multiple email addresses separated by commas. Click Send when done.
- This will send invite emails allowing your friends and family to join and access the shared album.
That's it! Your new shared iCloud album is ready. Add new photos and videos to it anytime and they will sync across devices and invited members.
How to Add or Remove Photos in a Shared Album
You can easily add more photos or remove existing ones in a shared album on Windows. Follow these steps:
- Open the iCloud Photos app and click on the specific shared album.
- To add photos, click Add Photos and Videos, select new images from your computer and click Done.
- To remove photos, click on a photo and select Remove from Shared Album. Confirm removal.
- The updated album with new photos or removals will automatically sync for all invited members.
- You can also add a caption or location to existing photos in the album for context.
Managing photos in shared albums works just like your personal albums. Add, remove or enhance photos at anytime to make shared albums more engaging.
How to Delete a Shared iCloud Album on Windows
Don't need a particular shared album anymore? Easily delete it by following these simple steps:
- In the iCloud Photos app, click on Shared Albums and locate the shared album you want to delete.
- Click on the More icon (3 dots) next to the album name and select Delete Shared Album.
- Confirm deletion in the popup prompt.
- The shared album will be removed from your iCloud account and no longer accessible to invited members.
- If you change your mind later, you can create the shared album again and re-invite members to it.
Deleting the shared album removes it completely from iCloud so be sure you want to delete it before proceeding. All photos in the album will still remain safe in your iCloud storage.
How to Share a Shared Album as a Link
Apart from inviting people via email to a shared album, you can also create a shared link and send that for quick access:
- Open the shared iCloud album you want to create a link for.
- Click on Get a Link at the top right.
- Choose the access level - Only people you invite or Anyone with the link.
- Click Create Link.
- Copy the album link and share via email, chat or social media.
- The receiver can use the link to directly access the shared album.
- You can reset the link anytime from the Get a Link option.
Using a shareable link allows you to quickly share albums without needing to individually invite people via email. This gives more flexibility in sharing albums.
How to Know When Changes are Made to a Shared Album
So you shared an album with friends and want to know when they add photos or make edits? Here are ways to stay updated:
- Notifications - On Windows, you'll get native notifications when any changes are made like new photos added, captions edited etc.
- Open Album - Opening the shared album shows event notifications for recent activity from members.
- Email alerts - Configure iCloud to email you whenever there is a change in your shared album. Handy to stay in sync.
- Visit iCloud.com - Login to iCloud.com and check shared album
Activity feed to see updates from members.

- Check iOS devices - Open shared album on iPhone or iPad to get notifications on latest activity in the album.
By default, you'll be notified of all important activities within shared albums. But you can further customize notifications and alerts as per your preference.
How to Transfer Ownership of a Shared iCloud Album
Want to transfer ownership of a shared album you created to someone else? Here's how to change the album administrator:
- Open the shared iCloud album that you want to transfer.
- Click on the More icon and select Transfer Ownership.
- Enter the email address of the member you want to make the owner.
- Confirm transfer of ownership in the popup.
- The selected member will receive an email to accept the ownership transfer.
- Once accepted, all album sharing privileges are transferred to the new owner.
- You can repeat steps to transfer ownership to another member later if needed.
Transferring ownership is useful when you want someone else to fully manage and control a shared album. The new administrator can then add/remove members and delete the album.
How to Leave a Shared Album You're Invited To
Want to stop participating in a shared album created by someone else? Follow these steps to leave the shared album:
- Open iCloud Photos and click on Shared Albums.
- Locate the shared album you want to leave and click the More icon next to it.
- Select the Leave Shared Album option.
- Confirm leaving the album in the popup prompt.
- You will no longer have access to the shared album.
- The album owner will be notified that you have left the shared album.
- To re-join the album later, ask the owner to re-invite you via email.
Leaving a shared album removes your access so you'll no longer see updates to it. This is useful when you don't want to receive notifications for albums not relevant to you.
Common Questions about iCloud Shared Albums on Windows
Here are answers to some frequently asked questions about Shared Albums when using iCloud for Windows:
Q: How many people can I share an album with?
You can invite up to 100 people to a shared iCloud album. All invited members can add and edit photos in the album.
Q: Can I recover photos deleted from a shared album?
Unfortunately, you cannot recover deleted photos from a shared album like you could in your personal iCloud storage using the Recently Deleted folder. Once a photo is removed from a shared album, it is permanently deleted for all participants.
Q: What happens when I delete a photo from a shared album?
When you delete a photo from a shared album, it is removed permanently from that album for all participants. However, the photo still stays in your personal iCloud Photos storage and camera roll unless you manually delete it from there too.
Conclusion
iCloud Shared Albums provide a great way to collaborate with others on photos and videos. The albums stay in sync so changes made by members instantly appear for everyone in the group. If you need to share memories, occasions or events with family, friends or team members, shared albums are the perfect shared space.
While designed to work best with Apple devices, shared albums can also be utilized on Windows computers using the iCloud app. You can seamlessly create, manage and share albums without needing any separate apps or software.
So next time you want to share photos or videos with others, use iCloud Shared Albums for a smooth cross-device sharing experience.


