Menu
Start Free $129 Lifetime
Why is it the #1 bulk uploader?
- Insanely fast!
- Maintains folder structure.
- 100% automated upload.
- Supports RAW files.
- Privacy default.
How can you get started?
Download PicBackMan and start free, then upgrade to annual or lifetime plan as per your needs. Join 100,000+ users who trust PicBackMan for keeping their precious memories safe in multiple online accounts.
Trusted by users in 125+ countries.
“Your pictures are scattered. PicBackMan helps you bring order to your digital memories.”
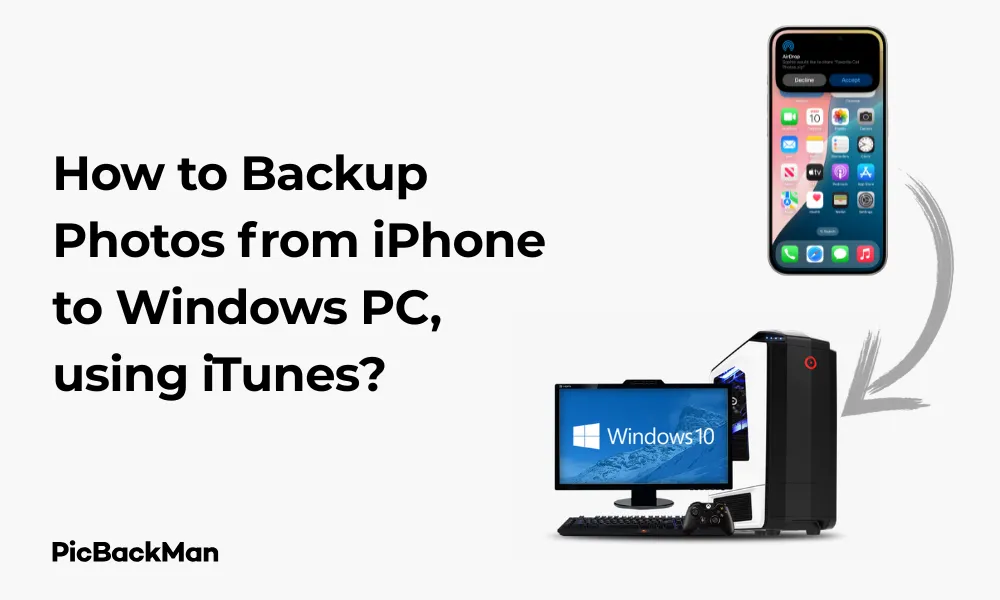
How to Backup Photos from iPhone to Windows PC, using iTunes?

Backing up your precious iPhone photos to your Windows PC is a smart move to keep your memories safe. While there are several methods to transfer photos from your iPhone to your computer, iTunes provides a reliable and straightforward option. In this guide, I'll walk you through the step-by-step process of backing up your iPhone photos to a Windows PC using iTunes.
Why Backup Your iPhone Photos to Windows PC?
Before diving into the how-to steps, let's quickly look at why backing up your iPhone photos to your Windows PC is important:
- Free up valuable storage space on your iPhone
- Create a secondary copy of your memories for safekeeping
- Easily access and organize your photos on a larger screen
- Protect against phone loss, damage, or theft
- Simplify the process of sharing or editing photos on your computer
Prerequisites for Backing Up iPhone Photos
Before you begin the backup process, make sure you have the following:
- A Windows PC with the latest version of iTunes installed
- Your iPhone (any model running iOS)
- A working Lightning to USB cable (preferably the original one that came with your iPhone)
- Sufficient storage space on your Windows PC
- Your iPhone passcode (if enabled)
Step-by-Step Guide to Backup Photos from iPhone to Windows PC Using iTunes
Step 1: Install and Update iTunes on Your Windows PC
If you don't already have iTunes installed on your Windows PC, you'll need to download and install it first. Even if you have iTunes installed, it's always a good idea to make sure you're running the latest version.
- Open your web browser and go to Apple's iTunes download page
- Click on the "Download" button for Windows
- Once downloaded, run the installer and follow the on-screen instructions
- If iTunes is already installed, open it and check for updates by clicking on "Help" in the menu bar and selecting "Check for Updates"
Step 2: Connect Your iPhone to Your Windows PC
Now that you have iTunes ready, it's time to connect your iPhone to your computer.
- Use your Lightning to USB cable to connect your iPhone to an available USB port on your Windows PC
- If prompted on your iPhone, tap “Trust This Computer” and enter your passcode if required
- Wait for iTunes to detect and recognize your iPhone
Step 3: Access Your iPhone in iTunes
Once your iPhone is connected and recognized by iTunes, you'll need to access your device settings.
- Look for the device icon in the upper-left corner of the iTunes window (it looks like a small iPhone)
- Click on this device icon to access your iPhone's summary page
- If you don't see the device icon, try disconnecting and reconnecting your iPhone, or restart iTunes
Step 4: Configure Your Backup Settings
Before proceeding with the photo backup, you should check your backup settings in iTunes.
- In the Summary tab, locate the “Backups” section
- Make sure "This computer" is selected under "Automatically Back Up"
- If you want to secure your backup, check the box for "Encrypt local backup" and create a password (remember this password as you'll need it to restore from the backup later)
- Click "Apply" to save these settings
Step 5: Perform a Manual Backup
Now, let's perform a manual backup of your iPhone, which will include your photos.
- While still in the Summary tab, click on “Back Up Now” in the “Manually Back Up and Restore” section
- Wait for the backup process to complete (this may take several minutes depending on how many photos and other data you have on your iPhone)
- You can monitor the progress at the top of the iTunes window
Step 6: Verify Your Backup
It's always a good idea to verify that your backup completed successfully.
- After the backup is complete, go to Edit > Preferences in iTunes
- Click on the "Devices" tab
- You should see your recent backup listed with the date and time
- If you see your device name with the current date and time, your backup was successful
Alternative Method: Using iTunes to Import Photos Directly
If you only want to back up your photos (not your entire iPhone), iTunes offers a more direct method.
Step 1: Connect Your iPhone to Your Windows PC
Follow the same steps as above to connect your iPhone to your PC and open iTunes.
Step 2: Access the Photos Tab
- Click on your device icon in iTunes
- Select the “Photos” tab from the left sidebar
- Check the box next to "Sync Photos"
Step 3: Choose Your Photo Sync Options
Now you can select which photos you want to back up:
- Choose whether to sync all photos or selected albums
- If you select “Selected albums,” check the boxes next to the albums you want to sync
- You can also choose to include videos by checking the "Include videos" option
Step 4: Apply and Sync
- Click "Apply" or "Sync" in the bottom-right corner of the iTunes window
- Wait for the photo sync to complete
- Once finished, your selected photos will be backed up to your Windows PC
Finding Your Backed-Up Photos on Your Windows PC
After backing up your photos, you might wonder where they're stored on your computer.
For Full iPhone Backups
If you performed a full iPhone backup, your photos are contained within the backup file. These backup files are not directly accessible as image files but are stored in:
- Windows 10/11: C:Users[Username]AppDataRoamingApple ComputerMobileSyncBackup
- Windows 7/8: C:Users[Username]AppDataRoamingApple ComputerMobileSyncBackup
To access the photos from a backup, you'll need to restore the backup or use third-party software designed to extract files from iTunes backups.
For Photo Syncs
If you use the direct photo sync method, your photos will typically be stored in:
- Windows 10/11: C:Users[Username]Pictures
- Windows 7/8: C:Users[Username]My Pictures
iTunes may create a folder named "iPhone" or your device name within this location.
Troubleshooting Common Issues
iPhone Not Recognized by iTunes
If iTunes doesn't recognize your iPhone, try these solutions:
- Restart both your iPhone and your Windows PC
- Try a different USB port on your computer
- Check if your Lightning cable is working properly (try another cable if available)
- Make sure you've trusted the computer on your iPhone
- Update iTunes to the latest version
- Update your iPhone's iOS to the latest version
Not Enough Space on Your PC
If you receive an error about insufficient space:
- Free up space on your Windows PC by deleting unnecessary files
- Consider using an external hard drive for your backups
- Sync only selected photo albums instead of all photos
Backup Process Taking Too Long
If the backup process seems to be taking forever:
- Check your USB connection (USB 3.0 ports transfer data faster)
- Close other applications running on your PC
- Reduce the number of photos you're backing up at once
- Make sure your iPhone isn't performing other tasks during backup
Photos Not Appearing After Sync
If your photos aren't appearing where you expect them:
- Double-check the sync settings in iTunes
- Make sure you clicked “Apply” or “Sync” after selecting your options
- Check the correct storage location on your PC
- Restart iTunes and try the sync again
Quick Tip to ensure your videos never go missing
Videos are precious memories and all of us never want to lose them to hard disk crashes or missing drives. PicBackMan is the easiest and simplest way to keep your videos safely backed up in one or more online accounts.

Simply download PicBackMan (it's free!) , register your account, connect to your online store and tell PicBackMan where your videos are - PicBackMan does the rest, automatically. It bulk uploads all videos and keeps looking for new ones and uploads those too. You don't have to ever touch it.
Comparing iTunes with Other Backup Methods
| Backup Method | Pros | Cons | Best For |
|---|---|---|---|
| iTunes |
- Official Apple solution - Free to use - Creates comprehensive backups - Encrypted backup option |
- Can be slow for large libraries - Interface may be confusing - Photos are not easily accessible in backup files |
Users who want a complete iPhone backup including photos |
| iCloud |
- Wireless backup - Automatic in background - Access from any device |
- Limited free storage (5GB) - Requires internet connection - Can be slow with large libraries |
Users who prefer wireless backups and don't mind paying for storage |
| Windows Photos App |
- Simple interface - Direct import to PC - Easy organization |
- Only backs up photos (not other data) - May not import all metadata |
Users who only want to back up photos quickly |
| File Explorer |
- No additional software needed - Simple drag-and-drop - Full control over file location |
- Manual process - No automatic organization - No incremental backups |
Users who want direct access to photo files |
Tips for Managing Your Photo Backups
Create a regular backup schedule
To ensure you never lose important photos, establish a regular backup routine:
- Set a weekly or monthly reminder to connect your iPhone and run a backup
- Consider backing up after important events or trips when you've taken many new photos
- Use calendar alerts or task apps to remind you about your backup schedule
Organize Your Backed-Up Photos
Once your photos are on your PC, keeping them organized will make them easier to find:
- Create a folder structure by date, event, or category
- Use photo management software like Adobe Lightroom or Windows Photos app
- Rename files with descriptive names instead of keeping the default IMG_XXXX format
- Consider adding tags or keywords to make searching easier
Maintain Multiple Backups
For maximum safety, don't rely solely on one backup method:
- Consider using both iTunes and iCloud for redundancy
- Back up your PC's photo folders to an external hard drive
- Use a cloud storage service like Google Drive, Dropbox, or OneDrive as another layer of protection
- Consider a dedicated photo backup service like Google Photos
Clean Up Your iPhone After Backup
Once you've confirmed your photos are safely backed up, you can free up space on your iPhone:
- Review your backed-up photos to make sure they are transferred correctly
- Delete photos from your iPhone that you no longer need to have with you
- Consider keeping only recent photos on your device and archiving older ones
Security Considerations for Photo Backups
Protecting Your Privacy
When backing up personal photos, keep these security tips in mind:
- Always use the "Encrypt local backup" option in iTunes for sensitive photos
- Choose a strong, unique password for encrypted backups
- Store your backup password in a secure password manager
- Be cautious about who has access to your Windows PC
Securing Your Backup Files
Protect your backup files from unauthorized access:
- Enable password protection on your Windows user account
- Consider encrypting your entire hard drive with BitLocker
- Keep your Windows PC updated with the latest security patches
- Use antivirus software to protect against malware that could access your files
Frequently Asked Questions
1. Does iTunes backup include all my iPhone photos?
Yes, a full iTunes backup includes all photos stored in your iPhone's Camera Roll and other photo albums. However, it might not include photos that are only stored in iCloud Photos if you have that feature enabled and the photos haven't been downloaded to your device.
2. How often should I back up my iPhone photos to my Windows PC?
The frequency depends on how often you take photos and how important they are to you. For casual users, a monthly backup might be sufficient. If you take many photos or have irreplaceable memories, consider backing up weekly or after any significant event where you've taken many pictures.
3. Can I access individual photos from an iTunes backup file?
Not directly. iTunes backup files are not designed to be browsed like folders. To access individual photos from a backup, you either need to restore the entire backup to an iPhone or use third-party software specifically designed to extract files from iTunes backups.
4. What's the difference between backing up with iTunes and just importing photos through File Explorer?
iTunes creates a comprehensive backup that includes photos along with all other iPhone data, settings, and apps. This is useful for full device restoration. Importing through File Explorer only copies the photo files themselves, which is simpler but doesn't back up any other aspects of your iPhone.
5. Will iTunes photo backup reduce the quality of my photos?
No, iTunes creates an exact copy of your photos at their original quality and resolution. Unlike some cloud services that might compress images to save space, iTunes backups maintain the full quality of your original photos.
Conclusion
Backing up your iPhone photos to your Windows PC using iTunes is a reliable way to keep your precious memories safe. While the process might seem a bit technical at first, following the steps outlined in this guide will help you create a secure copy of your photos that you can access even if something happens to your iPhone.
Remember that regular backups are key to never losing important photos. Whether you choose to back up your entire iPhone or just sync your photo library, iTunes provides a free and official solution that works well with Windows PCs. By establishing a consistent backup routine and organizing your photos effectively, you'll have peace of mind knowing your visual memories are protected.
For maximum security, consider implementing multiple backup solutions and following the security recommendations to keep your personal photos private. With these practices in place, you can enjoy taking photos without worrying about losing them.


