Menu
Start Free $129 Lifetime
Why is it the #1 bulk uploader?
- Insanely fast!
- Maintains folder structure.
- 100% automated upload.
- Supports RAW files.
- Privacy default.
How can you get started?
Download PicBackMan and start free, then upgrade to annual or lifetime plan as per your needs. Join 100,000+ users who trust PicBackMan for keeping their precious memories safe in multiple online accounts.
Trusted by users in 125+ countries.
“Your pictures are scattered. PicBackMan helps you bring order to your digital memories.”
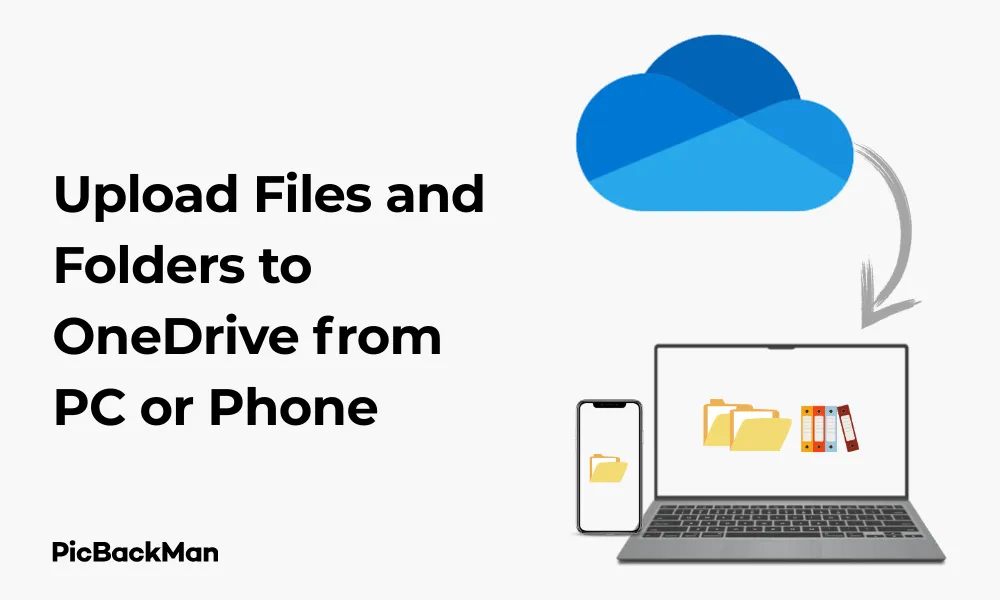
3 Ways: Upload Files and Folders to OneDrive from PC or Phone

Storing your files in the cloud has become essential in today's digital world. Microsoft's OneDrive offers a reliable solution for backing up and accessing your important documents from anywhere. Whether you need to free up space on your device or simply want to ensure your files are safe, knowing how to upload to OneDrive is a valuable skill. In this guide, I'll walk you through three straightforward methods to upload files and folders to OneDrive from both your PC and phone.
What is OneDrive and Why Use It?
OneDrive is Microsoft's cloud storage service that comes integrated with Windows and Microsoft 365. It allows you to store files online and access them from any device with an internet connection. Using OneDrive offers several benefits:
- Automatic backup of important files
- Easy file sharing with others
- Access to your documents from any device
- Free storage space (5GB with basic accounts)
- Seamless integration with Microsoft Office apps
Now let's explore the different ways to upload your content to OneDrive.
Method 1: Upload Files to OneDrive Using the Desktop App
The OneDrive desktop app offers the most integrated experience for Windows and Mac users. Once set up, it creates a special folder on your computer that automatically syncs with your cloud storage.
Setting Up the OneDrive Desktop App
If you're using Windows 10 or 11, OneDrive comes pre-installed. For older Windows versions or Mac, you'll need to download it first.
- On Windows, click the Start menu and search for “OneDrive”
- On Mac, download OneDrive from Microsoft's website and install it
- Sign in with your Microsoft account when prompted
- Follow the setup wizard to choose which folders to sync
Uploading Files Using the OneDrive Folder
Once the desktop app is set up, uploading is as simple as moving files into the OneDrive folder:
- Open File Explorer (Windows) or Finder (Mac)
- Locate the OneDrive folder (usually in your user directory)
- Drag and drop files or folders into this location
- Wait for the sync icon to show the files you have uploaded
Creating Folders and Organizing Files in OneDrive
You can create an organized folder structure directly in your OneDrive folder:
- Open your OneDrive folder in File Explorer or Finder
- Right-click in the empty space and select "New Folder"
- Name your folder and press Enter
- Drag and drop files into your new folder
The desktop app automatically syncs your changes to the cloud. You'll see sync status icons next to your files:
- Green checkmark: File is synced and available offline
- Blue circular arrows: File is currently syncing
- Cloud icon: File is online-only (saves space on your device)
Troubleshooting Common Sync Issues
If you experience problems with the desktop app, try these quick fixes:
- Check your internet connection
- Restart the OneDrive app (right-click the OneDrive icon in the taskbar and select “Close OneDrive”)
- Make sure you haven't exceeded your storage limit
- Check if any filenames contain special characters (like * / : ? " |) which aren't allowed
Method 2: Upload files to OneDrive using the Web Browser
The web interface is perfect when you're using a computer without the OneDrive app installed or when you want to upload files without syncing them to your current device.
Accessing OneDrive in Your Browser
- Open your web browser and go to onedrive.live.com
- Sign in with your Microsoft account
- You'll see your OneDrive files and folders displayed in the browser
Uploading files through the Web Interface
The web interface offers multiple ways to upload files:
Using the Upload Button:
- Click the "Upload" button in the top menu
- Select "Files" or "Folder" depending on what you want to upload
- Browse your computer and select the items to upload
- Click "Open" to begin the upload
Using Drag and Drop:
- Open the folder in OneDrive where you want to upload files
- Open File Explorer or Finder in another window
- Select the files or folders you want to upload
- Drag them directly into your browser window
- Release to start uploading
Managing Files in the Web Interface
The web interface lets you perform several actions with your uploaded files:
- Create new folders: Click "New" and select "Folder"
- Move files: Select files, click "Move to" in the top menu
- Download files: Select files, click "Download"
- Delete files: Select files, click "Delete"
- Share files: Select a file, click "Share" to generate a link
Working with Large Files
When uploading large files through the web interface:
- Make sure you have a stable internet connection
- Don't close the browser tab until the upload completes
- For very large files (over 100GB), consider using the desktop app instead
- Be patient as large uploads may take time depending on your connection speed
Method 3: Upload Files to OneDrive Using Mobile Apps
The OneDrive mobile app lets you upload files directly from your smartphone or tablet. This is handy for backing up photos or documents while on the go.
Installing the OneDrive Mobile App
- Open the App Store (iOS) or Google Play Store (Android)
- Search for "Microsoft OneDrive"
- Tap "Install" or "Get"
- Once installed, open the app and sign in with your Microsoft account
Uploading files from your phone
For Android Devices:
- Open the OneDrive app
- Navigate to the folder where you want to upload files
- Tap the "+" icon at the top of the screen
- Select "Upload"
- Choose the file type (Photos, Take a photo, Scan a document, or Browse)
- Select the files you want to upload
- Tap "Done" or "Upload"
For iOS Devices:
- Open the OneDrive app
- Navigate to your desired upload location
- Tap the "+" icon at the top of the screen
- Select "Upload" or the specific file type you want to upload
- Browse and select the files
- Tap "Upload" to complete the process
Uploading photos automatically
One of the most useful features of the mobile app is automatic photo backup:
Setting Up Camera Upload on Android:
- Open the OneDrive app
- Tap your profile icon in the top-left corner
- Select "Settings"
- Tap "Camera upload"
- Toggle on "Camera upload"
- Choose whether to include videos and if uploads should happen only on Wi-Fi
Setting Up Camera Upload on iOS:
- Open the OneDrive app
- Tap your profile picture or initials
- Select "Settings"
- Tap "Camera upload"
- Toggle on "Camera upload"
- Choose your preferred settings for video uploads and Wi-Fi usage
Managing Storage Space on Mobile
Mobile devices often have limited storage, so the OneDrive app helps you manage space:
- Files can be marked as “offline available” for access without internet
- You can view how much OneDrive storage you're using in the app settings
- The app can be set to only download files when you're on Wi-Fi
- You can clear the app's cache if it's taking up too much space
Comparing the Three Upload Methods
| Feature | Desktop App | Web Browser | Mobile App |
|---|---|---|---|
| Automatic sync | Yes | No | Optional (for photos) |
| Offline access | Yes | No | Selected files only |
| Ease of use | Very easy (like using a regular folder) | Simple but requires a browser | Easy but limited by smaller screen |
| Best for | Regular use on your main computer | Occasional uploads from any computer | Photos and on-the-go document uploads |
| Internet usage | Continuous sync (can be scheduled) | Only when uploading | Can be set to Wi-Fi only |
Tips for Efficiently Managing Your OneDrive Storage
Organizing Your Files
A good folder structure makes finding your files easier:
- Create main categories (Work, Personal, Photos, etc.)
- Use descriptive folder names
- Consider using year/month folders for time-sensitive documents
- Keep related files together
Maximizing Your Storage Space
OneDrive offers limited free storage, so use it wisely:
- Regularly delete unnecessary files
- Compress large files before uploading
- Use the “Files On-Demand” feature to keep files in the cloud but not on your device
- Consider upgrading to Microsoft 365 for 1TB of storage
Sharing Files Securely
OneDrive makes sharing easy while maintaining control:
- Use password protection for sensitive documents
- Set expiration dates on shared links
- Choose between "view only" or "edit" permissions
- Check who has access to your files periodically
Advanced OneDrive Features for Power Users
Version History
OneDrive keeps track of changes to your files:
- Right-click a file in OneDrive
- Select "Version history"
- View and restore previous versions if needed
Files On-Demand
This feature saves space on your device while keeping files accessible:
- Right-click the OneDrive icon in your taskbar
- Select "Settings"
- Check "Save space and download files as you use them"
Personal Vault
For extra-sensitive files, OneDrive offers a secure section:
- Open OneDrive
- Click on "Personal Vault"
- Set up additional security verification
- Upload your most sensitive files here
Troubleshooting Common OneDrive Upload Issues
Files Won't Upload
If your files aren't uploading, try these solutions:
- Check your internet connection
- Make sure the file is not opened in another program
- Verify the file size isn't too large (files up to 250GB are supported)
- Check that you haven't exceeded your storage limit
- Restart the OneDrive app or your device
Sync Conflicts
When the same file is modified in multiple places:
- OneDrive will create a "conflict" copy
- Review both versions and keep the one you need
- Delete the unnecessary version
Slow Upload Speeds
To improve slow uploads:
- Check your internet connection speed
- Close bandwidth-heavy applications
- Try uploading at off-peak hours
- Upload large folders in smaller batches
Quick Tip to ensure your videos never go missing
Videos are precious memories and all of us never want to lose them to hard disk crashes or missing drives. PicBackMan is the easiest and simplest way to keep your videos safely backed up in one or more online accounts.

Simply download PicBackMan (it's free!) , register your account, connect to your online store and tell PicBackMan where your videos are - PicBackMan does the rest, automatically. It bulk uploads all videos and keeps looking for new ones and uploads those too. You don't have to ever touch it.
OneDrive Security and Privacy Considerations
Protecting Your OneDrive Account
Keep your cloud files safe with these practices:
- Use a strong, unique password for your Microsoft account
- Enable two-factor authentication
- Regularly review account activity
- Be cautious when accessing OneDrive on public computers
Privacy Settings
Control who can see your files:
- Files are private by default until you share them
- Review sharing permissions regularly
- Use "Private" sharing links instead of "Anyone with the link" for sensitive documents
- Remember that Microsoft can access your files in specific circumstances (like legal requirements)
Conclusion
Uploading files to OneDrive doesn't have to be complicated. Whether you prefer the seamless integration of the desktop app, the accessibility of the web interface, or the convenience of the mobile app, OneDrive offers flexible options to keep your files safe and accessible.
By following the steps outlined in this guide, you can efficiently back up important documents, share files with others, and access your content from anywhere. Start organizing your digital life today by choosing the OneDrive upload method that works best for your needs.
Remember that consistent backups are key to preventing data loss, so make uploading to OneDrive a regular part of your digital routine. With your files safely stored in the cloud, you'll have peace of mind knowing your important documents are protected and always within reach.
Frequently Asked Questions
How much storage does OneDrive offer for free?
Microsoft provides 5GB of free storage with a basic OneDrive account. If you need more space, you can upgrade to Microsoft 365 Personal for 1TB of storage or purchase additional storage separately.
Can I upload files to OneDrive without installing anything?
Yes, you can use the OneDrive web interface at onedrive.live.com to upload files directly from any web browser without installing any software. This is perfect for using public computers or devices that aren't your own.
What types of files can I upload to OneDrive?
OneDrive accepts almost all file types, including documents, photos, videos, music, and executables. Individual files can be up to 250GB in size, though web uploads work best with smaller files due to connection stability concerns.
Will my OneDrive files take up space on my computer?
With the Files On-Demand feature enabled, you can choose which files are stored locally on your computer and which remain only in the cloud. This gives you the flexibility to access all your files while minimizing local storage usage.
Can I recover deleted files from OneDrive?
Yes, OneDrive maintains a Recycle Bin where deleted items are stored for at least 30 days. To recover files, go to the Recycle Bin in your OneDrive web interface, select the files you want to restore, and click the “Restore” button.


