Menu
Start Free $129 Lifetime
Why is it the #1 bulk uploader?
- Insanely fast!
- Maintains folder structure.
- 100% automated upload.
- Supports RAW files.
- Privacy default.
How can you get started?
Download PicBackMan and start free, then upgrade to annual or lifetime plan as per your needs. Join 100,000+ users who trust PicBackMan for keeping their precious memories safe in multiple online accounts.
Trusted by users in 125+ countries.
“Your pictures are scattered. PicBackMan helps you bring order to your digital memories.”
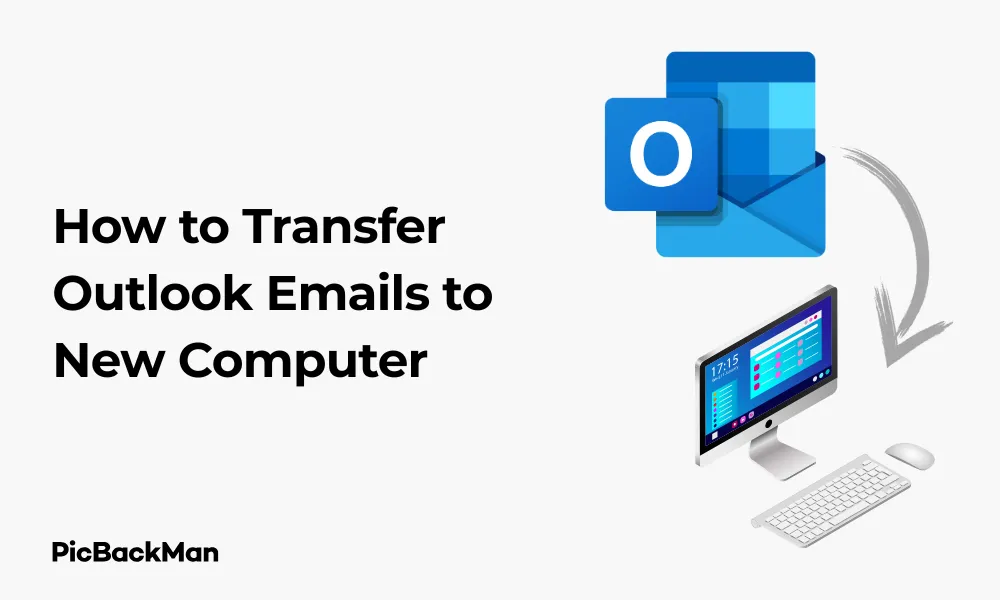
[4 Ways] How to Transfer Outlook Emails to New Computer

Getting a new computer is exciting, but migrating your Outlook emails can be a headache if you don't know the right steps. Whether you're upgrading your work laptop or personal device, keeping your email history intact is crucial. This guide walks you through four reliable methods to transfer Outlook emails to your new computer without losing any important messages or attachments.
I've helped dozens of colleagues and friends move their Outlook data over the years, and I've learned which methods work best for different situations. Let's dive into these practical solutions that will save you time and prevent the frustration of lost emails.
Method 1: Using Outlook's Export/Import Feature
The built-in export and import feature in Outlook provides a straightforward way to transfer your emails to a new computer. This method works for most versions of Outlook and gives you control over exactly what data gets moved.
Step-by-Step Process to Export Emails from Your Old Computer
- Open Outlook on your old computer
- Click on the File tab in the top-left corner
- Select Open & Export (or just Import/Export in some versions)
- Choose Export to a file and click Next
- Select Outlook Data File (.pst) and click Next
- Select the email account or folders you want to export
- Check the Include subfolders box to export everything within those folders
- Click Next
- Choose a location to save your PST file (preferably an external drive or cloud storage)
- Set options for duplicate items if paid
- Click Finish to begin the export process
Importing Emails to Your New Computer
- Copy the PST file to your new computer
- Open Outlook on your new computer
- Click on the File tab
- Select Open & Export (or Import/Export )
- Choose Import from another program or file and click Next
- Select Outlook Data File (.pst) and click Next
- Browse to locate your PST file and select it
- Choose an option for handling duplicates (Replace, Allow duplicates, or Do not import)
- Click Next
- Select the folder to import from (usually "top of folders" to import everything)
- Check Include subfolders
- Click Finish to complete the import
Pros and Cons of the Export/Import Method
| Pros | Cons |
|---|---|
| Built into Outlook (no third-party tools needed) | Can be time-consuming for large mailboxes |
| Allows selective export of specific folders | Manual process with multiple steps |
| Works across different Outlook versions | Requires enough storage space for the PST file |
| Preserves folder structure | May not transfer all account settings |
Method 2: Direct File Transfer of Outlook Data Files
If you're comfortable locating and working with system files, directly transferring Outlook data files can be faster than the export/import method. This approach involves finding and copying the PST or OST files that contain your email data.
Locating Your Outlook Data Files
Outlook stores emails in PST files (Personal Storage Table) for POP accounts or when you manually archive, and OST files (Offline Storage Table) for Exchange, Office 365, or IMAP accounts.
Default Locations for Outlook Data Files
- Outlook 2019, 2016, 2013, and Office 365: C:Users[username]DocumentsOutlook Files
- Outlook 2010: C:Users[username]My DocumentsOutlook Files
- Outlook 2007: C:Users[username]AppDataLocalMicrosoftOutlook
You can also find the exact location by following these steps:
- Open Outlook
- Click on File > Account Settings > Account Settings
- Go to the Data Files tab
- Select your account and click Open File Location
Steps to Transfer Data Files to Your New Computer
- Close Outlook on your old computer
- Navigate to the location of your PST files
- Copy the PST files to an external storage device or cloud storage
- On your new computer, create a folder where you want to store the Outlook data (eg, DocumentsOutlook Files)
- Copy the PST files from your external storage to this folder
- Open Outlook on your new computer
- Click File > Open & Export > Open Outlook Data File
- Browse to the location where you copied the PST files
- Select the PST file and click Open
- The imported PST will appear in your folder list in Outlook
Important Notes About Direct File Transfer
- Always work with copies of your PST files, not the originals
- OST files cannot be directly imported—they're recreated when you set up your account
- For Exchange or Office 365 accounts, simply setting up the account on the new computer will sync all emails
- Large PST files (over 2GB) may cause performance issues
Method 3: Using Office 365 or Exchange Server Sync
If you use Outlook with Microsoft 365 (formerly Office 365) or Exchange Server, this method is by far the easiest way to transfer your emails to a new computer. Your emails are stored on the server rather than just locally, making migration simple.
Steps to Sync Your Emails to a New Computer
- Set up your new computer with internet access
- Install Microsoft Office/Outlook on your new computer
- Open Outlook and begin the setup process
- When prompted, enter your email address and password
- Outlook will automatically detect your Exchange or Office 365 settings
- Complete the setup process following the on-screen instructions
- Wait for Outlook to sync your emails, calendar, contacts, and other items
Benefits of Cloud-Based Email Transfer
- No manual file transfers needed
- All emails, calendar items, and contacts sync automatically
- Folder structure is preserved exactly as it was
- Account settings are transferred automatically
- Works seamlessly across different Outlook versions
- Provides continuity—you can use your old computer until the new one is fully set up
Sync Considerations and Troubleshooting
The initial sync may take time depending on your mailbox size and internet speed. For very large mailboxes (10GB+), the initial download might take several hours. If you experience sync issues:
- Check your internet connection
- Verify your account credentials are correct
- Ensure you have sufficient storage space on your new computer
- Try setting up your account in "Safe Mode" (start Outlook with the /safe parameter)
- Contact your IT department if you're in a corporate environment
Method 4: Using a Third-Party Migration Tool
When the built-in methods don't meet your needs or you want a more automated process, third-party tools can simplify the transfer process. These tools often provide additional features like selective migration, progress tracking, and handling of corrupt PST files.
Popular Outlook Migration Tools
| Tool Name | Key Features | Best For |
|---|---|---|
| Stellar Converter for OST |
- Converts OST to PST - Recovers deleted emails - Handles corrupt files - Preserves folder hierarchy |
Users with inaccessible or corrupt OST files |
| SysTools Outlook PST Merger |
- Merges multiple PST files - Removes duplicate emails - Splits large PST files - Batch processing |
Users with multiple PST files who want to consolidate |
| Kernel Outlook PST Repair |
- Repairs damaged PST files - Recovers permanently deleted items - Supports all Outlook versions - Password recovery for encrypted PSTs |
Users with corrupted or password-protected PST files |
| BitRecover PST Converter |
- Converts PST to multiple formats - No file size limitations - Batch conversion - Email filtering options |
Users who need to convert to different email formats |
Using a Migration Tool: General Process
- Download and install your chosen migration tool on your old computer
- Launch the application and follow the setup wizard
- Select the source (your Outlook data files or account)
- Choose what to migrate (emails, contacts, calendar, tasks)
- Select a destination (usually a new PST file)
- Start the migration process and wait for completion
- Transfer the resulting file to your new computer
- Import the file into Outlook on your new computer
Selecting the Right Migration Tool
When choosing a third-party tool, consider these factors:
- Compatibility: Ensure it works with your version of Outlook and Windows
- Features: Look for tools that handle your specific needs (corruption repair, large file handling, etc.)
- Reviews: Check user reviews for reliability and support quality
- Price: Compare pricing—many tools offer free trials but require payment for full functionality
- Support: Verify the level of technical support available
Comparing All Four Methods
| Method | Ease of Use | Time Required | Cost | Best For |
|---|---|---|---|---|
| Export/Import | Medium | Medium | Free | Most users with standard needs |
| Direct File Transfer | Medium-Hard | Fast | Free | Tech-savvy users who know file locations |
| Office 365/Exchange Sync | Very Easy | Variations (depends on mailbox size) | Free (with subscription) | Office 365 or Exchange users |
| Third-Party Tools | Easy | Fast | $20-100 typically | Users with special needs or large/corrupt mailboxes |
Preparing for the Transfer: Essential Steps
Before attempting any of the methods above, take these preparatory steps to ensure a smooth transfer:
Backup Your Existing Data
Always create a backup of your Outlook data before migration. This gives you a safety net in case anything goes wrong during the transfer process.
- Create a manual backup by exporting to a PST file (as described in Method 1)
- Store this backup on an external drive or cloud storage
- Verify the backup is complete and accessible before proceeding
Check Available Storage Space
Outlook data files can be large, especially if you have years of emails with attachments.
- Check the size of your current Outlook data files
- Ensure your new computer has at least twice that amount of free space
- If space is limited, consider archiving older emails before transferring
Update Outlook on Both Computers
Having the same version of Outlook on both computers minimizes compatibility issues.
- Update Outlook on your old computer to the latest version
- Install the same version (or newer) on your new computer
- Apply all available updates before beginning the transfer
Clean Up Your Mailbox
This is an excellent opportunity to declutter your email:
- Delete unnecessary emails and empty the Deleted Items folder
- Archive old emails you rarely access but want to keep
- Remove large attachments that you've already saved elsewhere
- Run Outlook's "Mailbox Cleanup" tool (File > Tools > Mailbox Cleanup in most versions)
Troubleshooting Common Transfer Issues
Even with careful planning, you might encounter some challenges when transferring Outlook emails. Here are solutions to common problems:
PST File Size Limitations
Outlook has file size limits that vary by version:
- Outlook 2002 and earlier: 2GB limit
- Outlook 2003-2010: 20GB practical limit (though Microsoft recommends staying under 10GB)
- Outlook 2013 and later: 50GB practical limit
If your PST file exceeds these limits:
- Split your PST into smaller files using Outlook's Archive feature or a third-party tool
- Create multiple PST files organized by year or category
- Consider using Exchange or Office 365, which have higher limits
Corrupted PST Files
If you receive error messages about corrupted files:
- Use Outlook's built-in repair tool (scanpst.exe):
- Close Outlook
- Find scanpst.exe (typically in C:Program FilesMicrosoft Office ootOffice16 or similar)
- Run the tool and select your PST file
- Follow the prompts to scan and repair
- If the built-in tool doesn't work, try a third-party PST repair tool
- As a last resort, try importing smaller sections of your PST file rather than the whole file
Missing Emails After Transfer
If some emails don't appear after migration:
- Check the "All Mail Items" search folder to see if they're in an unexpected location
- Look in the "Recovered Items" folder
- Verify import settings to ensure all folders were included
- Check if any filters are active that might be hiding emails
- Try importing again with different duplicate handling settings
Account Configuration Issues
If your email accounts aren't working properly after transfer:
- Verify account settings match those from your old computer
- Check for outdated passwords or security settings
- Ensure server names and port numbers are correct
- Try removing and re-adding the account
- Contact your email provider for current server settings
After the Transfer: Verification and Organization
Once you've completed the transfer, take these steps to ensure everything is working properly:
Verify All Data Has Been Transferred
- Check folder counts and email counts against your old system
- Sample different time periods to ensure older emails transferred
- Verify that attachments open correctly
- Test search functionality to ensure the index is working
- Check that contacts, calendar items, and tasks transferred correctly
Optimize Outlook Performance on Your New Computer
To ensure Outlook runs smoothly on your new system:
- Create an archive strategy for older emails
- Set up automatic archiving if appropriate
- Compact your PST files (File > Account Settings > Data Files > Settings > Compact Now)
- Adjust send/receive settings for optimal performance
- Configure indexing options for faster searches
Secure Your Email Data
Protect your newly transferred email data:
- Set up regular backups of your Outlook data files
- Enable two-factor authentication if available
- Update your email password
- Configure junk email settings
- Consider encrypting sensitive PST files
Quick Tip to ensure your videos never go missing
Videos are precious memories and all of us never want to lose them to hard disk crashes or missing drives. PicBackMan is the easiest and simplest way to keep your videos safely backed up in one or more online accounts.

Simply download PicBackMan (it's free!) , register your account, connect to your online store and tell PicBackMan where your videos are - PicBackMan does the rest, automatically. It bulk uploads all videos and keeps looking for new ones and uploads those too. You don't have to ever touch it.
Conclusion
Transferring your Outlook emails to a new computer doesn't have to be complicated. The four methods outlined in this guide—Export/Import, Direct File Transfer, Office 365/Exchange Sync, and Third-Party Tools—cover virtually every scenario you might encounter. The best approach depends on your specific needs, technical comfort level, and email setup.
For most users, the built-in Export/Import feature provides the right balance of simplicity and control. Office 365 or Exchange users have the easiest path with automatic syncing. Tech-savvy users might prefer direct file transfer for its speed, while those with special requirements will benefit from third-party tools.
Remember to back up your data before starting, verify the transfer was successful, and optimize Outlook on your new computer for the best experience. With the right preparation and method, you can have your email up and running on your new computer in no time, with all your important messages intact.
Frequently Asked Questions
Can I transfer Outlook emails without using external storage?
Yes, you can transfer Outlook emails without external storage by using network transfer, cloud storage services like OneDrive or Google Drive, or by setting up your email account as IMAP or using Office 365/Exchange which stores emails on the server. For direct computer-to-computer transfer, you can use your local network to share files between computers.
Will transferring Outlook emails affect my email server?
No, transferring Outlook emails between computers doesn't affect your email server. When you export/import PST files or directly copy data files, you're only moving local copies of your emails. For IMAP, Exchange, or Office 365 accounts, the emails remain on the server regardless of your local transfer activities. The server won't know or be affected by the transfer process.
How long does it typically take to transfer a large Outlook mailbox?
Transfer time for a large Outlook mailbox varies based on size and method. For a 10GB mailbox, export/import might take 30-60 minutes, direct file transfer 10-20 minutes (plus copy time), and Office 365 sync 1-3 hours depending on internet speed. Factors affecting speed include computer performance, storage device speed, network bandwidth, and whether you're filtering or processing emails during transfer.
Can I transfer Outlook emails between different versions of Outlook?
Yes, you can transfer emails between different Outlook versions, but with some limitations. Newer versions can generally read PST files from older versions, but older versions may not read newer format PST files. Outlook 2013 and newer use the same file format, making transfers seamless. When moving from a much older version (like 2007) to a newer one (like 2019), use the export/import method rather than direct file transfer for best results.
What should I do if my PST file is corrupted during transfer?
If your PST file becomes corrupted during transfer, first try Microsoft's built-in repair tool (scanpst.exe) found in your Office installation folder. Close Outlook, run the tool, browse to your PST file, and follow the repair process. If this doesn't work, try a third-party PST repair tool like Stellar PST Repair or Kernel for Outlook PST Repair. Always work with a copy of your PST file, not the original, when attempting repairs.


