Menu
Start Free $129 Lifetime
Why is it the #1 bulk uploader?
- Insanely fast!
- Maintains folder structure.
- 100% automated upload.
- Supports RAW files.
- Privacy default.
How can you get started?
Download PicBackMan and start free, then upgrade to annual or lifetime plan as per your needs. Join 100,000+ users who trust PicBackMan for keeping their precious memories safe in multiple online accounts.
Trusted by users in 125+ countries.
“Your pictures are scattered. PicBackMan helps you bring order to your digital memories.”
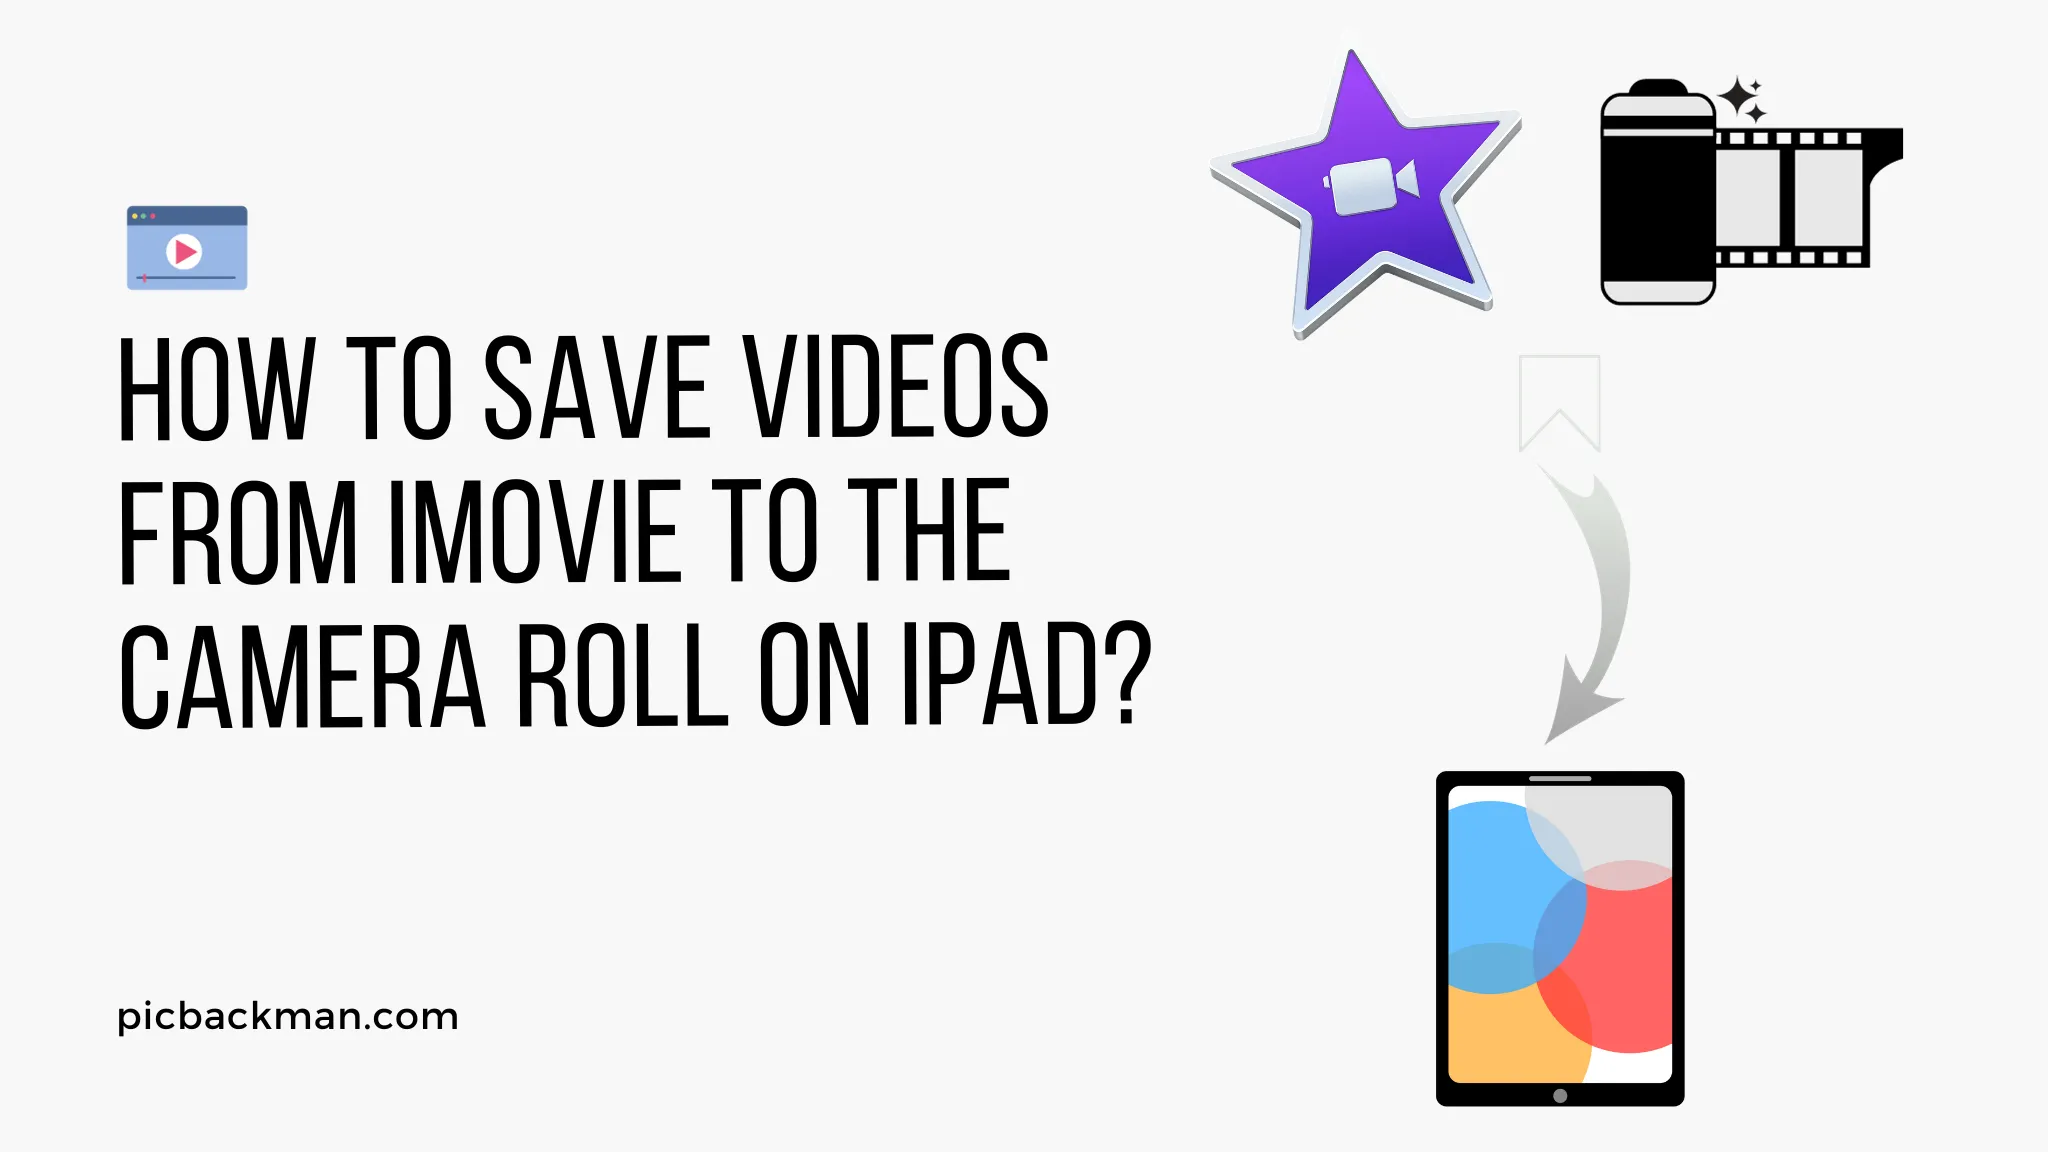
How to Save Videos from iMovie to the Camera Roll on iPad?

iMovie is a great video editing app for iOS devices, including the iPad. It allows you to edit and enhance your videos right on your device. One common question many users have is how to save their completed videos from iMovie back to the Camera Roll on their iPad. This guide will walk through the simple process step-by-step.
Overview of Saving Videos from iMovie to Camera Roll

The process for saving videos from iMovie to your iPad's Camera Roll only takes a few taps. Here's a quick overview of the steps:
- Export the video from iMovie
- Choose Camera Roll as the export destination
- Find the exported video in the Photos app Camera Roll
- Optionally delete the original project in iMovie
Saving the video to your Camera Roll allows you to easily share it with other apps and use it like any other video you capture with your iPad's camera.
Step-by-Step Instructions
Follow these detailed steps to successfully save your edited iMovie video back to the Camera Roll on your iPad:
Export the Video from iMovie
-
Open iMovie and select the project containing the video you want to export.
-
Tap the Share icon in the top right corner (it looks like an arrow coming out of a box).
-
On the sharing menu, tap the Video option at the top.
Choose Camera Roll for Export
-
On the next screen you'll be asked to choose where to export the video. Tap the Camera Roll option.
-
A settings menu will appear. Make sure Camera Roll is selected as the destination and choose a video resolution and quality. The default settings are usually fine.
-
Tap Export to proceed.
Find the Exported Video in the Photos App
-
iMovie will go through the export process. This may take a few minutes for longer videos.
-
When it's done, you'll find the new video waiting in your Camera Roll inside the Photos app. Tap Photos to open it.
-
View your Camera Roll and you should see the video you exported from iMovie now alongside your other photos and videos.
Delete Original iMovie Project (Optional)
-
If you don't plan on using the iMovie project anymore, feel free to delete it to save space:
-
Open iMovie and find the project you exported the video from.
-
Swipe left on the project thumbnail and tap the Delete button to remove it.
-
Saving Videos from iMovie to Camera Roll on iPhone
The process for saving videos from iMovie to your Camera Roll is the same whether you're using iPhone or iPad. Follow the steps above and choose Camera Roll when exporting the video from iMovie. It will be saved to your all your iOS device photos.
Alternative Ways to Get Videos off iMovie
In addition to saving to your Camera Roll, there are a couple other ways to get videos out of iMovie:
-
Share to YouTube - You can upload your finished videos directly to YouTube from the iMovie sharing menu.
-
AirDrop - Use AirDrop to wirelessly share your exported video with nearby Macs and iOS devices.
-
Share to Files - Save the video to the Files app or other storage locations you have connected to your iPad.
But for most purposes, exporting to your Camera Roll is the simplest option.
Quick Tip to ensure your videos never go missing

Videos are precious memories and all of us never want to ever lose them to hard disk crashes or missing drives. PicBackMan is the easiest and simplest way to keep your videos safely backed up in one or more online accounts. Simply Download PicBackMan (it's free!), register your account, connect to your online store and tell PicBackMan where your videos are - PicBackMan does the rest, automatically. It bulk uploads all videos and keeps looking for new ones and uploads those too. You don't have to ever touch it.
Tips for Successfully Saving iMovie Videos to Your Camera Roll
Follow these tips for smooth sailing when exporting iMovie projects:
-
Check available storage - Make sure you have enough free storage on your iPad to export the video. Long videos take up more room.
-
Use a resolution appropriate for the video - A very high resolution isn't needed for videos meant only for social media or messaging. Choose an optimal size.
-
Export over WiFi for large videos - For longer or higher resolution videos, export over WiFi instead of cellular to avoid slowdowns.
-
Rename the video in Photos - By default the video filename will be the iMovie project name. You can rename it in Photos.
-
Delete original iMovie project - Remember to delete the original iMovie project to free up space after successfully exporting the video.
Troubleshooting Problems Saving iMovie Videos to Camera Roll
If you're having trouble getting your iMovie videos to save to your Camera Roll properly, here are some things to try:
Video won't export - Make sure your iPad has enough free storage space for the video. If not, try exporting at a lower resolution.
Video exports but doesn't appear in Photos - Give the video time to process after exporting. Also try force quitting and relaunching the Photos app.
Video missing sections - Check that you've exported the full iMovie project timeline, not just a clip. Tap the project thumbnail before exporting.
Low video quality - Double check the resolution setting you chose when exporting the video. Higher is better for camera roll.
Other issues - Make sure you're updated to the latest version of iOS, iMovie, and Photos. Rebooting your iPad can help too.
Conclusion
Saving videos created and edited in iMovie back to your iPad's camera roll is simple. Just tap the Share icon, choose Camera Roll, select settings, and export. The video will be waiting in Photos for you to access and share anywhere. Now you have the detailed knowledge to easily save iMovie videos to your iPad camera roll!


