Menu
Start Free $129 Lifetime
Why is it the #1 bulk uploader?
- Insanely fast!
- Maintains folder structure.
- 100% automated upload.
- Supports RAW files.
- Privacy default.
How can you get started?
Download PicBackMan and start free, then upgrade to annual or lifetime plan as per your needs. Join 100,000+ users who trust PicBackMan for keeping their precious memories safe in multiple online accounts.
Trusted by users in 125+ countries.
“Your pictures are scattered. PicBackMan helps you bring order to your digital memories.”
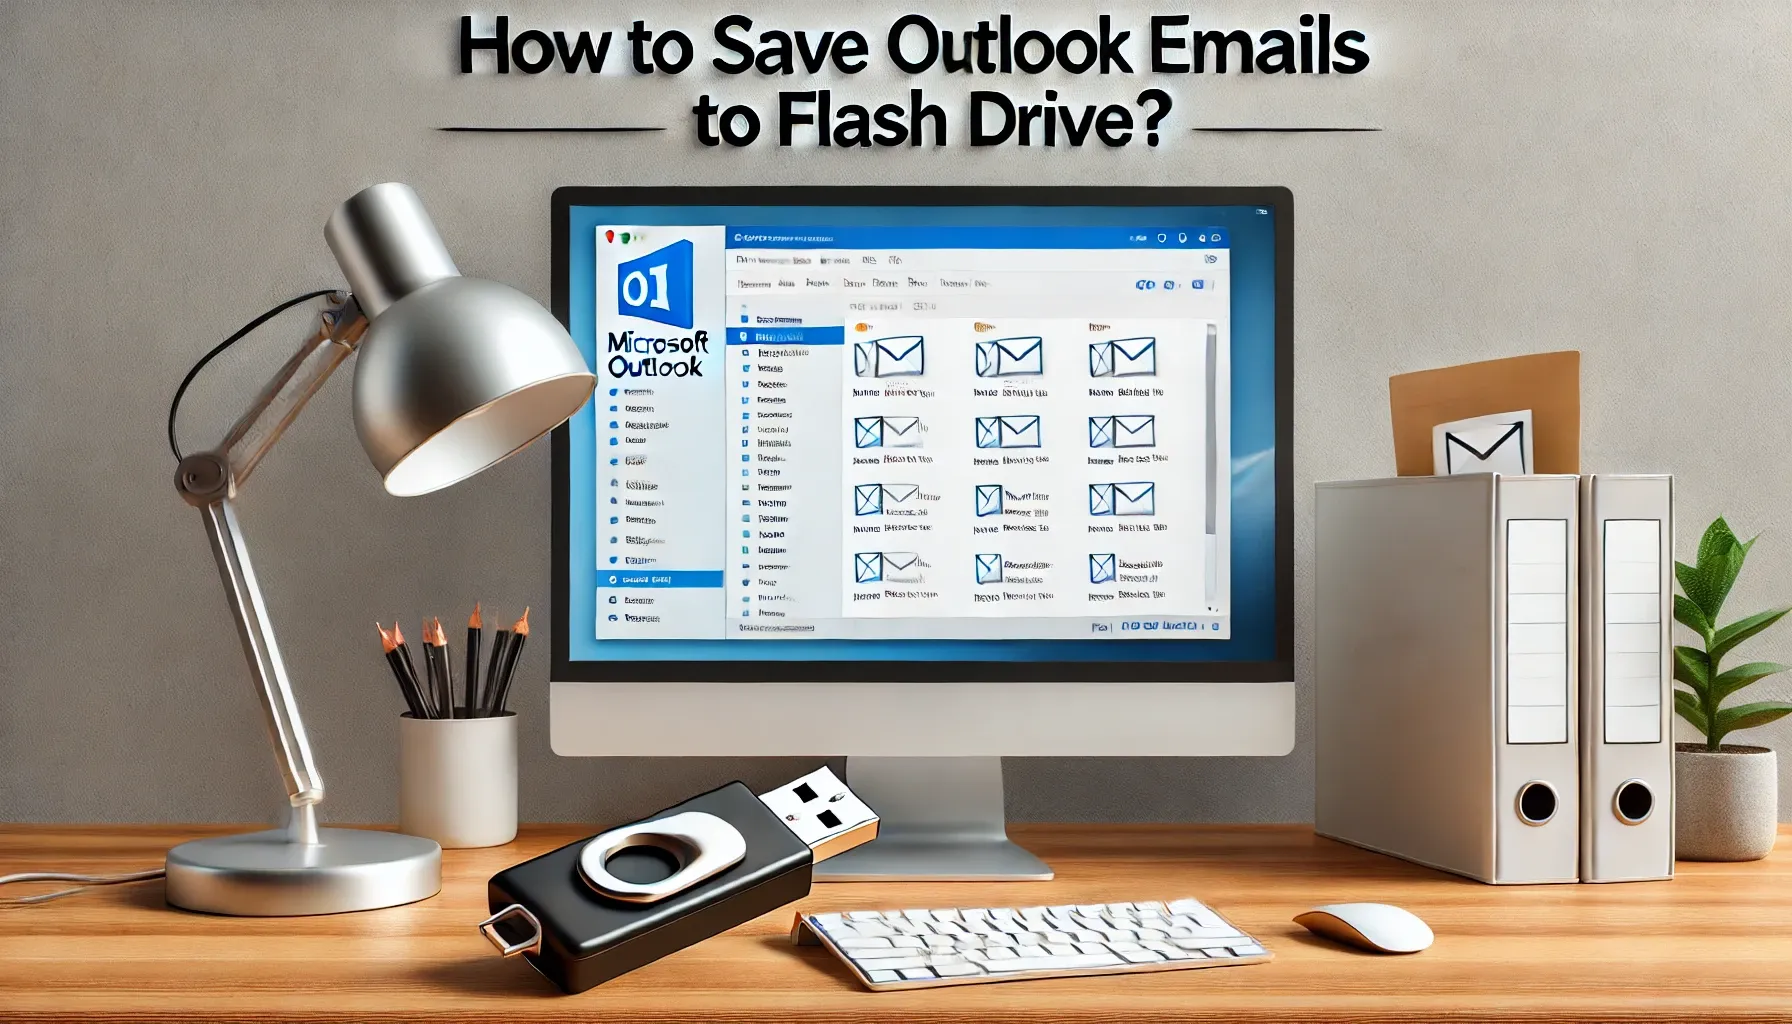
How to Save Outlook Emails to Flash Drive?

Have you ever needed to back up your important emails from Outlook and wondered how to save them to a flash drive? Whether you're securing important data, creating a backup for peace of mind, or just need to access your emails offline, saving Outlook emails to a flash drive is a straightforward process. Let's dive into the step-by-step guide to make it happen!
Why Save Outlook Emails to a Flash Drive?
1. Portability
Flash drives are small, lightweight, and easy to carry. By saving your emails to a flash drive, you can access them on any computer without needing constant internet access.
2. Data Backup
Emails often contain crucial information. Backing up to a flash drive ensures you have a safety net in case of accidental deletions, system crashes, or server issues.
3. Offline Access
With your emails saved on a flash drive, you can read them anytime, even without an internet connection.
Methods to Save Outlook Emails to a Flash Drive
Method 1: Exporting Emails as a PST File
This method is ideal for bulk saving of emails and preserving the folder structure.
Steps:
- Open Outlook: Launch the Outlook application on your computer.
-
Go to File Menu: Click on
Filein the top-left corner. -
Choose Export Option: Select
Open & Export>Import/Export. -
Select Export Format: In the wizard, choose
Export to a fileand clickNext. -
Pick File Type: Select
Outlook Data File (.pst)and hitNext. -
Choose Folder: Choose the folder (or entire mailbox) you
want to export. Check
Include subfolders. - Save the File: Choose a location to save the PST file on your computer.
- Transfer to Flash Drive: Once the export is complete, copy the PST file to your flash drive.
Method 2: Saving Individual Emails as Files
This method works best for saving specific emails rather than bulk exporting.
Steps:
- Select the Email: Open the email you want to save.
-
Choose Save As: Click
File>Save As. - Select Format: Choose the format (e.g., .txt, .msg, or .html).
- Save to Computer: Save the email to your desired location on your computer.
- Move to Flash Drive: Copy the saved file(s) to your flash drive.
Method 3: Using Third-Party Tools
If the built-in Outlook features don't meet your needs, consider using specialized tools.
Popular Tools:
- SysTools Outlook Exporter: Easy to use with bulk exporting features.
- Stellar Converter for Outlook: Offers advanced export options.
Steps:
- Install the tool and follow its user guide to export emails.
- Save the output file to your computer.
- Transfer the file to your flash drive.
Troubleshooting Common Issues
1. Export Errors
- Issue: "Cannot export the folder" error.
- Solution: Ensure that you have proper permissions and close all active Outlook sessions.
2. File Compatibility
- Issue: Difficulty opening the saved files on another computer.
- Solution: Ensure the receiving system has Outlook installed or use compatible formats like PDF.
Best Practices for Saving Emails
-
Use Descriptive File Names
Name your files in a way that makes them easy to find later, like "Invoice_2023.pdf" or "MeetingNotes_2024.msg." -
Organize Folders
Create folders on your flash drive for better organization, such as "Work Emails" or "Personal Emails." -
Regular Backups
Schedule periodic backups to ensure you don't lose any important emails.
Quick Tip to ensure your videos never go missing

Videos are precious memories and all of us never want to ever lose them to hard disk crashes or missing drives. PicBackMan is the easiest and simplest way to keep your videos safely backed up in one or more online accounts. Simply Download PicBackMan (it's free!), register your account, connect to your online store and tell PicBackMan where your videos are - PicBackMan does the rest, automatically. It bulk uploads all videos and keeps looking for new ones and uploads those too. You don't have to ever touch it.
FAQs
How do I copy my Outlook emails to an external drive?
To copy your Outlook emails to an external drive, you can export them as a PST file:
- Open Outlook: Launch the Outlook application on your computer.
-
Go to File Menu: Click on the
Filetab in the top-left corner. -
Choose Export Option: Select
Open & Export>Import/Export. -
Select Export Format: In the wizard, choose
Export to a fileand clickNext. -
Pick File Type: Select
Outlook Data File (.pst)and hitNext. -
Choose Folder: Select the folder (or entire mailbox) you
want to export. Ensure
Include subfoldersis checked. -
Save the File: Click
Browseto choose a location on your computer to save the PST file. - Transfer to External Drive: After the export is complete, connect your external drive and copy the PST file to it.
This method ensures all your emails are backed up and can be restored or accessed when needed.
How do I download entire Outlook emails?
To download all your Outlook emails, exporting them to a PST file is effective:
- Open Outlook: Launch the Outlook application.
-
Access File Menu: Click on the
Filetab. -
Initiate Export: Select
Open & Export>Import/Export. -
Choose Export to a File: In the wizard, select
Export to a fileand clickNext. -
Select File Type: Choose
Outlook Data File (.pst)and clickNext. -
Select Mailbox: Choose the mailbox or folder you wish to
export. Ensure
Include subfoldersis checked. -
Specify Save Location: Click
Browseto select a destination on your computer to save the PST file. -
Complete Export: Click
Finishto start the export process.
This process will save all your emails into a single PST file, which can be stored or transferred as needed.
How do I copy Outlook folders to a flash drive?
To copy specific Outlook folders to a flash drive:
- Open Outlook: Launch the Outlook application.
-
Create a New PST File:
-
Go to
File>Account Settings>Account Settings. -
Navigate to the
Data Filestab and clickAdd. - Choose a location on your computer (e.g., Desktop) and name the new PST file.
- Click
OKto create the file.
-
Go to
-
Copy Folders to New PST:
- In the Outlook navigation pane, drag and drop the desired folders into the new PST file.
- Close Outlook: Exit the application to ensure all data is saved properly.
-
Transfer to Flash Drive:
- Navigate to the location of the new PST file on your computer.
- Connect your flash drive and copy the PST file onto it.
This method allows you to selectively back up specific folders to your flash drive.
Can I export all of my Outlook emails at once?
Yes, you can export all your Outlook emails simultaneously by exporting your entire mailbox to a PST file:
- Open Outlook: Launch the application.
-
Access File Menu: Click on the
Filetab. -
Initiate Export: Select
Open & Export>Import/Export. -
Choose Export to a File: In the wizard, select
Export to a fileand clickNext. -
Select File Type: Choose
Outlook Data File (.pst)and clickNext. -
Select Mailbox: Click on your email address at the top to
select the entire mailbox. Ensure
Include subfoldersis checked. -
Specify Save Location: Click
Browseto choose where to save the PST file on your computer. -
Complete Export: Click
Finishto begin the export process.
This will create a PST file containing all your emails, which you can store or transfer as needed.
How to archive emails in Outlook to local drive?
To archive emails in Outlook to your local drive:
- Open Outlook: Launch the application.
-
Access File Menu: Click on the
Filetab. -
Select Cleanup Tools: Choose
Tools>Clean Up Old Items. -
Choose Archive Options:
- Select
Archive this folder and all subfolders. - Choose the folder you want to archive (e.g., Inbox).
- Set a date under
Archive items older than.
- Select
- Set Archive File Location
Conclusion
Saving Outlook emails to a flash drive is a smart way to keep your information safe, portable, and accessible. Whether you prefer exporting as PST files, saving individual emails, or using third-party tools, the process is simple and effective. Remember to organize your saved files and back up your data regularly for maximum convenience.


