Menu
Start Free $129 Lifetime
Why is it the #1 bulk uploader?
- Insanely fast!
- Maintains folder structure.
- 100% automated upload.
- Supports RAW files.
- Privacy default.
How can you get started?
Download PicBackMan and start free, then upgrade to annual or lifetime plan as per your needs. Join 100,000+ users who trust PicBackMan for keeping their precious memories safe in multiple online accounts.
Trusted by users in 125+ countries.
“Your pictures are scattered. PicBackMan helps you bring order to your digital memories.”
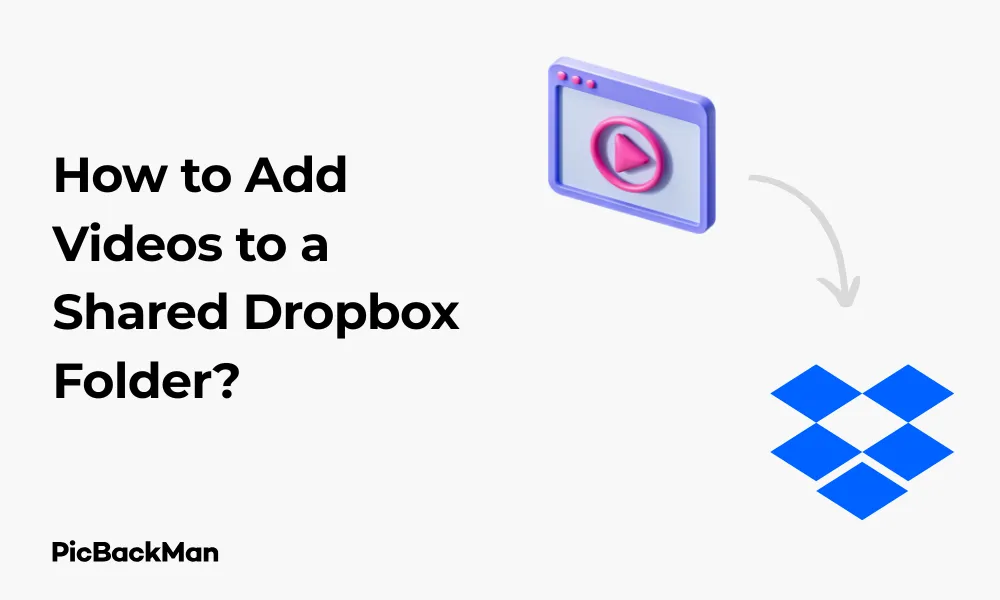
How to Add Videos to a Shared Dropbox Folder?

Sharing videos with friends, family, or colleagues has never been easier thanks to cloud storage services like Dropbox. Whether you're collaborating on a project, sharing vacation memories, or distributing training materials, knowing how to add videos to a shared Dropbox folder is an essential skill. This guide will walk you through everything you need to know about uploading, sharing, and managing videos in Dropbox.
What You'll Need Before Starting
- A Dropbox account (free or paid)
- Videos you want to upload
- Stable internet connection
- Computer, smartphone, or tablet
Methods to Add Videos to a Shared Dropbox Folder
There are several ways to add videos to a shared Dropbox folder. I'll cover each method in detail so you can choose the one that works best for you.
Method 1: Adding Videos Through the Dropbox Website
The Dropbox website offers a straightforward approach to uploading videos to a shared folder. Here's how to do it:
- Sign in to your Dropbox account at dropbox.com
- Navigate to the shared folder where you want to add videos
- Click the "Upload" button (usually appears as a blue button with an up arrow)
- Select "Files" from the dropdown menu
- Browse your computer for the video files you want to upload
- Select the videos and click "Open"
- Wait for the upload to complete
Important Note: Dropbox has file size limitations depending on your account type. Free accounts can upload files up to 50GB each, while paid accounts can upload files up to 100GB each. Keep this in mind when uploading large video files.
Method 2: Using the Dropbox Desktop App
The Dropbox desktop application provides a more seamless experience for adding videos to shared folders. Follow these steps:
- Download and install the Dropbox desktop app if you haven't already
- Sign in to your account
- Open the Dropbox folder on your computer (it automatically creates a folder in your file system)
- Navigate to the shared folder
- Simply drag and drop your video files into this folder or copy and paste them
- The files will automatically sync to Dropbox and be available to everyone with access to the shared folder
The desktop app method is particularly useful for larger videos or multiple files since it handles the uploads in the background, allowing you to continue working on other tasks.
Method 3: Adding Videos via Mobile App
If you're on the go, you can add videos to a shared Dropbox folder using the mobile app:
- Open the Dropbox app on your smartphone or tablet
- Navigate to the shared folder
- Tap the “+” (plus) icon at the bottom of the screen
- Select "Upload Photos or Videos"
- Choose the videos from your device's gallery
- Tap "Upload" to start the process
Pro Tip: When using the mobile app, make sure you're connected to Wi-Fi before uploading large video files to avoid excessive data charges. You can also enable the “Upload Only When Charging” option in the app settings to preserve battery life.
Quick Tip to ensure your videos never go missing

Creating a Shared Folder for Videos
If you don't already have a shared folder set up, you'll need to create one before adding videos. Here's how:
Creating a Shared Folder on the Website
- Log in to dropbox.com
- Click the "New Folder" button (folder icon with a "+" sign)
- Name your folder (eg, "Project Videos" or "Family Videos")
- Click "Create"
- Hover over the new folder and click the “Share” button
- Enter the email addresses of people you want to share with
- Choose permission level (can edit or view only)
- Add a message (optional)
- Click "Share"
Creating a Shared Folder on Desktop App
- Open your Dropbox folder on your computer
- Right-click in the folder and select "New Folder"
- Name the folder
- Right-click on the new folder and select "Share"
- Enter email addresses of recipients
- Set permissions
- Click "Share"
Creating a Shared Folder on Mobile App
- Open the Dropbox app
- Tap the "+" icon
- Select "Create Folder"
- Name your folder
- Tap "Create"
- Tap the three dots next to the folder
- Select "Share"
- Enter contacts and set permissions
- Tap "Share"
Video Format Compatibility and Optimization
Dropbox supports most common video formats, but it's good to know which ones work best for sharing and playback:
| Format | Compatibility | Recommended Use |
|---|---|---|
| MP4 (H.264) | Excellent | Best all-around choice for most videos |
| MOV | Good | Works well but can be larger in file size |
| AVI | Fair | Compatible but not optimal for streaming |
| MKV | Limited | May require downloading for playback |
| WebM | Good | Efficient for web playback |
Tips for Optimizing Videos for Dropbox
Before uploading videos to your shared Dropbox folder, consider these optimization tips:
- Compress your videos: Use video compression software to reduce file size without significantly affecting quality
- Choose the right resolution: Full 4K videos may not be necessary for all purposes
- Use MP4 format with H.264 encoding: This provides the best balance of quality and file size
- Trim unnecessary footage: Remove any parts of the video that aren't needed
- Consider bitrate: Lower bitrates mean smaller files but reduced quality
Managing Videos in Shared Folders
Once you've added videos to a shared folder, you may need to manage them. Here's how to handle common management tasks:
Renaming Videos
On the website:
- Hover over the video file
- Click the three dots ("...") that appear
- Select "Rename"
- Enter the new name
- Press Enter or click outside the text box
On desktop app:
- Right-click the video file
- Select "Rename"
- Type the new name
- Press Enter
On mobile app:
- Tap the three dots next to the video
- Select "Rename"
- Enter the new name
- Tap "Rename"
Moving Videos Between Folders
On the website:
- Select the video by clicking its checkbox
- Click "Move" in the top menu
- Navigate to the destination folder
- Click "Move"
On desktop app:
- Simply drag and drop the video to another folder
- Or cut (Ctrl+X) and paste (Ctrl+V) the file
On mobile app:
- Tap the three dots next to the video
- Select "Move"
- Choose the destination folder
- Tap "Move here"
Deleting Videos
On the website:
- Select the video
- Click "Delete" in the top menu
- Confirm deletion
On desktop app:
- Right-click the video
- Select "Delete"
- Confirm deletion if prompted
On mobile app:
- Tap the three dots next to the video
- Select "Delete"
- Confirm deletion
Sharing Settings and Permissions
Managing who can access and edit your shared videos is crucial. Here's how to control sharing settings:
Changing Permissions for Existing Members
- Go to the shared folder
- Click "Share" or "Shared folder settings"
- Find the person whose permissions you want to change
- Click the dropdown next to their name
- Select "Can edit" or "Can view"
Adding New Members to the Shared Folder
- Navigate to the shared folder
- Click "Share"
- Enter email addresses of new members
- Set appropriate permissions
- Add a message if needed
- Click "Share"
Removing Access
- Go to the shared folder settings
- Find the person you want to remove
- Click the dropdown next to their name
- Select "Remove"
- Confirm removal
Troubleshooting Common Issues
Even with a straightforward process, you might encounter some issues when adding videos to shared Dropbox folders. Here are solutions to common problems:
Upload Failures
If your video uploads are failing, try these fixes:
- Check your internet connection
- Verify that the video file is not corrupted
- Ensure you have enough storage space in your Dropbox account
- Try uploading smaller chunks or compressing the video
- Restart your browser or app
- Try a different upload method (website vs. desktop app)
Slow Upload Speeds
To improve slow upload speeds:
- Connect to a faster internet connection
- Close other applications that might be using bandwidth
- Compress your video files before uploading
- Use the desktop app instead of the website for more reliable uploads
- Try uploading during off-peak hours
Playback Issues
If videos aren't playing properly in Dropbox:
- Make sure you're using a supported video format
- Check if your browser is up to date
- Try downloading the video to play locally
- Clear your browser cache
- Try a different browser
Permission Problems
If people can't access your shared videos:
- Verify that you've shared the folder correctly
- Check that you've entered the correct email addresses
- Make sure recipients have accepted the sharing invitation
- Confirm that the permissions are set appropriately
Advanced Tips for Video Sharing in Dropbox
Once you've mastered the basics, try these advanced techniques to get more out of sharing videos in Dropbox:
Creating Direct Links to Videos
You can create direct links to videos that can be shared with anyone, even if they don't have a Dropbox account:
- Navigate to the video in your Dropbox
- Click "Share"
- Click "Create link"
- Copy the link
- Share the link via email, messaging, etc.
Setting Link Expiration
For security, you can set shared links to expire:
- Create a shared link as described above
- Click "Link settings"
- Toggle "Set expiration"
- Choose an expiration date
- Click "Save"
Password Protection for Videos
For sensitive videos, add password protection (available on paid plans):
- Create a shared link
- Click "Link settings"
- Toggle "Set password"
- Create a password
- Click "Save"
Using Dropbox File Requests for Video Collection
If you need to collect videos from others, use File Requests:
- Click "File requests" in the left sidebar
- Click "Create a file request"
- Name your request
- Choose a destination folder
- Click "Create"
- Share the generated link with people who need to upload videos
Organizing Videos in Shared Folders
Keeping your videos organized makes them easier to find and use:
Creating Subfolders
Organize videos by creating a logical folder structure:
- Navigate to your shared folder
- Click "New Folder"
- Name it appropriately (eg, by date, project, or category)
- Move relevant videos into this subfolder
Using Descriptive Filenames
Make videos easy to identify with clear naming conventions:
- Include dates in filenames (YYYY-MM-DD format works well)
- Add brief descriptions of content
- Include version numbers if applicable
- Example: "2023-05-15_ProjectDemo_v2.mp4"
Adding Comments to Videos
Provide context or instructions for shared videos:
- Click on a video file to preview it
- Click "Add comment" in the right sidebar
- Type your comment
- Tag specific people with @ if needed
- Click "Post"
Dropbox Storage Considerations for Video Files
Videos can quickly consume storage space. Here's how to manage your Dropbox storage effectively:
Storage Limits by Plan
| Dropbox Plan | Storage Limit | Recommended Video Usage |
|---|---|---|
| Basic (Free) | 2GB | A few short videos or clips |
| Plus | 2TB | Personal video collections, small business needs |
| Professional | 3TB | Professional video work, medium-sized projects |
| Business | 5TB+ | Large video archives, team collaboration |
Monitoring Storage Usage
Keep track of how much space your videos are using:
- Click your profile picture in Dropbox
- Select "Settings"
- Go to the "Plan" tab
- View your storage usage
Freeing Up Space
When you're running low on storage:
- Delete unnecessary videos
- Move older videos to external storage
- Compress large video files
- Use Selective Sync to keep some videos only on Dropbox servers, not your local machine
- Upgrade your plan if you regularly need more space
Security Best Practices for Shared Videos
Protect your video content with these security measures:
Limiting Access
- Share only with specific people rather than creating public links when possible
- Use view-only permissions unless editing is necessary
- Regularly review who has access to your shared folders
- Remove access promptly when it's no longer needed
Protecting Sensitive Content
- Password-protect links to sensitive videos
- Set expiration dates for temporary arrival
- Consider encrypting highly sensitive videos before uploading
- Use watermarks for proprietary content
Enabling Two-Factor Authentication
Secure your Dropbox account:
- Go to "Settings"
- Select "Security"
- Enable "Two-step verification"
- Follow the setup instructions
Frequently Asked Questions
What video formats does Dropbox support for playback?
Dropbox supports most common video formats including MP4, MOV, AVI, MKV, and WebM. However, MP4 with H.264 encoding provides the best compatibility and streaming experience across devices. Some formats may require downloading before they can be played, depending on the browser and device you're using.
Is there a limit to how many videos I can add to a shared folder?
There's no specific limit to the number of videos you can add to a shared folder. The only constraint is your available Dropbox storage space. Free accounts have 2GB of storage, while paid plans offer 2TB or more. Keep in mind that video files tend to be large, so even a few high-quality videos can quickly use up your storage allocation.
Can I stream videos directly from Dropbox without downloading them?
Yes, Dropbox allows you to stream videos directly from the website or mobile app without downloading them first. Simply click on the video file to open it in the Dropbox media player. The quality of streaming depends on your internet connection speed and the size/format of the video. For the best streaming experience, use MP4 format videos with appropriate resolution.
How do I know if my video has been successfully shared with others?
When you share a folder containing videos, Dropbox sends email invitations to the people you've shared with. You can check the sharing status by going to the folder, clicking "Share," and viewing the list of people who have access. It will show whether they've accepted the invitation. You can also ask recipients to confirm they can access the videos. For shared links, Dropbox doesn't provide view statistics on basic plans.
Can I recover deleted videos from a shared Dropbox folder?
Yes, Dropbox keeps deleted files in the “Deleted files” section for a limited time. Free accounts can recover files for up to 30 days, while paid accounts typically offer longer recovery periods (up to 180 days for some plans). To recover deleted videos, go to dropbox.com, click "Deleted files" in the left sidebar, locate your video, select it, and click "Restore." Note that once the recovery period expires, deleted videos are permanently removed.
Conclusion
Adding videos to a shared Dropbox folder doesn't have to be complicated. Whether you're using the website, desktop app, or mobile app, the process is straightforward once you know the steps. By following this guide, you can efficiently upload, organize, and share your videos with friends, family, or colleagues.
Remember to consider file formats, optimize your videos when necessary, and manage your storage space wisely. With proper organization and security practices, Dropbox can be an excellent platform for video sharing and collaboration. Start implementing these techniques today to make the most of your Dropbox video sharing experience.


