Menu
Start Free $129 Lifetime
Why is it the #1 bulk uploader?
- Insanely fast!
- Maintains folder structure.
- 100% automated upload.
- Supports RAW files.
- Privacy default.
How can you get started?
Download PicBackMan and start free, then upgrade to annual or lifetime plan as per your needs. Join 100,000+ users who trust PicBackMan for keeping their precious memories safe in multiple online accounts.
Trusted by users in 125+ countries.
“Your pictures are scattered. PicBackMan helps you bring order to your digital memories.”
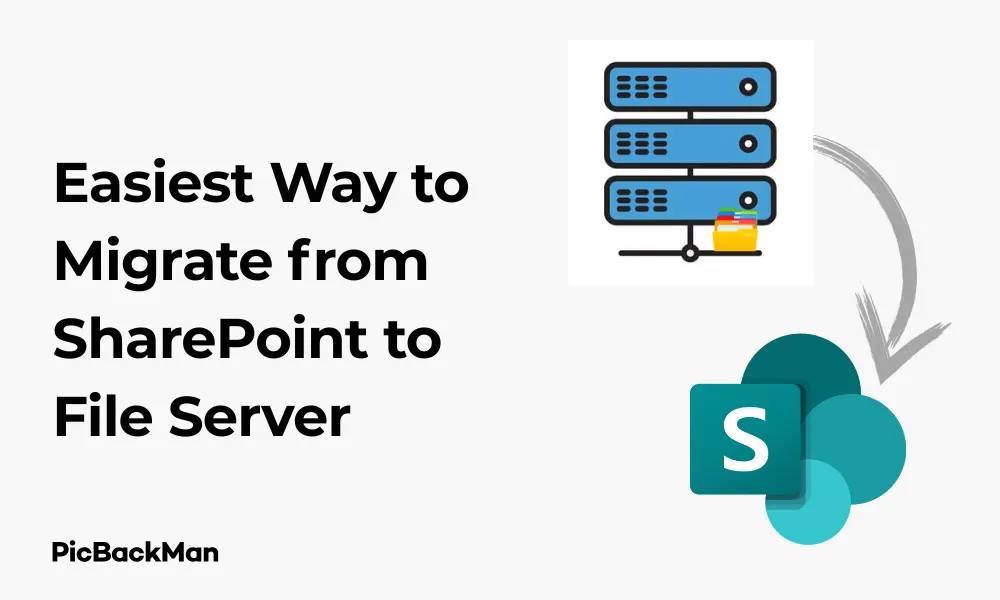
Easiest Way to Migrate from SharePoint to File Server

Moving your files from SharePoint to a file server might seem like a challenging task, but it doesn't have to be complicated. Whether you're switching systems, consolidating storage, or simply need to back up your SharePoint content to a traditional file server, this guide will walk you through the process step by step.
I've helped many organizations make this transition smoothly, and I'll share the easiest methods that work reliably. This article covers everything from planning your migration to executing it with minimal disruption to your team's workflow.
Why Migrate from SharePoint to a File Server?
Before diving into the how-to, let's quickly address why you might want to make this move:
- Cost considerations - file servers can be less expensive than SharePoint licenses
- Simplified access for certain workflows
- Integration requirements with other systems
- Organizational restructuring or policy changes
- Need for local storage and control
Whatever your reason, the good news is that the migration process can be straightforward if you follow a structured approach.
Planning Your SharePoint to File Server Migration
A successful migration starts with proper planning. Here's how to prepare:
Assess Your Current SharePoint Environment
First, take stock of what you currently have in SharePoint:
- Document the structure of your SharePoint sites and libraries
- Identify the total volume of data to migrate
- Note any special permissions or sharing settings
- Check for any workflows or integrations tied to your SharePoint files
- Look for any custom metadata or properties that need to be saved
Prepare Your File Server
Next, get your file server ready to receive the content:
- Ensure sufficient storage space (add 20% extra for growth)
- Plan your folder structure to match or improve upon SharePoint's organization
- Set up appropriate security groups and permissions
- Check network bandwidth between SharePoint and your file server
- Test backup solutions for your new file server structure
Create a Migration Timeline
Develop a realistic schedule for your migration:
- Choose low-traffic periods for the actual transfer
- Plan for testing time before and after migration
- Include buffer time for unexpected issues
- Schedule user communications at key points
Method 1: Manual Download and Upload (For Small Migrations)
If you're migrating a relatively small amount of data (under 10GB) or just a few libraries, the manual approach might be the simplest:
Step-by-Step Manual Migration Process
Step 1: Download from SharePoint
- Navigate to your SharePoint library in a web browser
- Select all files you want to migrate (or use "Select All")
- Click "Download" in the top menu
- SharePoint will create a zip file containing your selected files
- Save this zip file to a temporary location on your computer
Step 2: Extract and Organize
- Extract the zip file to a folder on your local machine
- Organize the files according to your planned file server structure
- Check that all files downloaded correctly
Step 3: Upload to File Server
- Connect to your file server through Windows Explorer
- Create the necessary folder structure
- Copy and paste the extracted files to the appropriate folders
- Verify that all files transferred successfully
Step 4: Verify File Integrity
- Check a sample of files to ensure they open correctly
- Compare file counts between SharePoint and the file server
- Verify that file modification dates are preserved
This manual approach works well for smaller migrations but becomes tedious and error-prone for larger data sets.
Method 2: Using SharePoint's "Open with Explorer" Feature
For medium-sized migrations, SharePoint's built-in Explorer view can simplify the process:
Step-by-Step Explorer View Migration
Step 1: Access Explorer View
- Open your SharePoint library in Internet Explorer (works best with IE)
- Click on the "Library" tab in the ribbon
- Select "Open with Explorer"
- A Windows Explorer window will open showing your SharePoint files
Step 2: Copy Files Directly
- Open a second Explorer window connected to your file server
- Arrange the two windows side by side
- Select files from the SharePoint Explorer window
- Drag and drop them to the file server window
Step 3: Verify the Transfer
- Check that all files copied successfully
- Look for any error messages during the transfer
- Confirm file counts match between source and destination
This method is more direct than manual downloading but still has limitations for very large migrations or complex SharePoint structures.
Method 3: Using PowerShell (For IT Professionals)
PowerShell offers a more automated approach for those comfortable with scripting:
Basic PowerShell Migration Script
Here's a simplified example of how to use PowerShell to migrate files:
# Connect to SharePoint
Connect-PnPOnline -Url "https://yourcompany.sharepoint.com/sites/yoursite" -UseWebLogin

# Get all files from a document library
$files = Get-PnPListItem -List "Documents" -PageSize 1000

# Destination path on file server
$destinationPath = "\fileserversharedestination"

Download each file
foreach ($file in $files) {
    $fileUrl = $file["FileRef"]
    $fileName = $file["FileLeafRef"]
    $folderPath = Split-Path $fileUrl.Substring($fileUrl.IndexOf("/sites/"))
    $destinationFolder = Join-Path $destinationPath $folderPath

    # Create folder structure if it doesn't exist
    if (!(Test-Path $destinationFolder)) {
        New-Item -ItemType Directory -Path $destinationFolder -Force
    }

    # Download file
    Get-PnPFile -Url $fileUrl -Path $destinationFolder -Filename $fileName -AsFile
}
This script requires the PnP PowerShell module and should be customized to your specific environment.
Advantages of PowerShell Migration
- Can handle large volumes of data
- Preserves file metadata more reliably
- Can be scheduled to run during off-hours
- Provides detailed logging for troubleshooting
- Can be customized to handle special cases
Method 4: Using Third-Party Migration Tools
For large or complex migrations, dedicated tools can save time and reduce errors:
Popular SharePoint Migration Tools
ShareGate Desktop
ShareGate is one of the most popular migration tools with a user-friendly interface:
- Drag-and-drop interface for content mapping
- Preserves metadata, permissions, and version history
- Provides detailed reports on migration status
- Handles large migrations efficiently
AvePoint DocAve Migrator
DocAve offers comprehensive migration capabilities:
- Granular or bulk content migration
- Scheduling and throttling controls
- Full fidelity migration preserving all properties
- Pre-migration assessment tools
Metalogix Content Matrix
Another powerful option for complex migrations:
- Wizard-based interface for simple operations
- PowerShell support for advanced scenarios
- Incremental migration capabilities
- Detailed logging and reporting
Step-by-Step Third-Party Migration Tool
While each tool has its own specific workflow, here's a general process:
Step 1: Install and Configure the Tool
- Download and install your chosen migration tool
- Enter your SharePoint credentials and connect to your site
- Connect to your destination file server
Step 2: Map Content and Settings
- Select the SharePoint content you want to migrate
- Map it to the appropriate location on your file server
- Configure which properties and settings to preserve
- Set up any filtering options (by date, type, etc.)
Step 3: Run Pre-Migration Checks
- Most tools offer pre-migration validation
- Identify potential issues before they occur
- Make adjustments to your migration plan as needed
Step 4: Execute the Migration
- Start the migration process
- Monitor progress through the tool's interface
- Address any errors that occur during migration
Step 5: Verify and Validate
- Review migration reports from the tool
- Check sample files across different folders
- Verify permissions are correctly applied
Handling Special Cases in SharePoint Migration
Some aspects of SharePoint require special attention when migrating to a file server:
Preserving Version History
SharePoint maintains version history for documents, but standard file systems don't. You have options:
- Migrate only the latest version (simplest approach)
- Export version history to separate files (eg, Document_v1.docx, Document_v2.docx)
- Use a third-party tool that can generate version history reports
Handling SharePoint-Specific Features
Some SharePoint features don't have direct equivalents in file servers:
Document Check-Out/Check-In
File servers typically don't support check-out functionality. Consider:
- Using file locking features in your applications
- Establishing clear procedures for file editing
- Implementing naming conventions for work-in-progress files
Metadata and Properties
SharePoint's rich metadata capabilities exceed what file systems offer:
- Convert important metadata to folder structures (eg, Department/Year/Category)
- Include key metadata in filenames
- Export metadata to companion spreadsheets for reference
Migrating SharePoint Workflows
If you've been using SharePoint workflows, you'll need alternatives:
- Document approval workflows can be replaced with email-based approvals
- Notification workflows might be replaced with file server monitoring tools
- Consider workflow automation tools like Power Automate for more complex needs
Post-Migration Tasks
After completing the file transfer, several important tasks remain:
Testing and Validation
Thoroughly test your new file server setup:
- Verify access permissions for different user groups
- Test opening, editing, and saving files
- Check that all expected files are present and accessible
- Validate any integrations with other systems
User Training and Communication
Help your team adapt to the new system:
- Provide clear documentation on how to access the file server
- Explain any changes in file organization or naming
- Offer training sessions for unfamiliar users with file server navigation
- Create quick reference guides for common tasks
Updating Links and References
Don't forget to update any references to SharePoint URLs:
- Check for hard-coded links in other documents
- Update bookmarks and favorites
- Modify any automated processes that reference SharePoint paths
- Update links in email templates or documentation
Comparison of Migration Methods
| Method | Best For | Pros | Cons |
|---|---|---|---|
| Manual Download/Upload | Small migrations (under 10GB) | No special tools required Simple to understand Good for one-time migrations |
Time-consuming Error-prone Doesn't scale well |
| Open with Explorer | Medium migrations (10-50GB) | No additional software Preserves basic file attributes Familiar interface |
Can be unstable for large transfers Limited metadata preservation Requires IE or Edge with IE mode |
| PowerShell | Large migrations with IT support | Highly customizable Can be automated Good for scheduled migrations |
Requires scripting knowledge May need troubleshooting Setup time can be lengthy |
| Third-Party Tools | Complex or very large migrations | Most comprehensive features Best metadata preservation Professional support available |
Additional cost learning curve may require installation on servers |
Troubleshooting Common Migration Issues
Even with careful planning, you might encounter some challenges:
File Path Length Limitations
Windows has a 260-character limit for file paths, which can cause issues:
- Check for and rename files with extremely long names before migration
- Consider enabling long path support in Windows (requires Windows 10/Server 2016 or newer)
- Restructure deeply nested folders to reduce path length
Permission Errors
Access denied errors are common during migration:
- Ensure your migration account has sufficient permissions on both systems
- Check for locked files that might be open by users
- Look for special characters in filenames that might cause permission issues
Handling Failed Transfers
When some files fail to transfer:
- Keep detailed logs of failed transfers
- Try migrating problematic files separately
- Check for file corruption or other issues in the source files
- Consider breaking large migrations into smaller batches
Best Practices for SharePoint to File Server Migration
Follow these recommendations for the smoothest possible transition:
Timing Your Migration
- Schedule migrations during off-hours to minimize disruption
- Break large migrations into phases by department or priority
- Allow extra time in your schedule for unexpected issues
- Consider a phased approach where both systems run in parallel temporarily
Data Cleanup Before Migration
- Remove obsolete or duplicate documents
- Archive old content that's rarely accessed
- Standardize naming conventions before migrating
- Fix any broken permissions or corrupted files
Security Considerations
- Map SharePoint permissions to equivalent file server permissions
- Document the permission structure before and after migration
- Test access with different user accounts
- Consider implementing file auditing on the file server
Quick Tip to ensure your videos never go missing
Videos are precious memories and all of us never want to lose them to hard disk crashes or missing drives. PicBackMan is the easiest and simplest way to keep your videos safely backed up in one or more online accounts.

Simply download PicBackMan (it's free!) , register your account, connect to your online store and tell PicBackMan where your videos are - PicBackMan does the rest, automatically. It bulk uploads all videos and keeps looking for new ones and uploads those too. You don't have to ever touch it.
Conclusion
Migrating from SharePoint to a file server doesn't have to be overwhelming. By following the methods outlined in this guide, you can make the transition smoothly with minimal disruption to your team's productivity.
Remember that the best approach depends on your specific situation – the size of your migration, your technical resources, and your timeline. For small migrations, manual methods work well. For larger or more complex migrations, consider PowerShell or third-party tools.
The key to success is proper planning, thorough testing, and clear communication with your team. Take the time to prepare properly, and you'll set yourself up for a successful migration that meets your organization's needs.
Frequently Asked Questions
How long does it typically take to migrate from SharePoint to a file server?
The time required depends on the volume of data and the migration method. Small migrations (under 10GB) might take just a few hours, while larger migrations (100GB+) could take several days. Network bandwidth, file sizes, and the number of files all impact the timeline. Plan for about 2-4GB per hour for manual methods and 5-10GB per hour with specialized tools.
Will file permissions transfer automatically from SharePoint to the file server?
No, SharePoint and file servers use different permission models. You'll need to manually recreate your permission structure on the file server. Some third-party migration tools can help map SharePoint permissions to file server permissions, but you'll still need to verify and adjust as needed after migration.
Can I keep SharePoint and the file server synchronized during a transition period?
Yes, you can set up temporary synchronization during your transition phase. Options include scheduled PowerShell scripts that copy new or changed files, third-party synchronization tools, or manual sync processes. This approach gives users time to adapt while ensuring data consistency across both systems.
What happens to SharePoint-specific features like version history after migration?
Standard file servers don't support version history like SharePoint does. You have three main options: migrate only the latest version of each file, export previous versions as separate files with version numbers in the filename, or document version history in a separate file for reference. Choose based on how important historical versions are to your workflows.
How can I verify that all files transferred correctly after migration?
Use multiple verification methods for confidence: compare file counts between source and destination, check total size of migrated content, use file comparison tools to verify checksums of important documents, and sample-test files from different folders to ensure they open correctly. Third-party migration tools often include verification reports that can help identify any discrepancies.


