Menu
Start Free $129 Lifetime
Why is it the #1 bulk uploader?
- Insanely fast!
- Maintains folder structure.
- 100% automated upload.
- Supports RAW files.
- Privacy default.
How can you get started?
Download PicBackMan and start free, then upgrade to annual or lifetime plan as per your needs. Join 100,000+ users who trust PicBackMan for keeping their precious memories safe in multiple online accounts.
Trusted by users in 125+ countries.
“Your pictures are scattered. PicBackMan helps you bring order to your digital memories.”
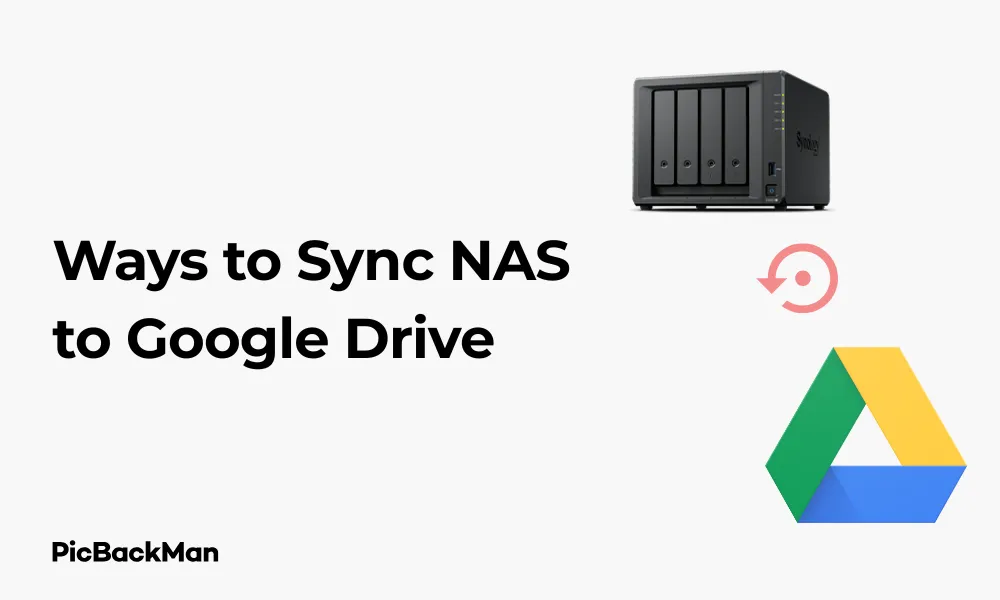
5 Free Ways to Sync NAS to Google Drive

Looking to keep your NAS (Network Attached Storage) data backed up to Google Drive without spending a dime? You're in the right place. Syncing your NAS to Google Drive gives you an extra layer of protection for your important files while making them accessible from anywhere. In this guide, I'll walk you through five completely free methods to connect your NAS system with Google Drive for seamless synchronization.
Why Sync Your NAS to Google Drive?
Before diving into the how-to, let's quickly cover why you might want to sync these two storage systems:
- Off-site backup protection against hardware failure, theft, or disasters
- Access your files from any device with internet connection
- Share files easily with others
- Take advantage of Google's reliable infrastructure
- Combine local NAS speed with cloud flexibility
Method 1: Using Rclone for NAS to Google Drive Sync
Rclone is a powerful command-line program that lets you sync files between your NAS and various cloud storage providers, including Google Drive. The best part? It's completely free and open-source.
Setting Up Rclone on Your NAS
Most NAS devices allow you to install third-party applications or run commands through SSH. Here's how to set up Rclone:
- Access your NAS through SSH or terminal
- Download and install Rclone with this command:
curl https://rclone.org/install.sh | sudo bash - Run
rclone configto start the configuration process - Select "New remote" and give it a name like "gdrive"
- Choose "Google Drive" from the list of storage types
- Follow the prompts to authenticate with your Google account
Creating a Basic Sync Command
Once configured, you can create a simple sync command:
rclone sync /path/to/nas/folder gdrive:backup --progressThis command will copy files from your NAS folder to a folder called "backup" on your Google Drive.
Automating Rclone Sync with Cron Jobs
To make this truly hands-off, set up a cron job on your NAS:
- Edit your crontab with
crontab -e - Add a line like this to run the sync daily at 2 AM:
0 2 * * * rclone sync /path/to/nas/folder gdrive:backup --quiet - Save and exit
Pros and Cons of Using Rclone
| Pros | Cons |
|---|---|
| Extremely flexible and powerful | Command-line interface may intimidate beginners |
| Works on almost any NAS with SSH access | Initial setup requires some technical knowledge |
| Very efficient with bandwidth | No built-in GUI for monitoring |
| Supports encryption | Requires manual configuration of scheduled tasks |
Method 2: Using Cloud Sync on Synology NAS
If you own a Synology NAS, you're in luck! Synology provides a free built-in app called Cloud Sync that makes Google Drive integration straightforward.
Setting Up Cloud Sync
- Open the Synology DSM web interface
- Go to Package Center and install "Cloud Sync" if not already installed
- Launch Cloud Sync from the main menu
- Click the "+" button to add a new sync task
- Select Google Drive from the list of cloud providers
- Click "Next" and authorize your Google account when prompted
- Choose which folders to sync in both directions
- Configure sync options (one-way or bidirectional)
- Click "Apply" to start the sync
Customizing Your Sync Settings
Cloud Sync offers several options to fine-tune your backup:
- Sync direction: Upload only, download only, or bidirectional
- Encryption: Optionally encrypt files before uploading
- File versioning: Keep multiple versions of the same file
- Bandwidth limits: Restrict upload/download speeds
- Schedule: Set specific times for sync to run
Pros and Cons of Synology Cloud Sync
| Pros | Cons |
|---|---|
| User-friendly graphical interface | Only available for Synology NAS devices |
| Easy to set up and monitor | May use more system resources than command-line tools |
| Built-in scheduling options | Limited customization compared to Rclone |
| Official Synology support | Occasional sync conflicts with complex file structures |
Method 3: Using Restic for NAS to Google Drive Backup
Restic is a free, secure, and efficient backup program that can store backups on Google Drive. It's particularly good for creating incremental backups with versioning.
Installing and Configuring Restic
- SSH into your NAS
- Download the latest Restic release for your system architecture
- Extract and move the binary to a location in your PATH:
wget https://github.com/restic/restic/releases/download/v0.12.1/restic_0.12.1_linux_amd64.bz2 bunzip2 restic_0.12.1_linux_amd64.bz2 chmod +x restic_0.12.1_linux_amd64 mv restic_0.12.1_linux_amd64 /usr/local/bin/restic - Set up a Google Drive remote with Rclone (as described in Method 1)
- Initialize a Restic repository on Google Drive:
export RESTIC_REPOSITORY="rclone:gdrive:backup/restic"
export RESTIC_PASSWORD="your-secure-password"
restic init
Creating Your First Backup
Once initialized, you can create your first backup:
restic backup /path/to/nas/dataRestic will create a snapshot of your data and upload it to Google Drive.
Scheduling Regular Backups
Create a bash script for your backup:
#!/bin/bash
export RESTIC_REPOSITORY="rclone:gdrive:backup/restic"
export RESTIC_PASSWORD="your-secure-password"
restic backup /path/to/nas/data
restic forget --keep-daily 7 --keep-weekly 4 --keep-monthly 6 --prune
Make it executable with chmod +x backup.sh and add it to your crontab.
Pros and Cons of Restic
| Pros | Cons |
|---|---|
| Strong encryption and security | Steeper learning curve than GUI solutions |
| Efficient deduplication | Requires Rclone as an additional component |
| Snapshot-based backups with versioning | Command-line only operation |
| Works on virtually any NAS with SSH | Requires more manual configuration |
Quick Tip to ensure your videos never go missing
Videos are precious memories and all of us never want to lose them to hard disk crashes or missing drives. PicBackMan is the easiest and simplest way to keep your videos safely backed up in one or more online accounts.

Simply download PicBackMan (it's free!), register your account, connect to your online store and tell PicBackMan where your videos are - PicBackMan does the rest, automatically. It bulk uploads all videos and keeps looking for new ones and uploads those too. You don't have to ever touch it.
Method 4: Using QNAP Hybrid Backup Sync
If you're a QNAP NAS owner, the free Hybrid Backup Sync (HBS) app provides native Google Drive integration.
Setting Up HBS for Google Drive
- Open the QNAP App Center
- Search for and install "Hybrid Backup Sync"
- Launch HBS from the main menu
- Click "Create" and select "Sync"
- Choose "Google Drive" as the destination
- Click "Create Account" and follow the Google authentication process
- Select your source folders on the NAS
- Choose the destination folder in Google Drive
- Configure sync options and schedule
- Click "OK" to create the sync job
Configuring Sync Options
HBS offers several sync configurations:
- Sync direction: One-way or bidirectional
- Schedule: Real-time, hourly, daily, weekly, or monthly
- File filtering: Include or exclude files by type
- Bandwidth control: Limit upload/download speeds
- Conflict handling: How to resolve file conflicts
Pros and Cons of QNAP HBS
| Pros | Cons |
|---|---|
| Intuitive user interface | Only available for QNAP NAS devices |
| Comprehensive sync options | Can be resource-intensive during large syncs |
| Real-time sync capability | Occasional connection issues with Google Drive |
| Built-in monitoring and logs | Limited customization for advanced users |
Method 5: Using FreeNAS/TrueNAS with Cloud Sync Tasks
If you're running FreeNAS or TrueNAS (formerly FreeNAS), you can use the built-in Cloud Sync Tasks feature to connect with Google Drive.
Setting Up Cloud Sync in TrueNAS
- Log in to your TrueNAS web interface
- Go to "Tasks" > "Cloud Sync Tasks"
- Click "Add" to create a new sync task
- Select "Google Drive" as the provider
- Click "Login to Google Drive" and authenticate your account
- Choose the local directory on your NAS to sync
- Specify the remote directory on Google Drive
- Set sync direction (Push, Pull, or Sync)
- Configure schedule and other options
- Click "Save" to create the task
Advanced Options
TrueNAS Cloud Sync offers several advanced settings:
- Transfer mode: Sync (bidirectional), Copy (one-way, preserving files), or Move (one-way, deleting source files)
- Bandwidth limitation: Restrict upload/download speeds
- Exclude patterns: Skip certain files or folders
- Encryption: Encrypt files before uploading
- Transfers: Number of simultaneous file transfers
Pros and Cons of TrueNAS Cloud Sync
| Pros | Cons |
|---|---|
| Built into TrueNAS/FreeNAS | Only available for TrueNAS/FreeNAS systems |
| Clean web interface | Fewer options than some dedicated tools |
| Good scheduling capabilities | May require troubleshooting for complex setups |
| Uses Rclone in the background | Interface can hide some advanced Rclone features |
Comparison of All 5 Methods
| Method | Ease of Use | Flexibility | NAS Compatibility | Features |
|---|---|---|---|---|
| Rclone | Moderate | High | Almost Any | Encryption, bandwidth control, extensive options |
| Synology Cloud Sync | High | Medium | Synology only | Bidirectional sync, encryption, scheduling |
| Restic | Low | High | Almost Any | Versioning, deduplication, strong encryption |
| QNAP HBS | High | Medium | QNAP only | Real-time sync, multiple cloud providers, easy UI |
| TrueNAS Cloud Sync | Medium | Medium | TrueNAS/FreeNAS only | Encryption, scheduling, web interface |
Tips for Efficient NAS to Google Drive Syncing
Managing Google Drive Storage Limits
Google Drive offers 15GB of free storage. To make the most of it:
- Be selective about what you sync - prioritize important files
- Use file compression when possible
- Set up cleanup routines to delete old backups
- Consider using multiple Google accounts if needed
Optimizing Sync Performance
To get the best performance when syncing:
- Schedule syncs during low-usage periods
- Use bandwidth limiting during the day
- Break large syncs into smaller folders
- Exclude temporary files and system files
- Use incremental sync where possible
Handling Large Files and Datasets
When dealing with large amounts of data:
- Start with a small test sync before committing to a full backup
- Consider splitting very large files
- Be patient with the initial sync - it may take days
- Monitor your internet data caps if applicable
Security Considerations
Keep your data secure during the sync process:
- Enable encryption for sensitive data
- Use strong passwords for all accounts
- Enable two-factor authentication on your Google account
- Regularly check sync logs for errors
- Test restores occasionally to verify backup integrity
Troubleshooting Common Sync Issues
Connection Problems
If your sync fails to connect:
- Check your internet connection
- Verify that your Google account has proper permissions
- Ensure your authentication tokens haven't expired
- Check if Google Drive is accessible from your browser
- Restart your NAS and networking equipment
Sync Errors and Conflicts
When you encounter sync errors:
- Check sync logs for specific error messages
- Look for file permission issues on your NAS
- Verify that files aren't locked by other applications
- Check for filename issues (special characters, length)
- Try syncing smaller batches of files
Performance Issues
If syncing is too slow:
- Test your internet upload speed
- Reduce the number of simultaneous transfers
- Check NAS CPU and memory usage during sync
- Exclude unnecessary files and folders
- Try syncing during off-peak hours
Conclusion
Syncing your NAS to Google Drive doesn't have to cost anything, thanks to these five free methods. Whether you prefer the flexibility of Rclone, the user-friendly interfaces of Synology Cloud Sync or QNAP HBS, the security of Restic, or the integration of TrueNAS Cloud Sync, there's a solution that fits your needs.
The right choice depends on your specific NAS hardware, technical comfort level, and sync requirements. All these methods provide reliable ways to keep your data backed up to the cloud, giving you both the speed of local storage and the security of off-site backups.
Remember to start small, test thoroughly, and gradually expand your sync setup. With regular syncing between your NAS and Google Drive, you'll have peace of mind knowing your important files are protected and accessible from anywhere.
Frequently Asked Questions
How much data can I sync from my NAS to Google Drive for free?
With a free Google account, you get 15GB of storage shared across Google Drive, Gmail, and Google Photos. If you need more space, you'll need to upgrade to a paid Google One plan. However, you can be selective about what you sync to stay within the free limit.
Will syncing to Google Drive slow down my NAS?
During active sync operations, your NAS will use some CPU, memory, and network resources. The impact depends on your NAS specs and the amount of data being synced. To minimize performance issues, schedule syncs during off-hours and limit the bandwidth used for syncing during busy periods.
Can I sync multiple NAS devices to the same Google Drive account?
Yes, you can sync multiple NAS devices to a single Google Drive account. Just make sure to use different destination folders for each NAS to avoid conflicts. Keep in mind that all synced data will count toward your single storage quota.
How secure is my NAS data when synced to Google Drive?
Google Drive provides good security with data encryption in transit and at rest. For extra security, several of the methods discussed (Rclone, Restic, Synology Cloud Sync) offer client-side encryption options, which encrypt your data before it leaves your NAS. This ensures that even Google can't access your unencrypted files.
What happens if I delete a file on my NAS - will it also be deleted from Google Drive?
It depends on your sync settings. With one-way sync (backup mode), deleting files on your NAS typically won't delete them from Google Drive, preserving your backup. With two-way sync, deletions usually propagate to both sides. Most sync tools let you configure this behavior, so check your specific tool's settings to ensure it behaves as expected.


